I thought it would be fun and good for my practice to take part in Genuary this year. I made a goal to try to explore a new technique or do something I hadn't done before for every prompt. I ended up finishing every prompt. I did a couple of them a day late because of other life happenings, but never had two late days in a row. I didn't end up learning/doing something totally new every day either but did learn a lot.
Below is an overview of the systems I built, which were all done in p5.js and often included GLSL shaders as well. I won't share code, but I will try to explain what's going on in each image well enough that you could create your own spin on it if you're determined enough :)
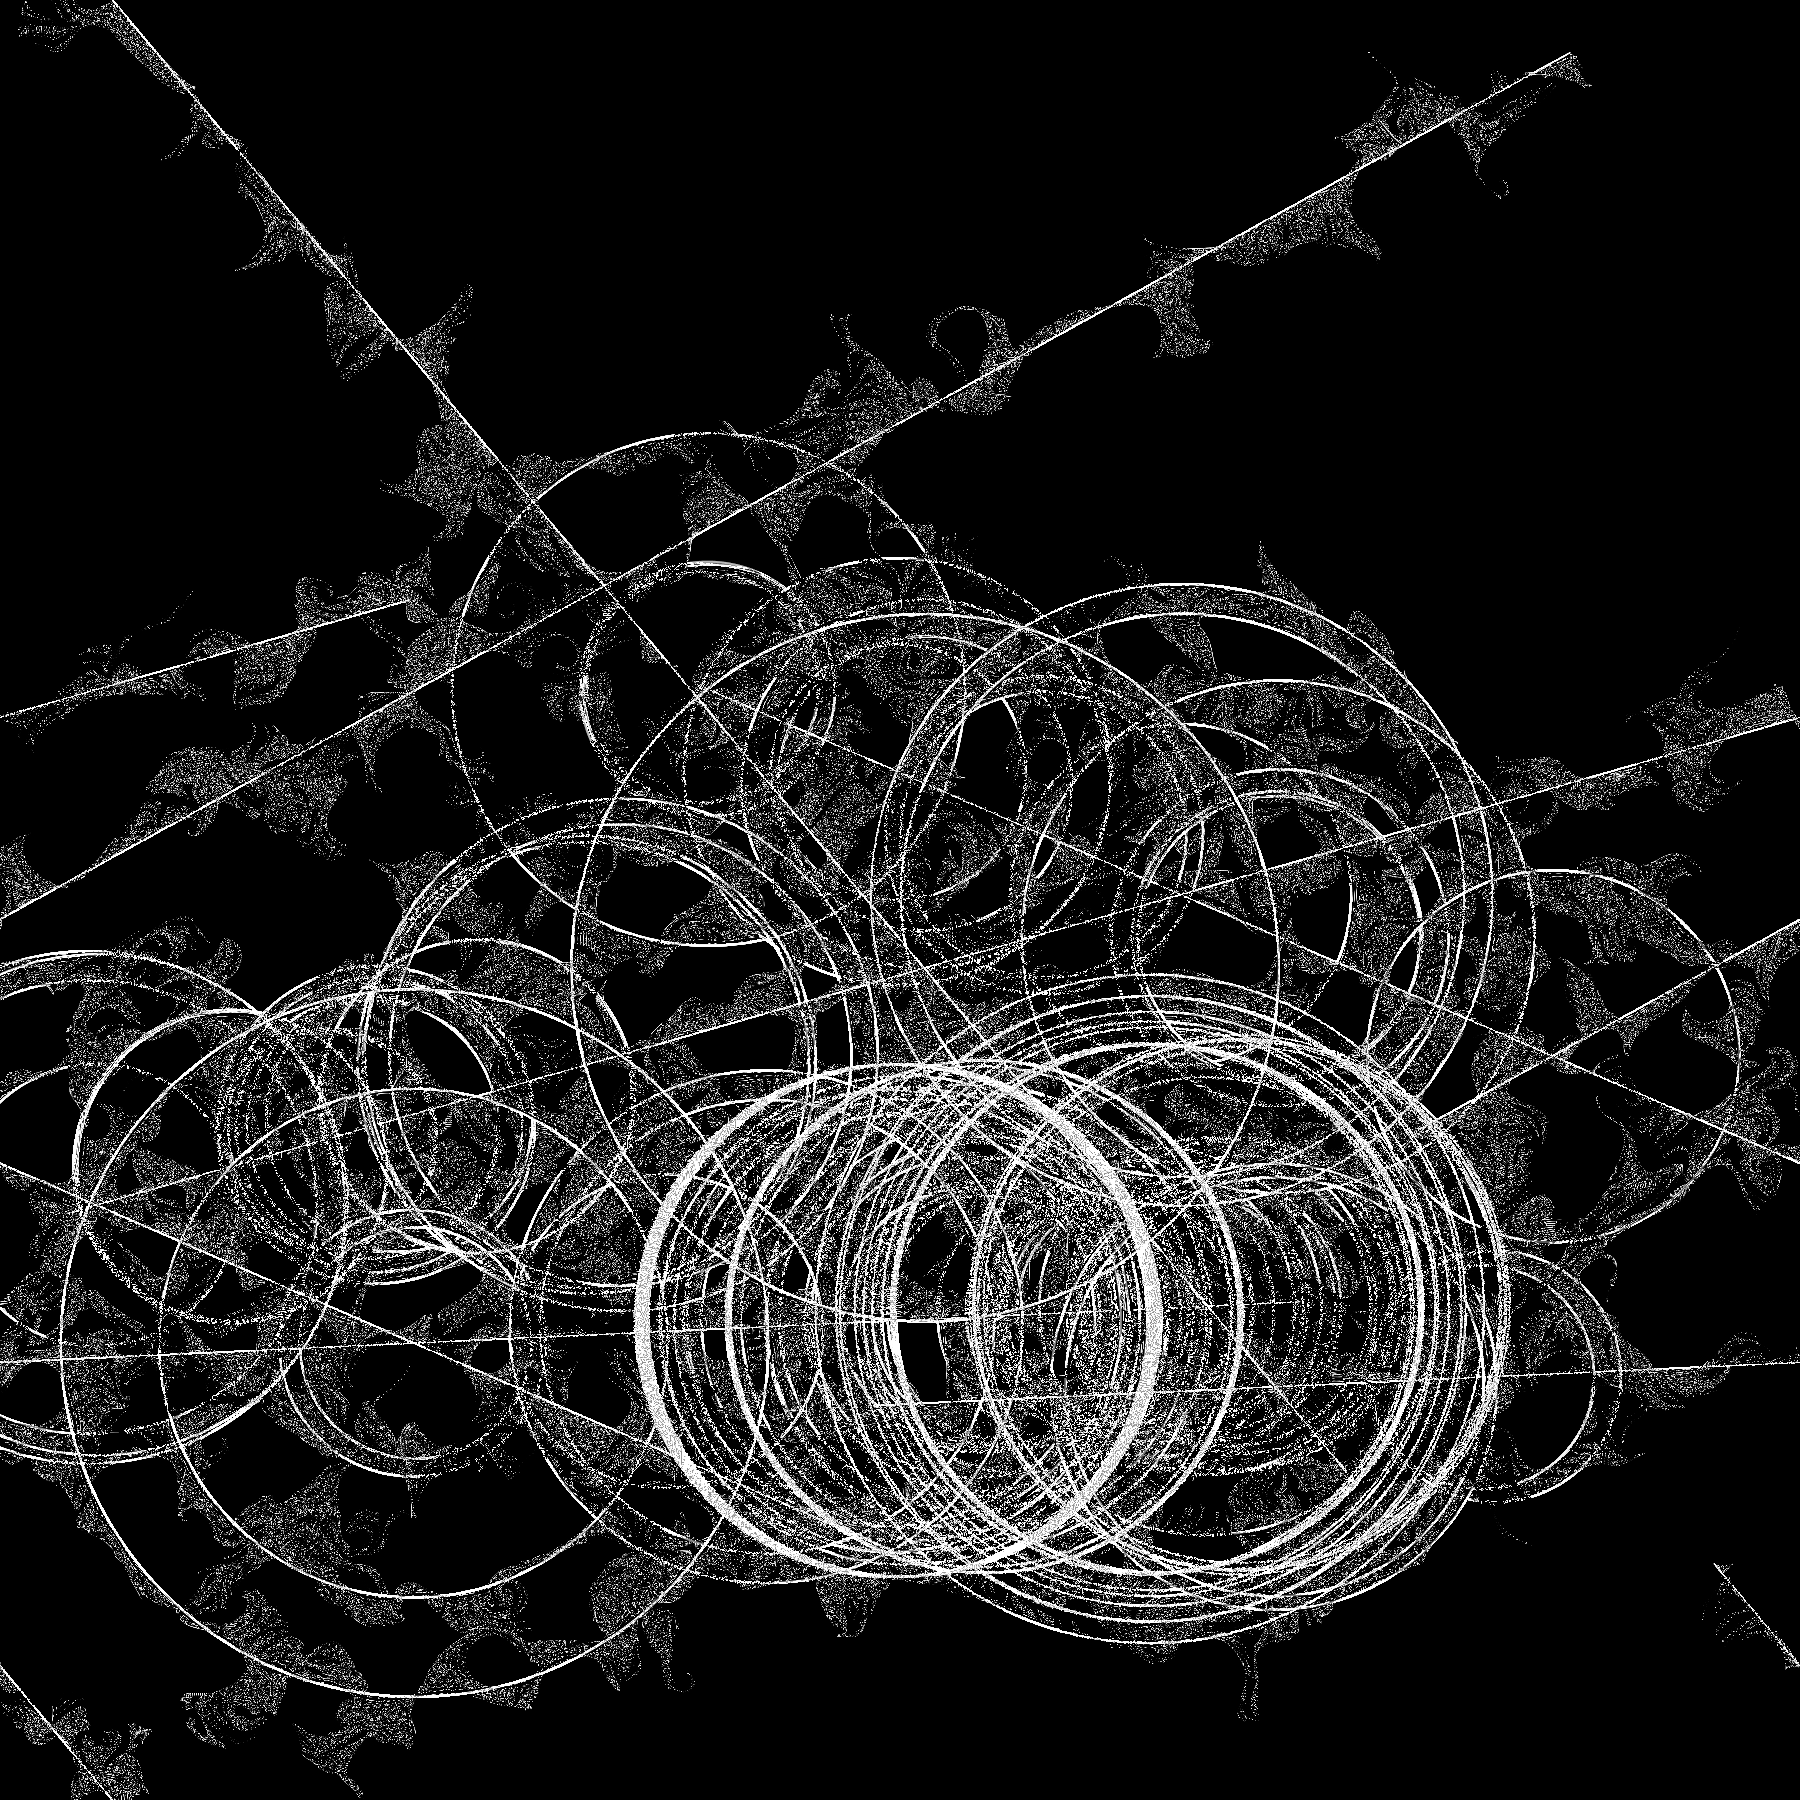
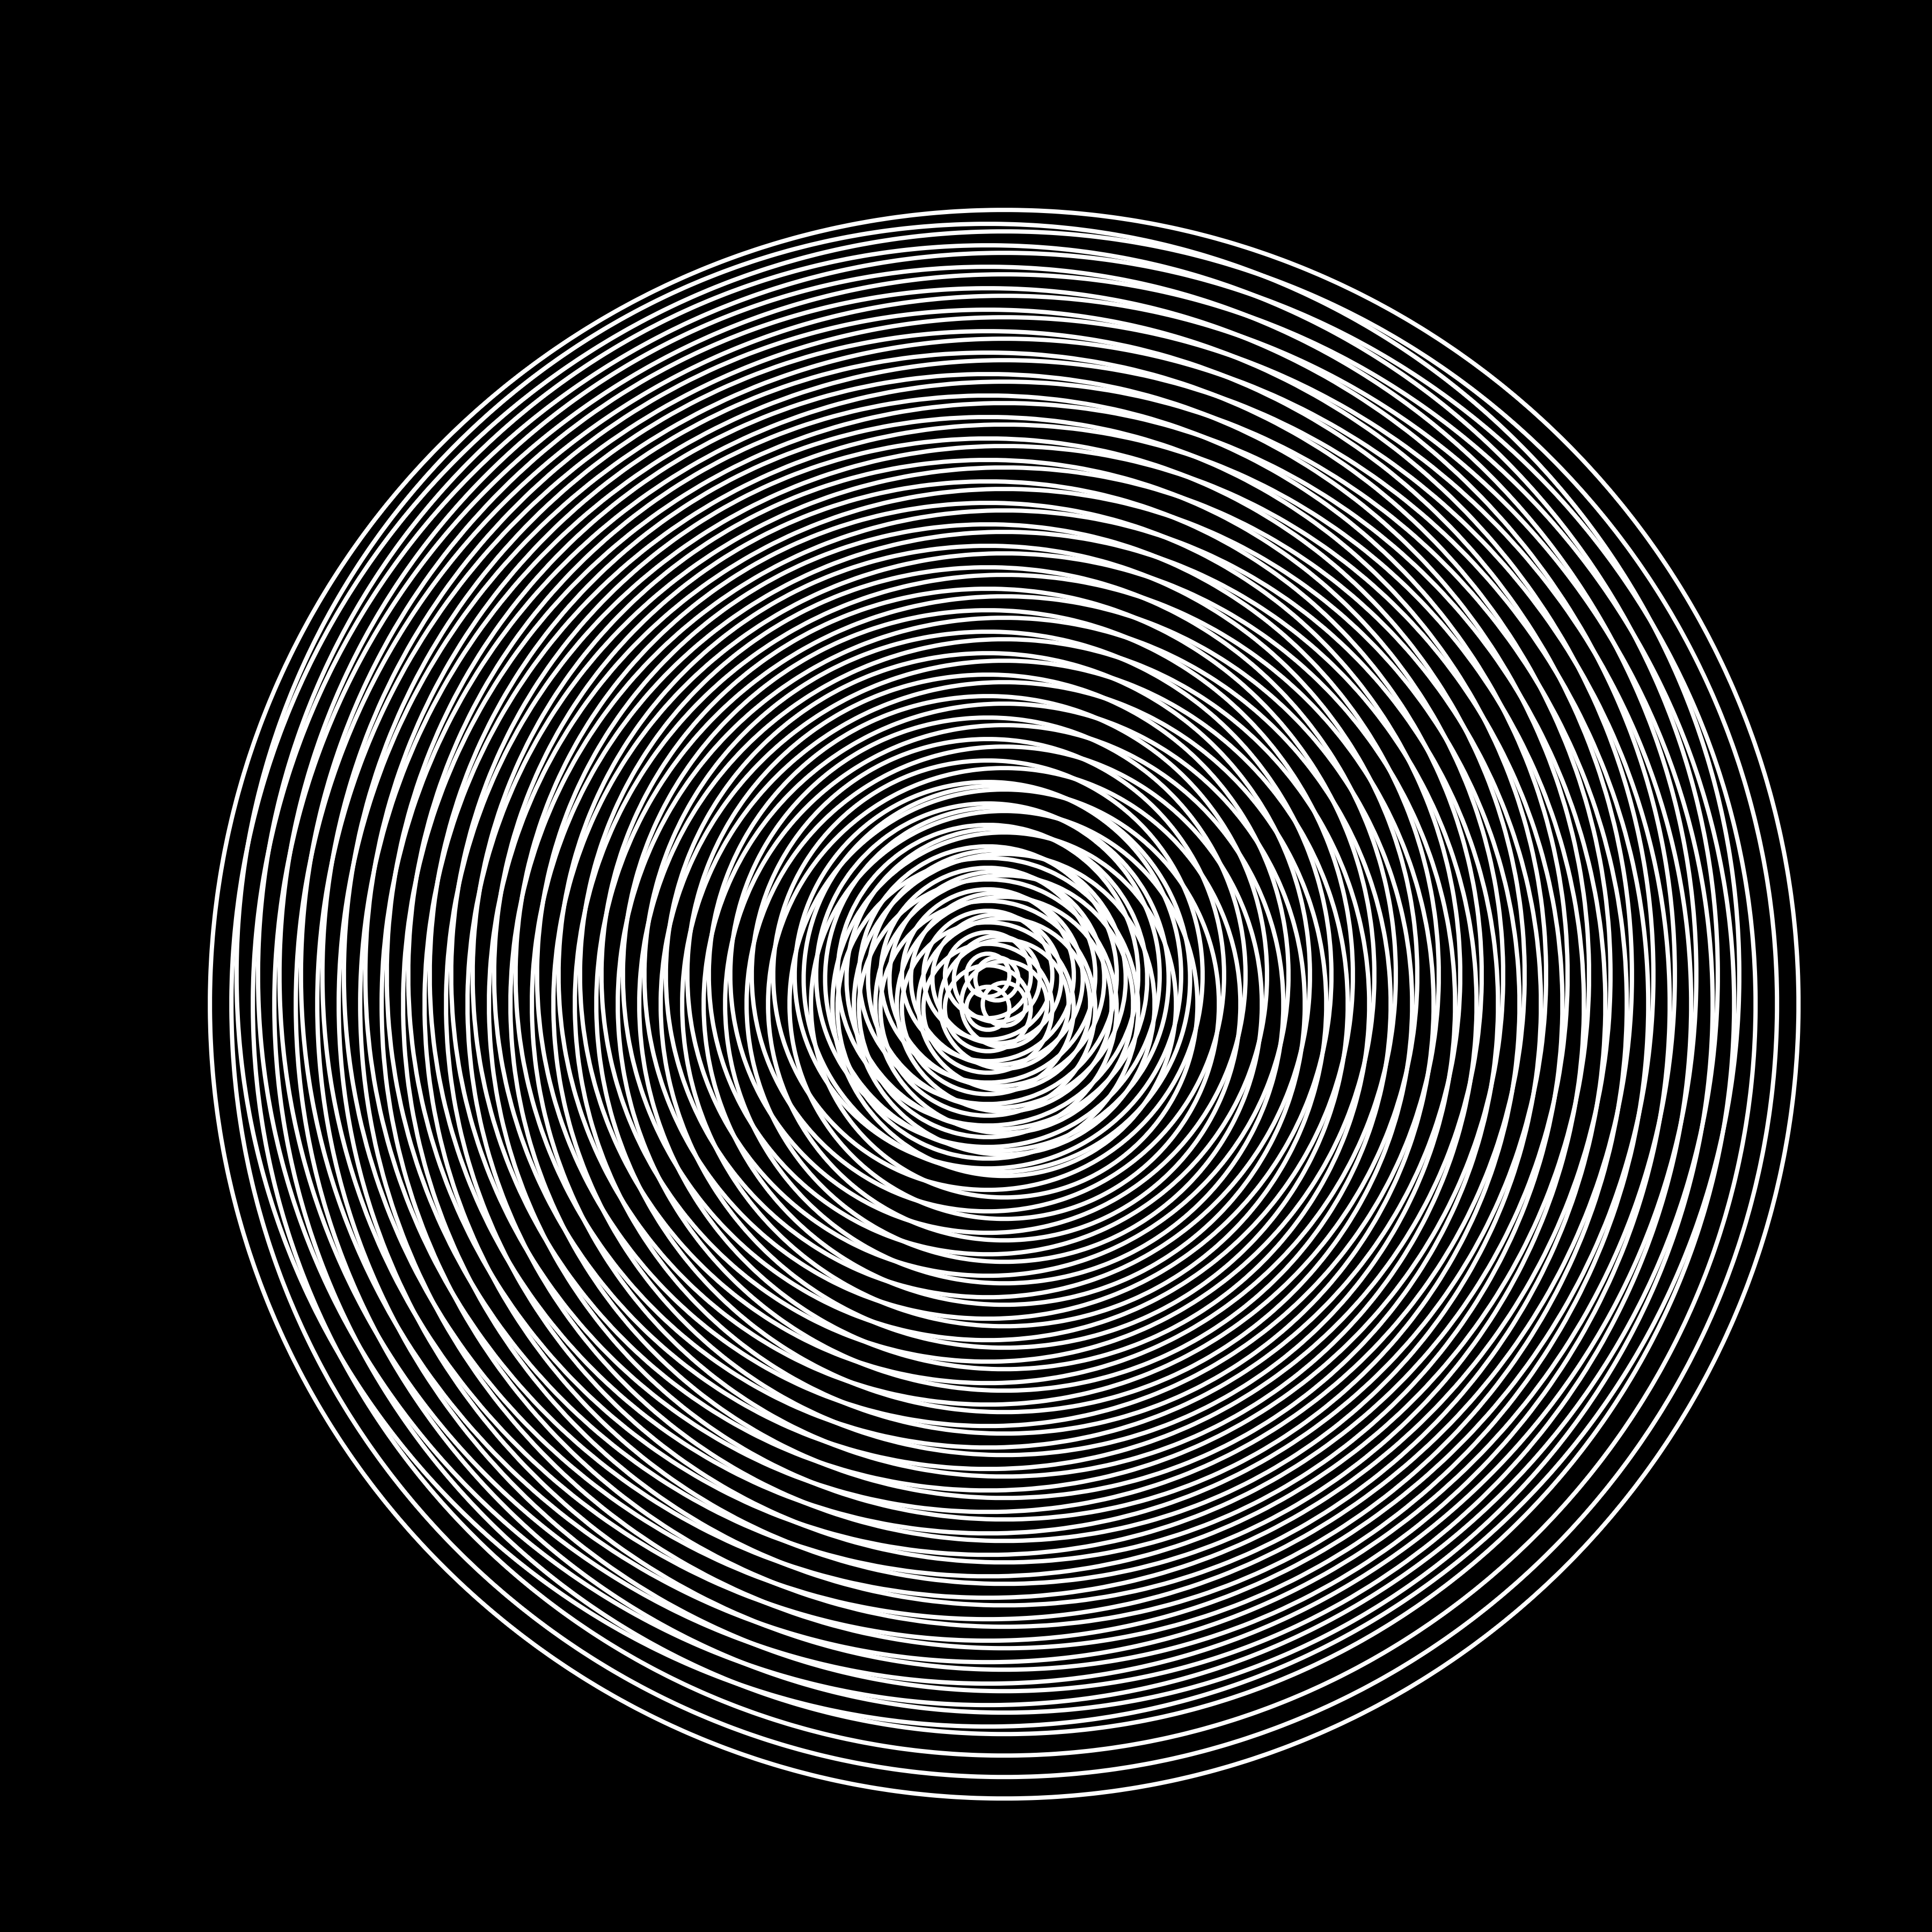
01. Perfect Loop
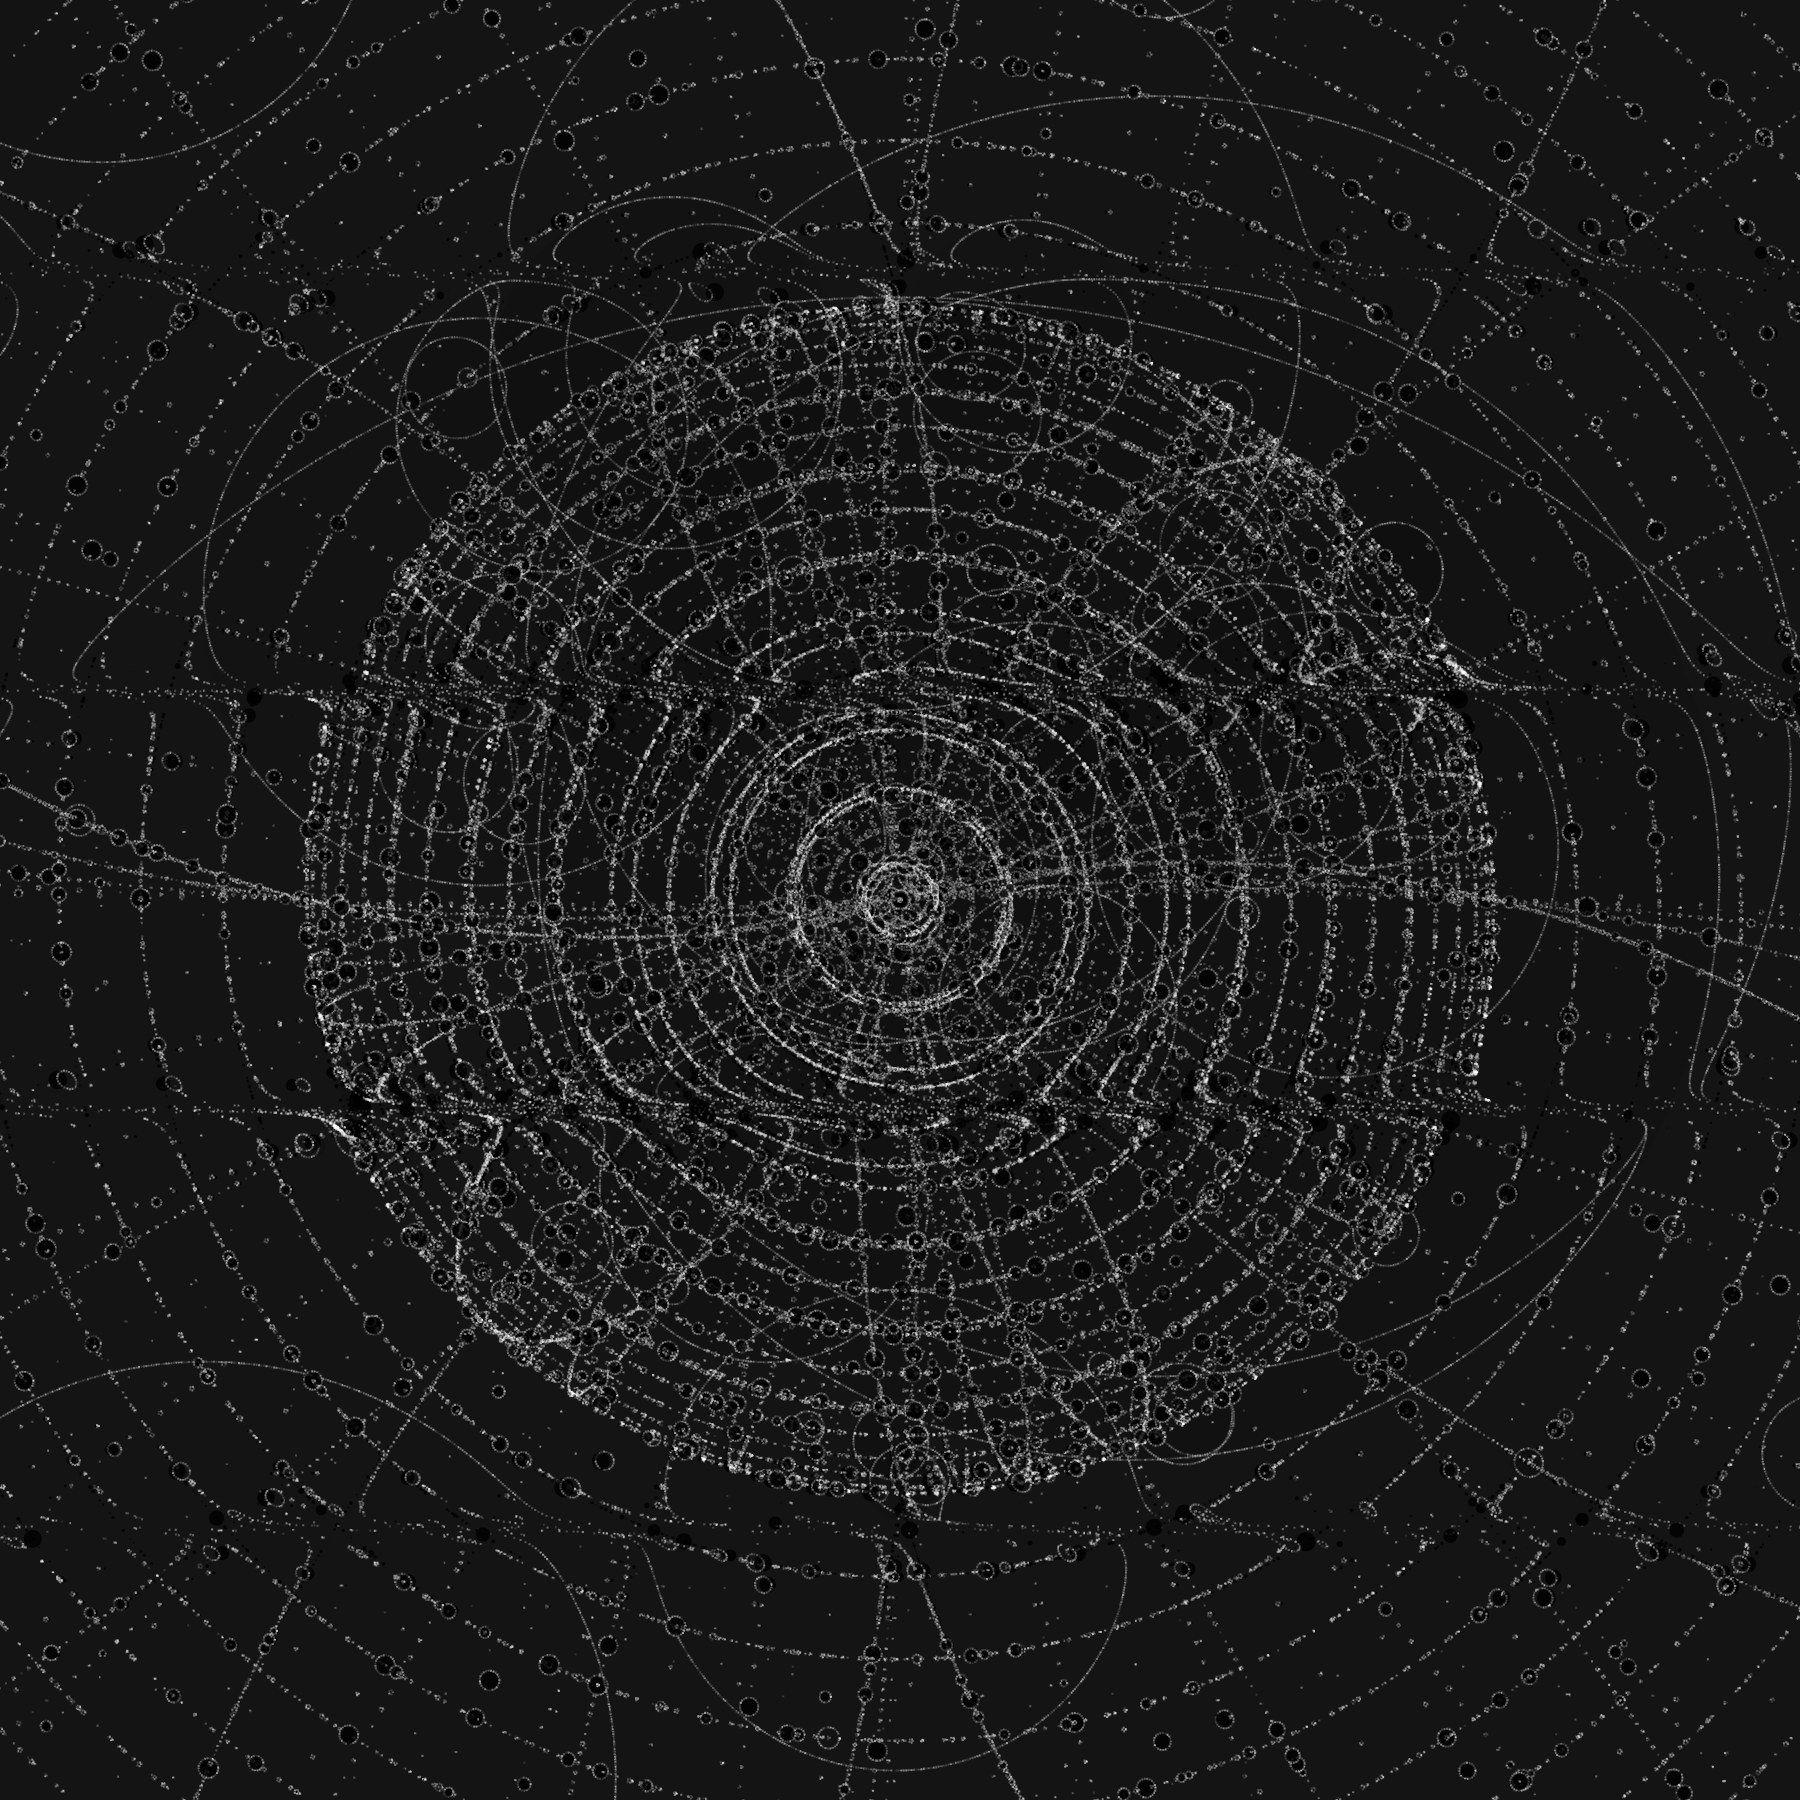
This one draws a series of rings out of smaller circles. The smaller circles are positioned by converting a polar coordinate (radius, angle) to a cartesian coordinate (x, y). We slowly increase angle from 0 to TWO_PI to work our way around the large ring we're drawing. Where this becomes more interesting is that we also vary radius as we work our way around the circle. We do this by feeding angle into a sin function and multiplying radius by that along with a value to control the strength of the variation. We also vary how many cycles of sin we get around the ring by multiplying angle by an integer before feeding it to sin. This integer multiplication ensures we only do whole cycles of sin as we go around the ring which is where the Perfect Loop comes in.
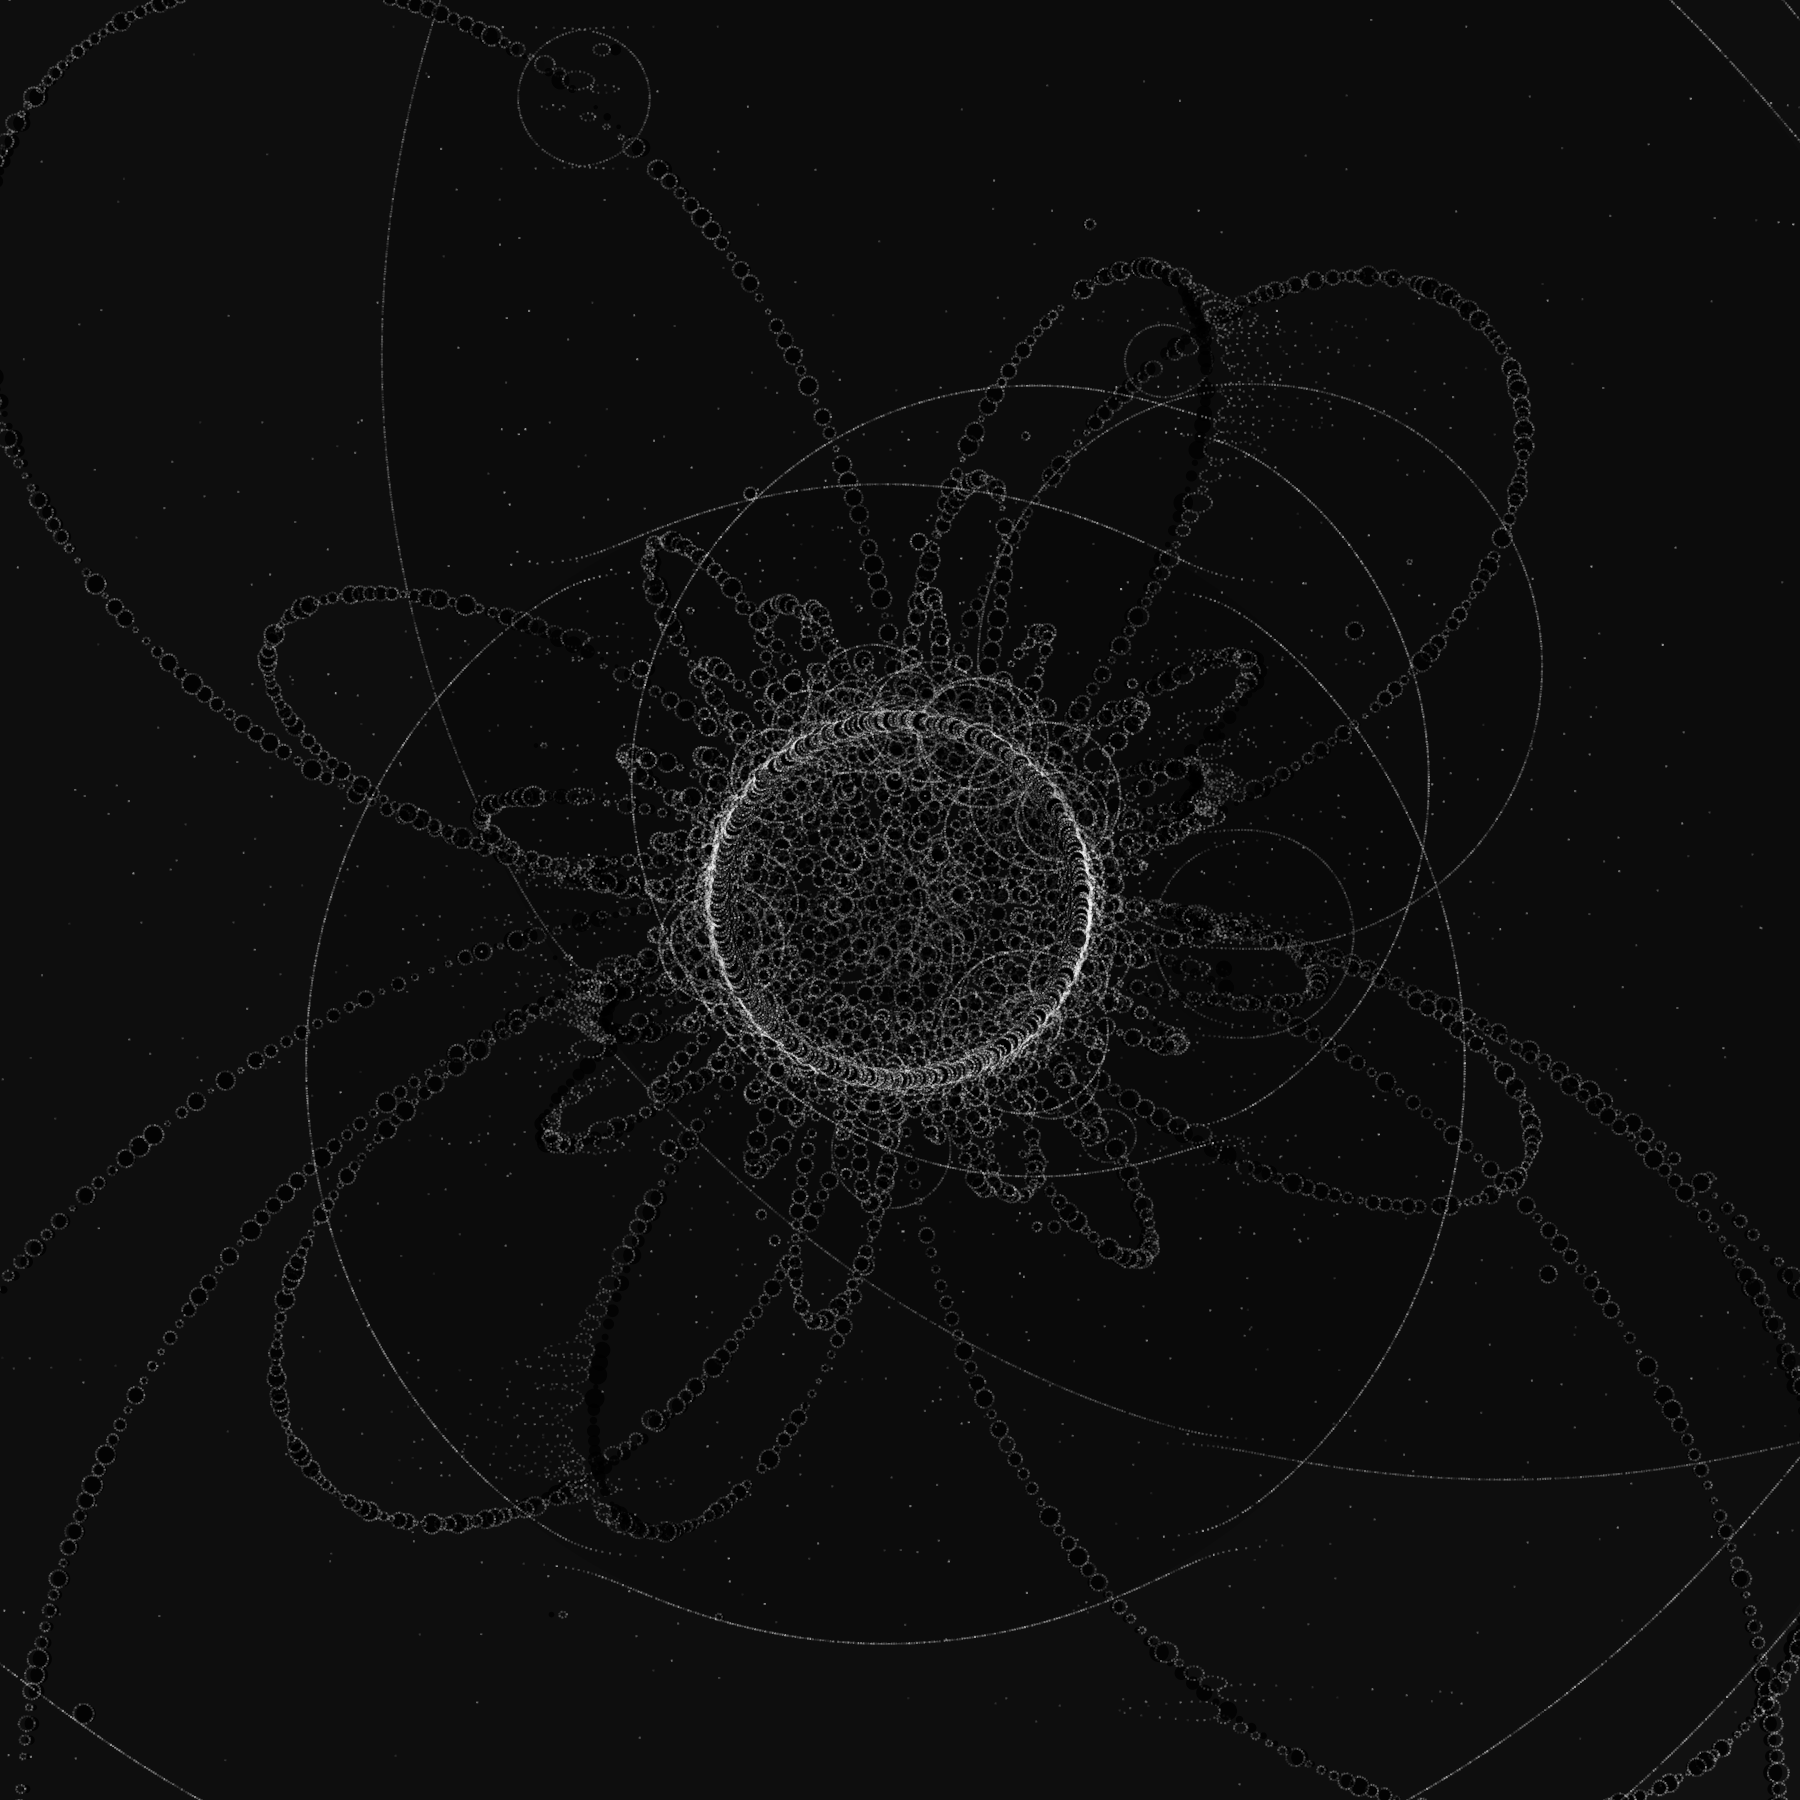
02. Done in 10 Minutes

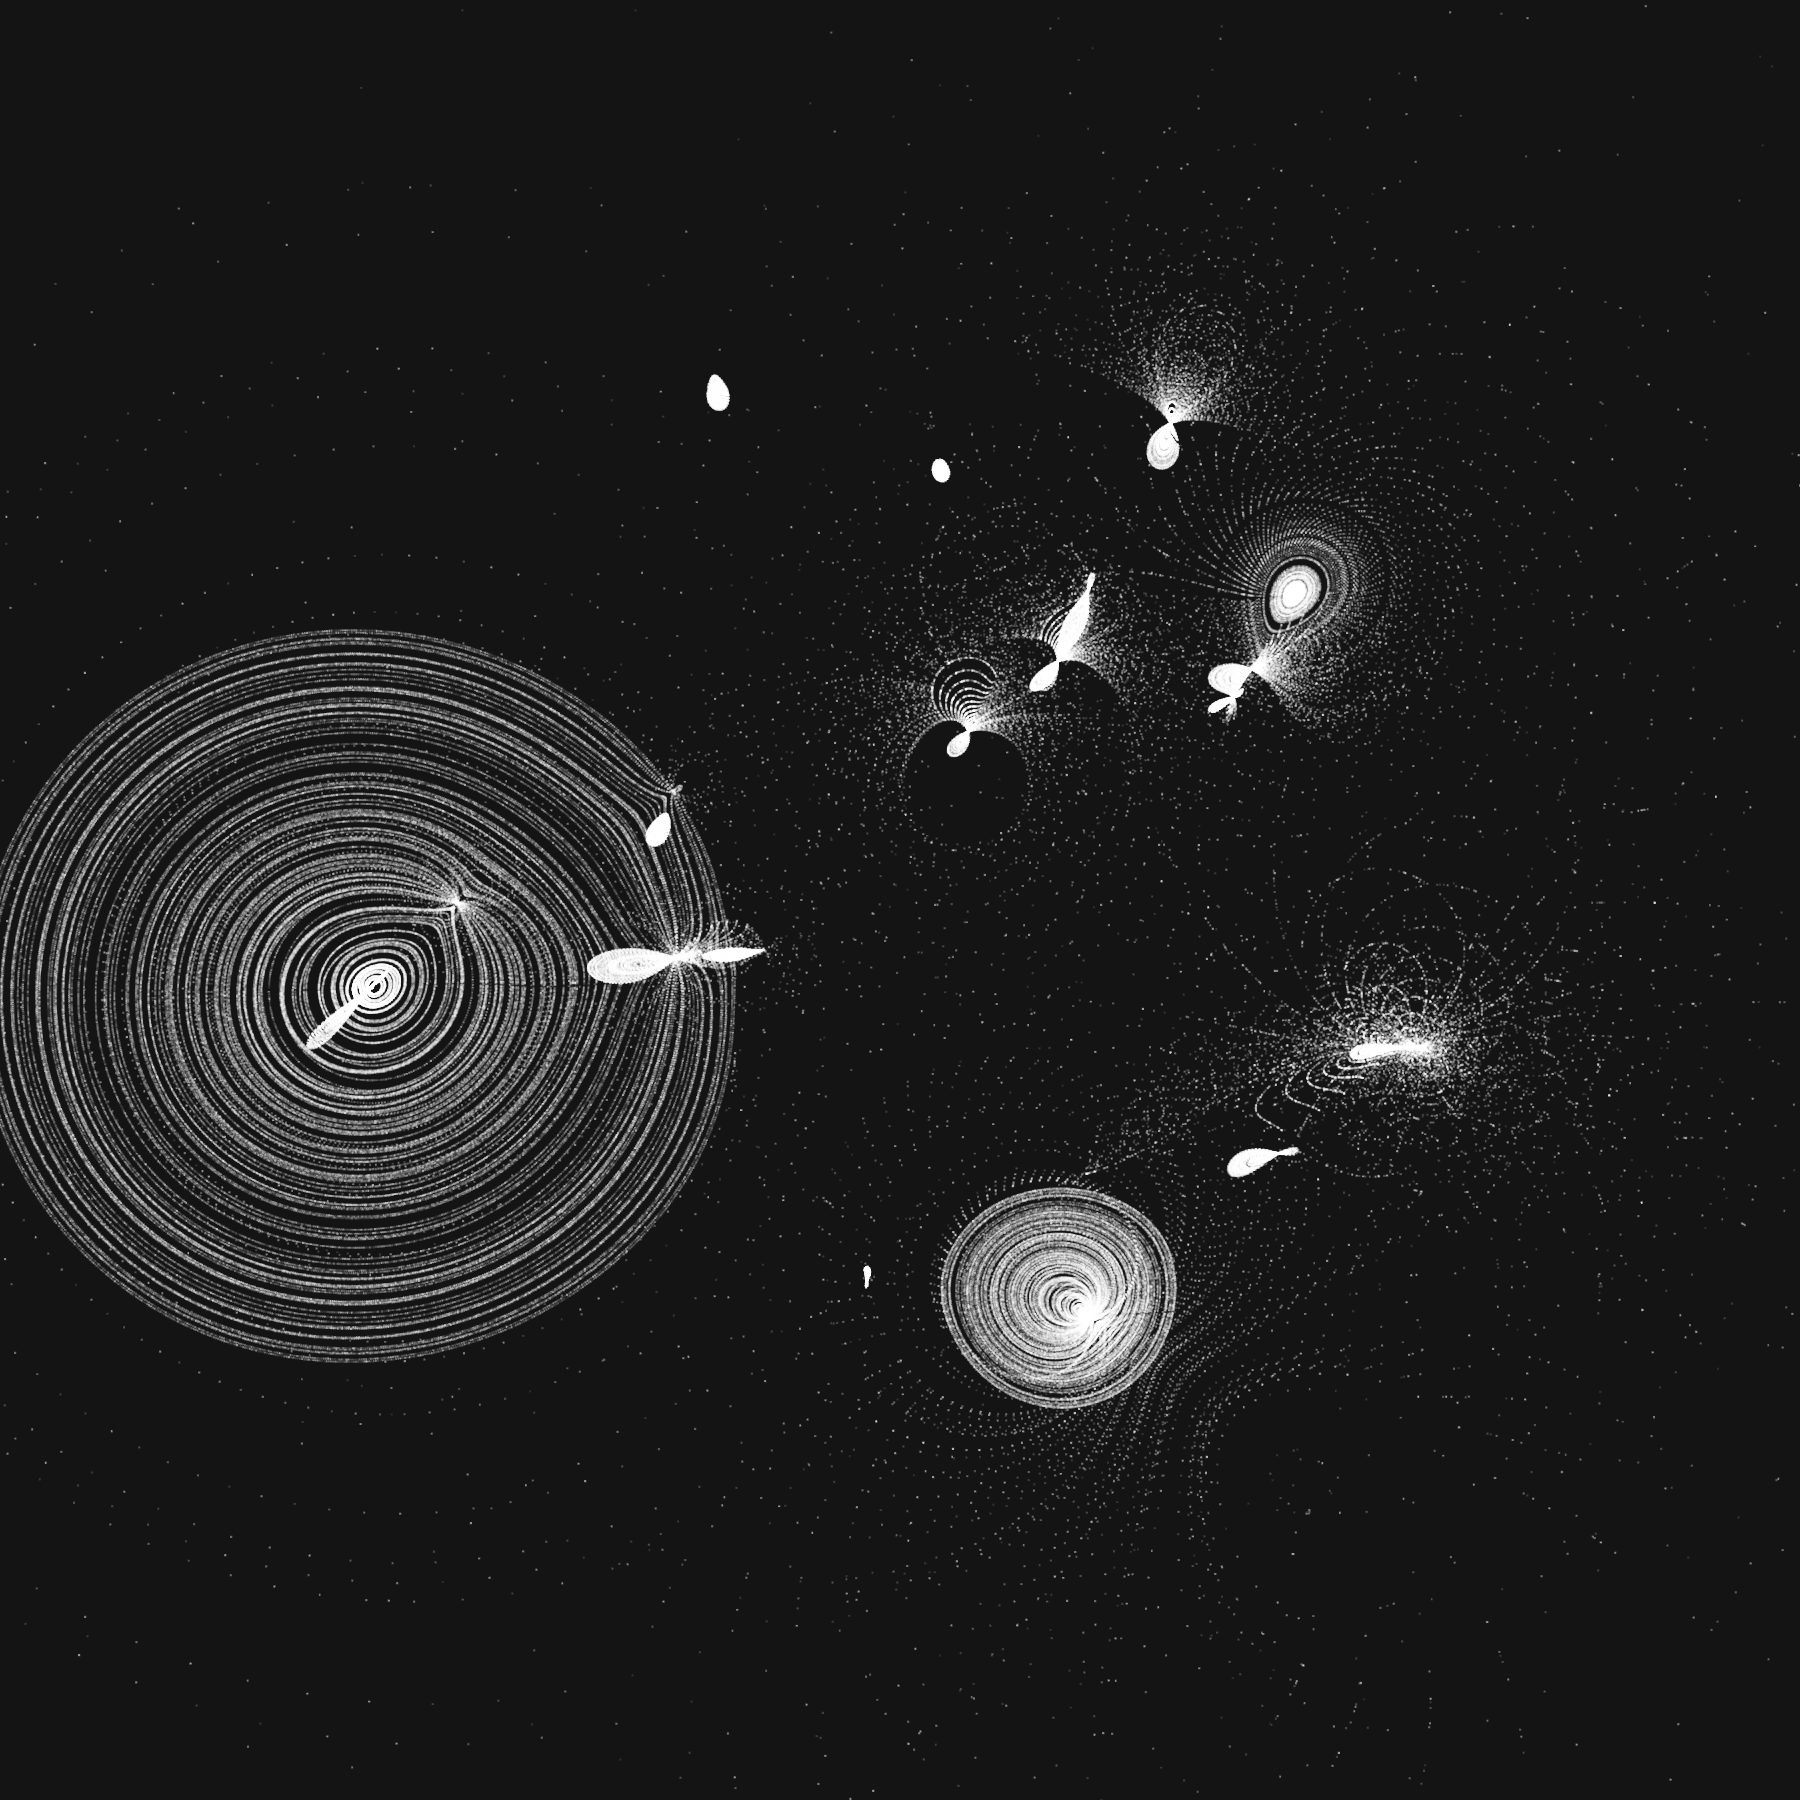
I set a timer for this one and forced myself to stop after 10 minutes. Here we have a random collection of bodies that have a radius and mass assigned to them We then draw rings out of a bunch of points, similar to the previous image. Each ring is drawn with a random radius that's less than the radius of the body it belongs to. We also offset each point we draw along the rings by a gravity value that is calculated from the mass of the other bodies.
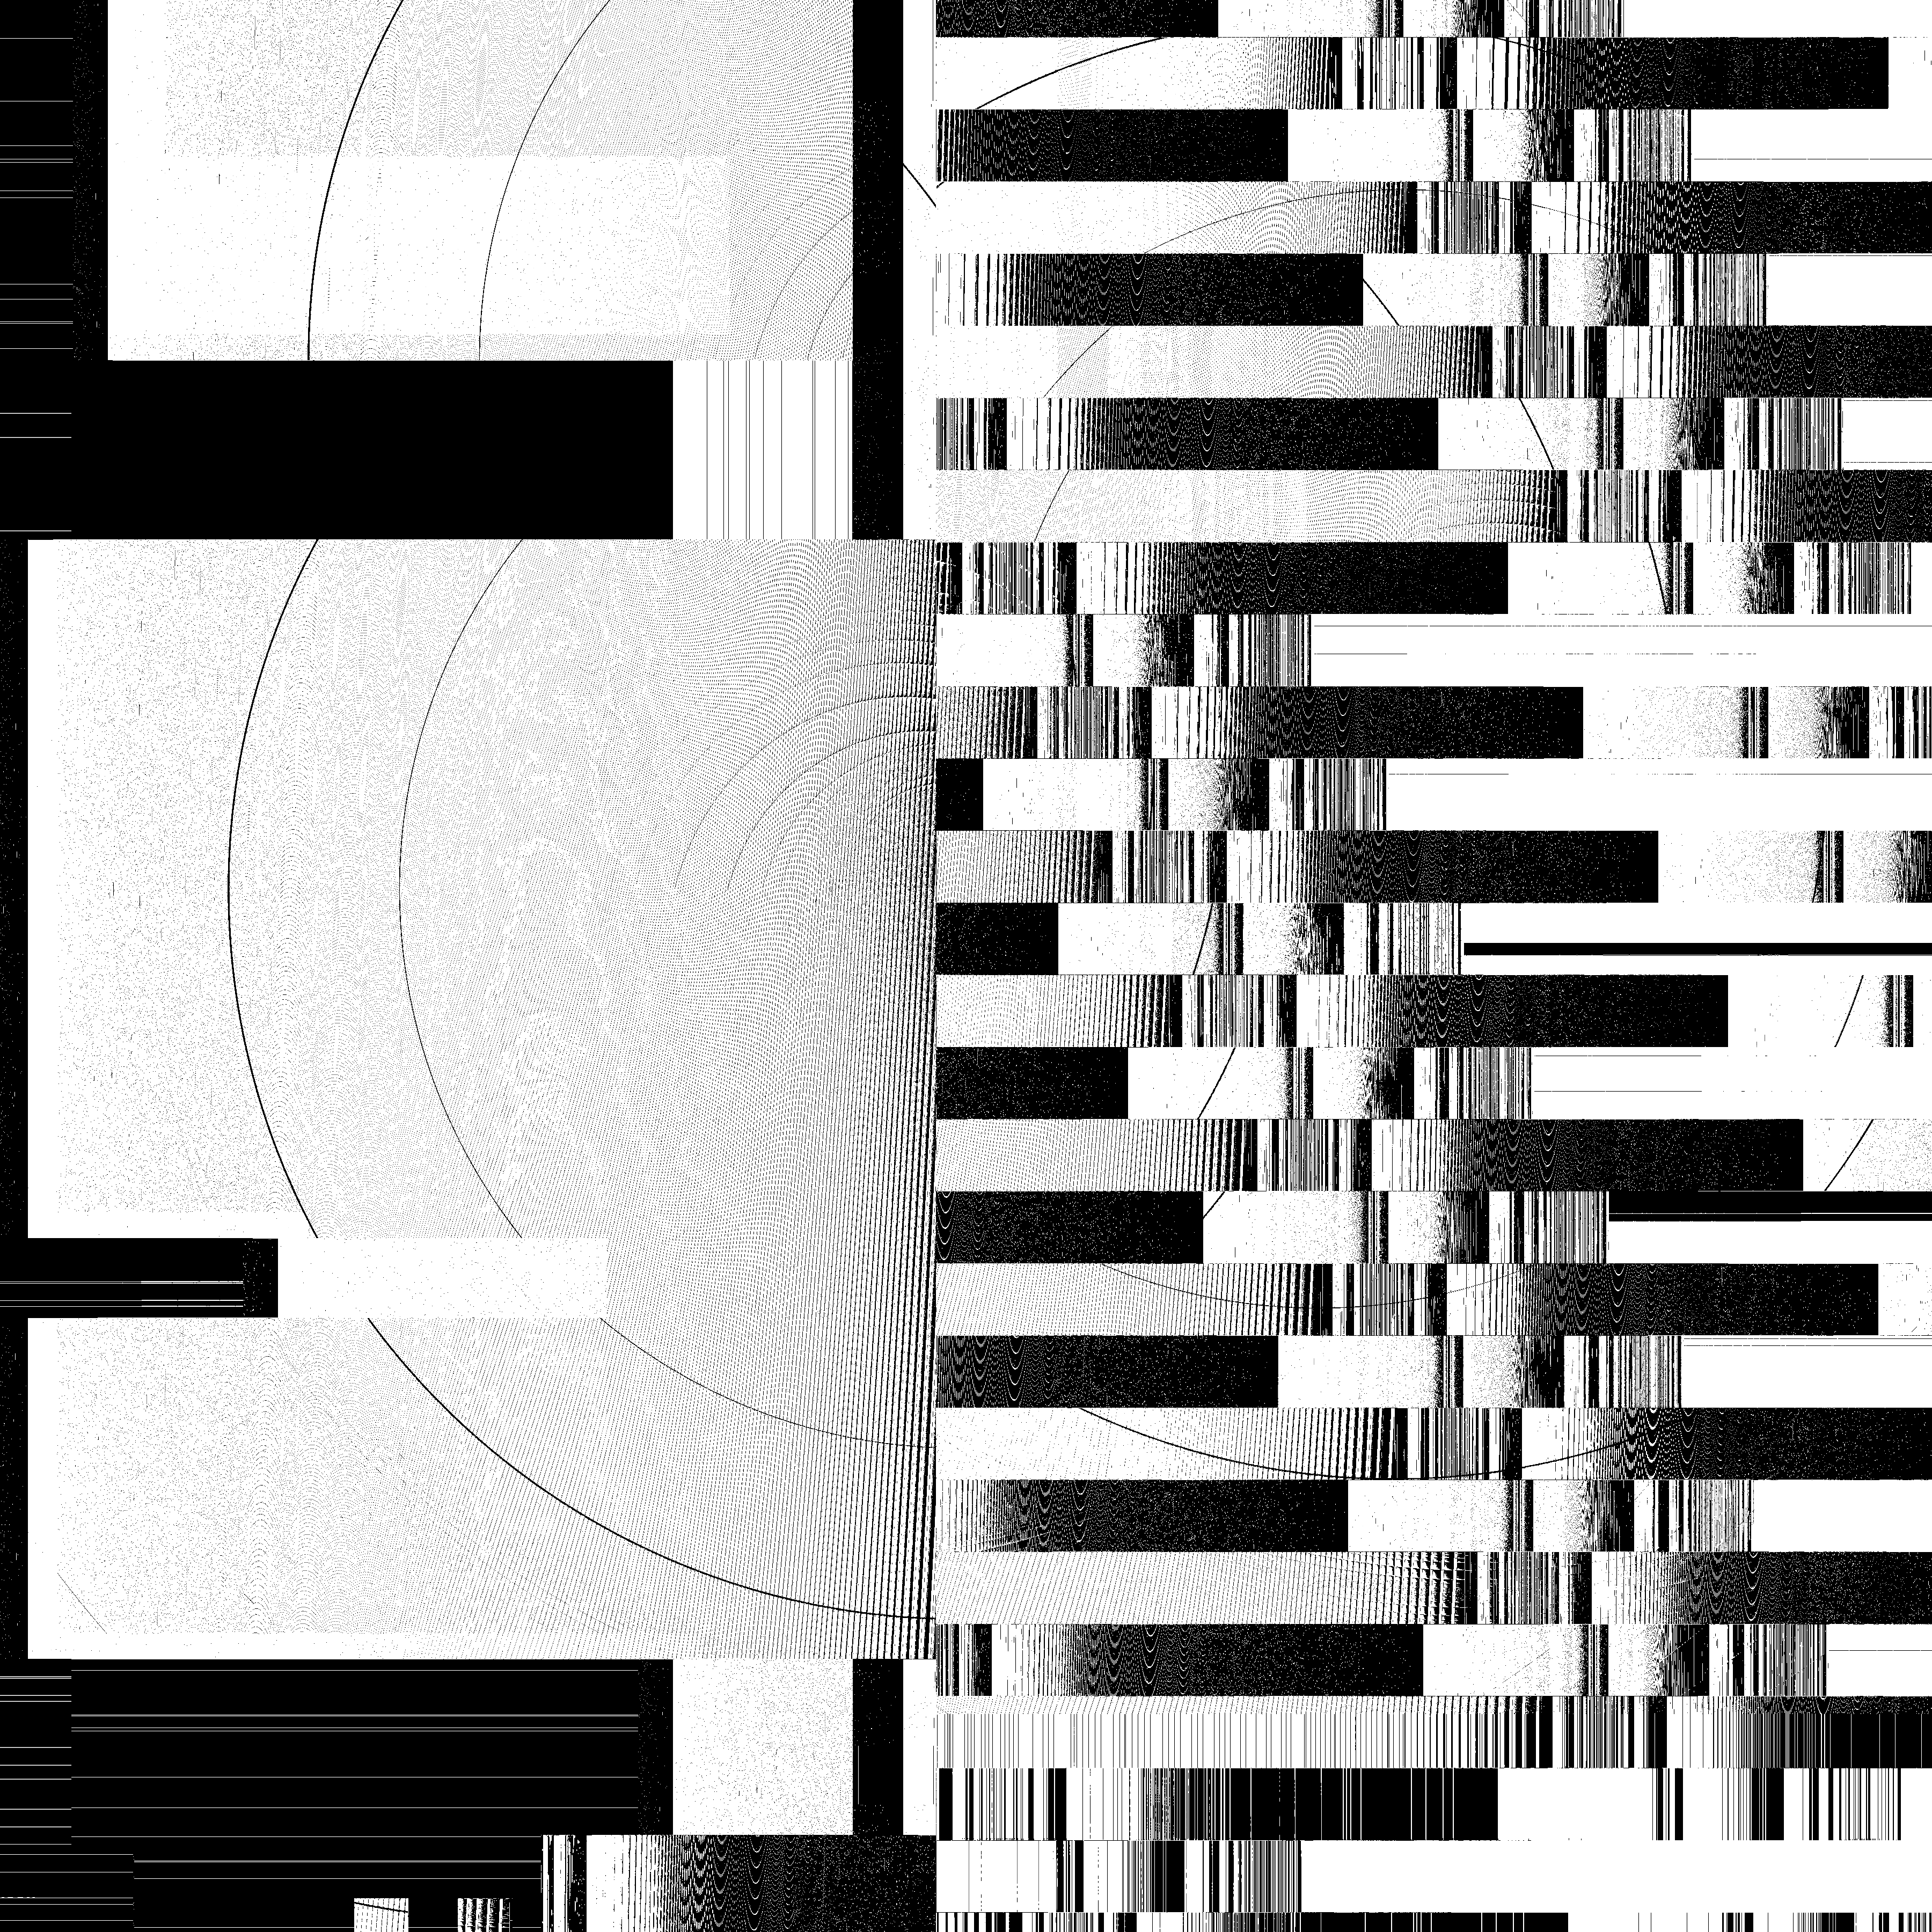
03. Glitch Art
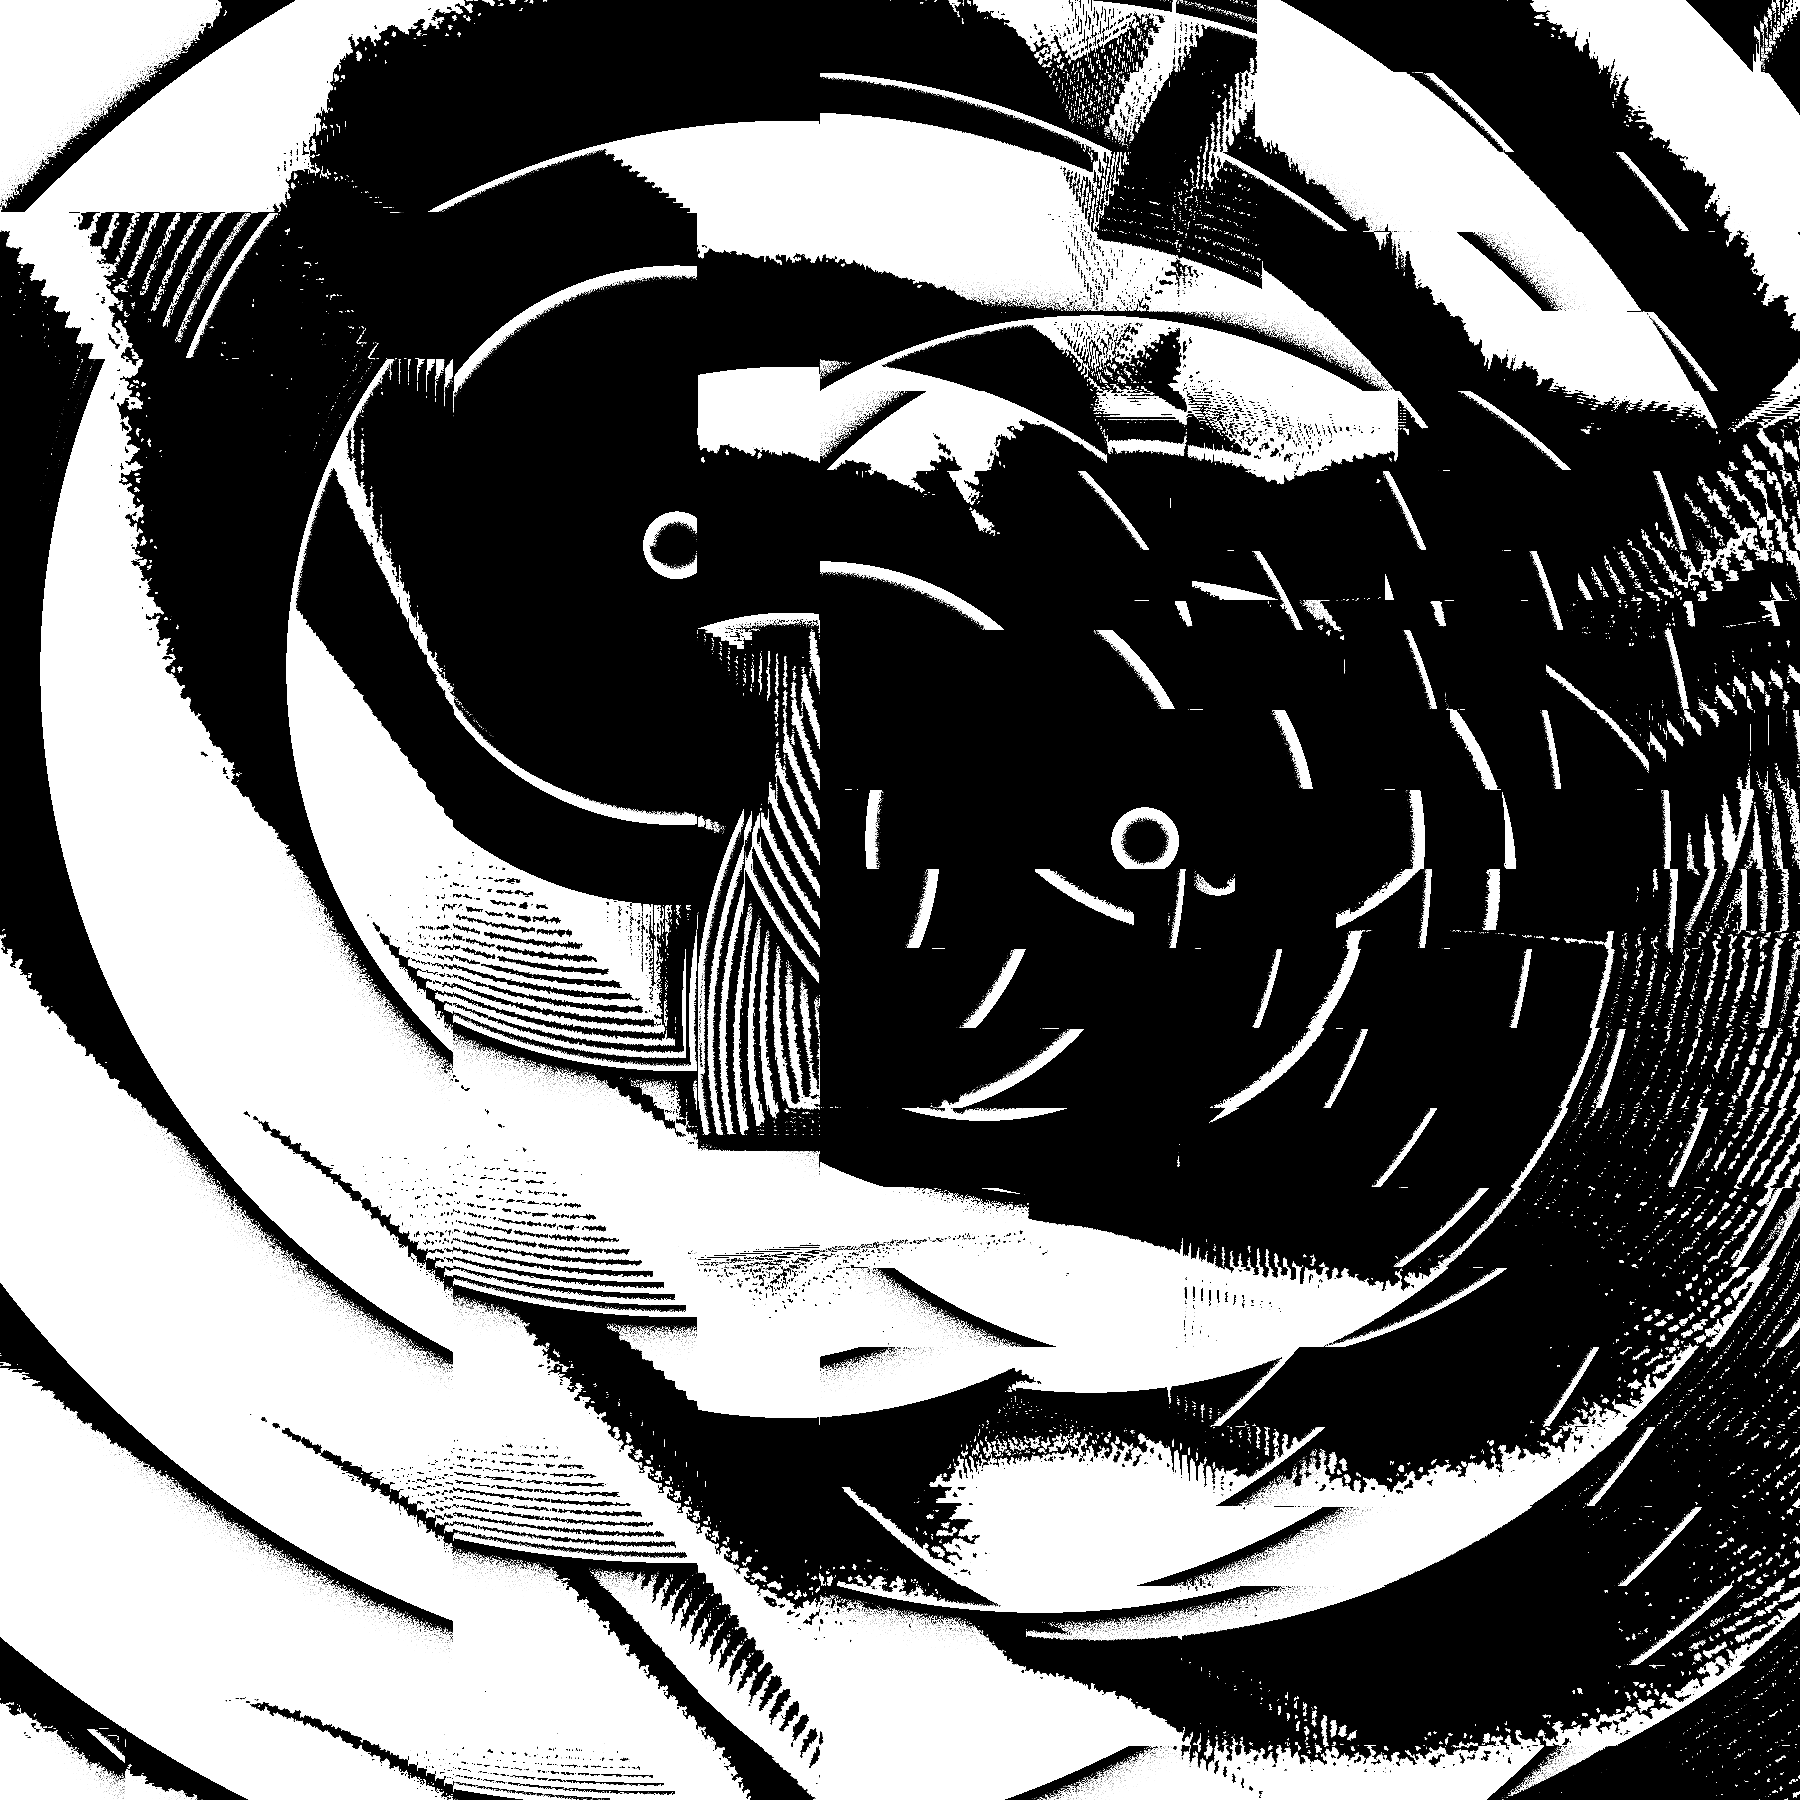

This one is a little more complicated. I started out by drawing some rings with a fragment shader. Then I started to feed the previously rendered frame back into the fragment shader and played around with adding, multiplying, and subtracting it to/from the rings and offsetting its position. I threw a little bit of simplex noise into the mix too. Feedback shaders like this will be a recurring theme :)
Once I had that working it didn't feel glitchy enough still so I used p5js to draw randomly colored rectangles on a hidden graphics context, and fed that into the shader separately. The red and green channels of that random rectangle texture were used to offset the ring drawing and feedback in the x and y directions, respectively. I also set the random rectangle drawing code up so that it could draw a series of rectangles of the same size side by side, with the rectangle color incremented by the same amount for each rectangle in the series, which gave some nice repeated glitches.
04. Intersections
This one has a number of agents that have a direction assigned to them. Each agent moves around the image in a straight line and draws white points in its wake. Every time they move, they check to see if they're on top of a white pixel or a black pixel. If they're on top of a white pixel they will draw a circle of a random radius. There's also a feedback shader to add a little more interesting texture.
05. Debug View
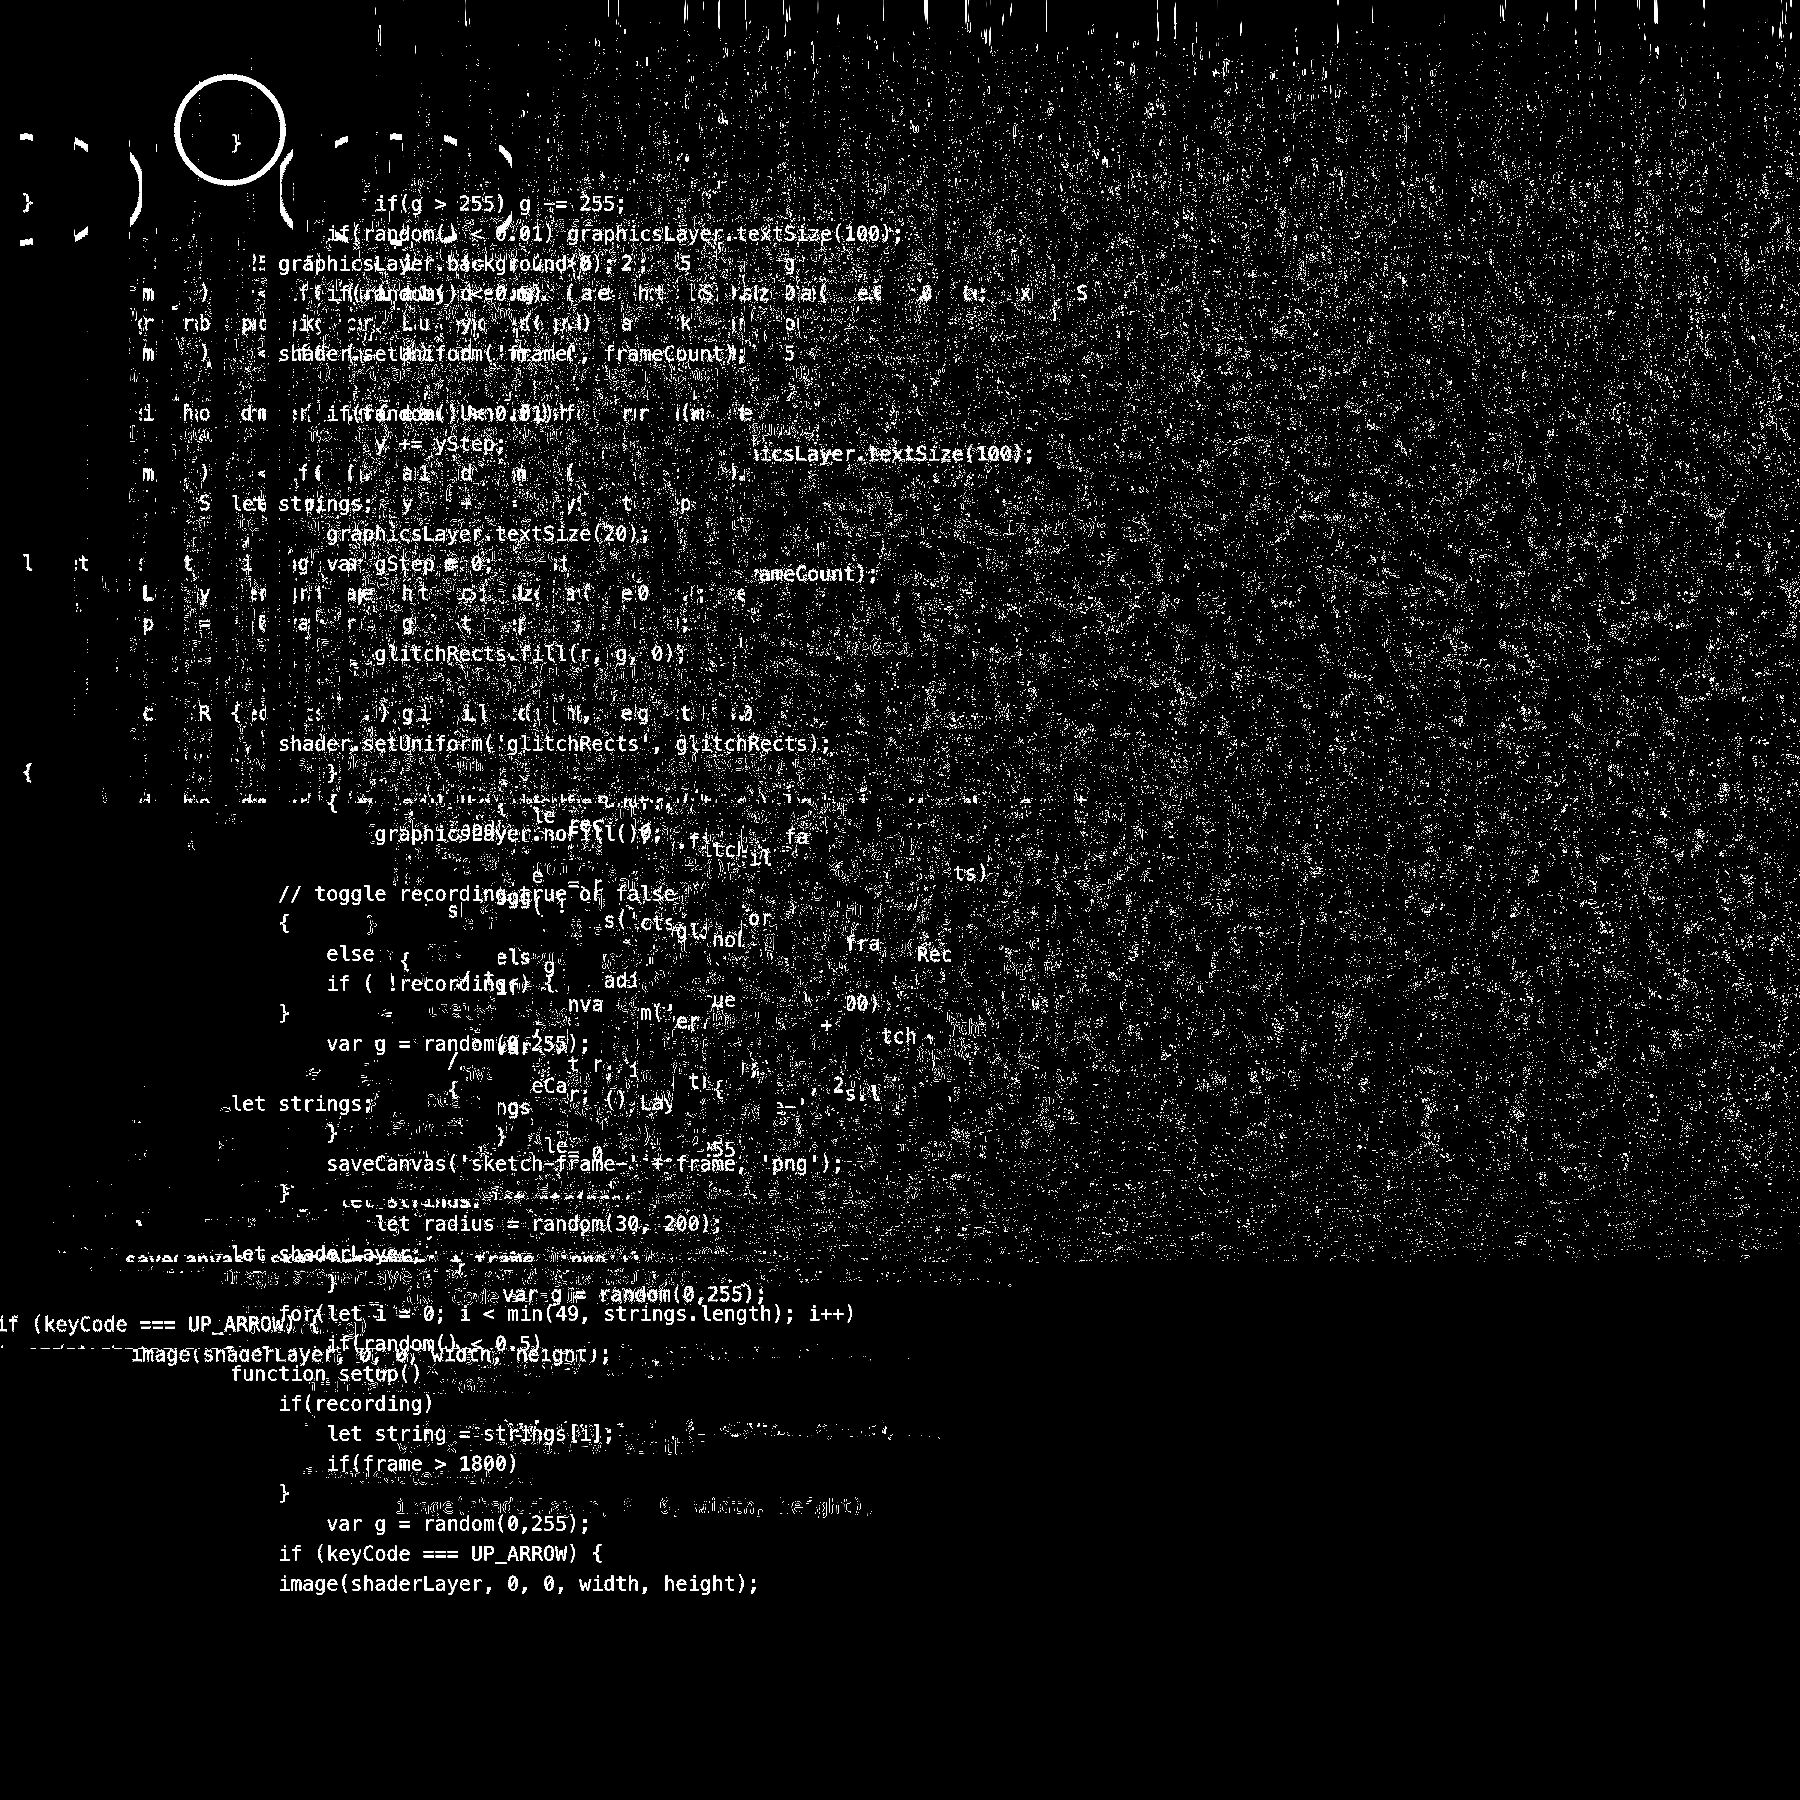
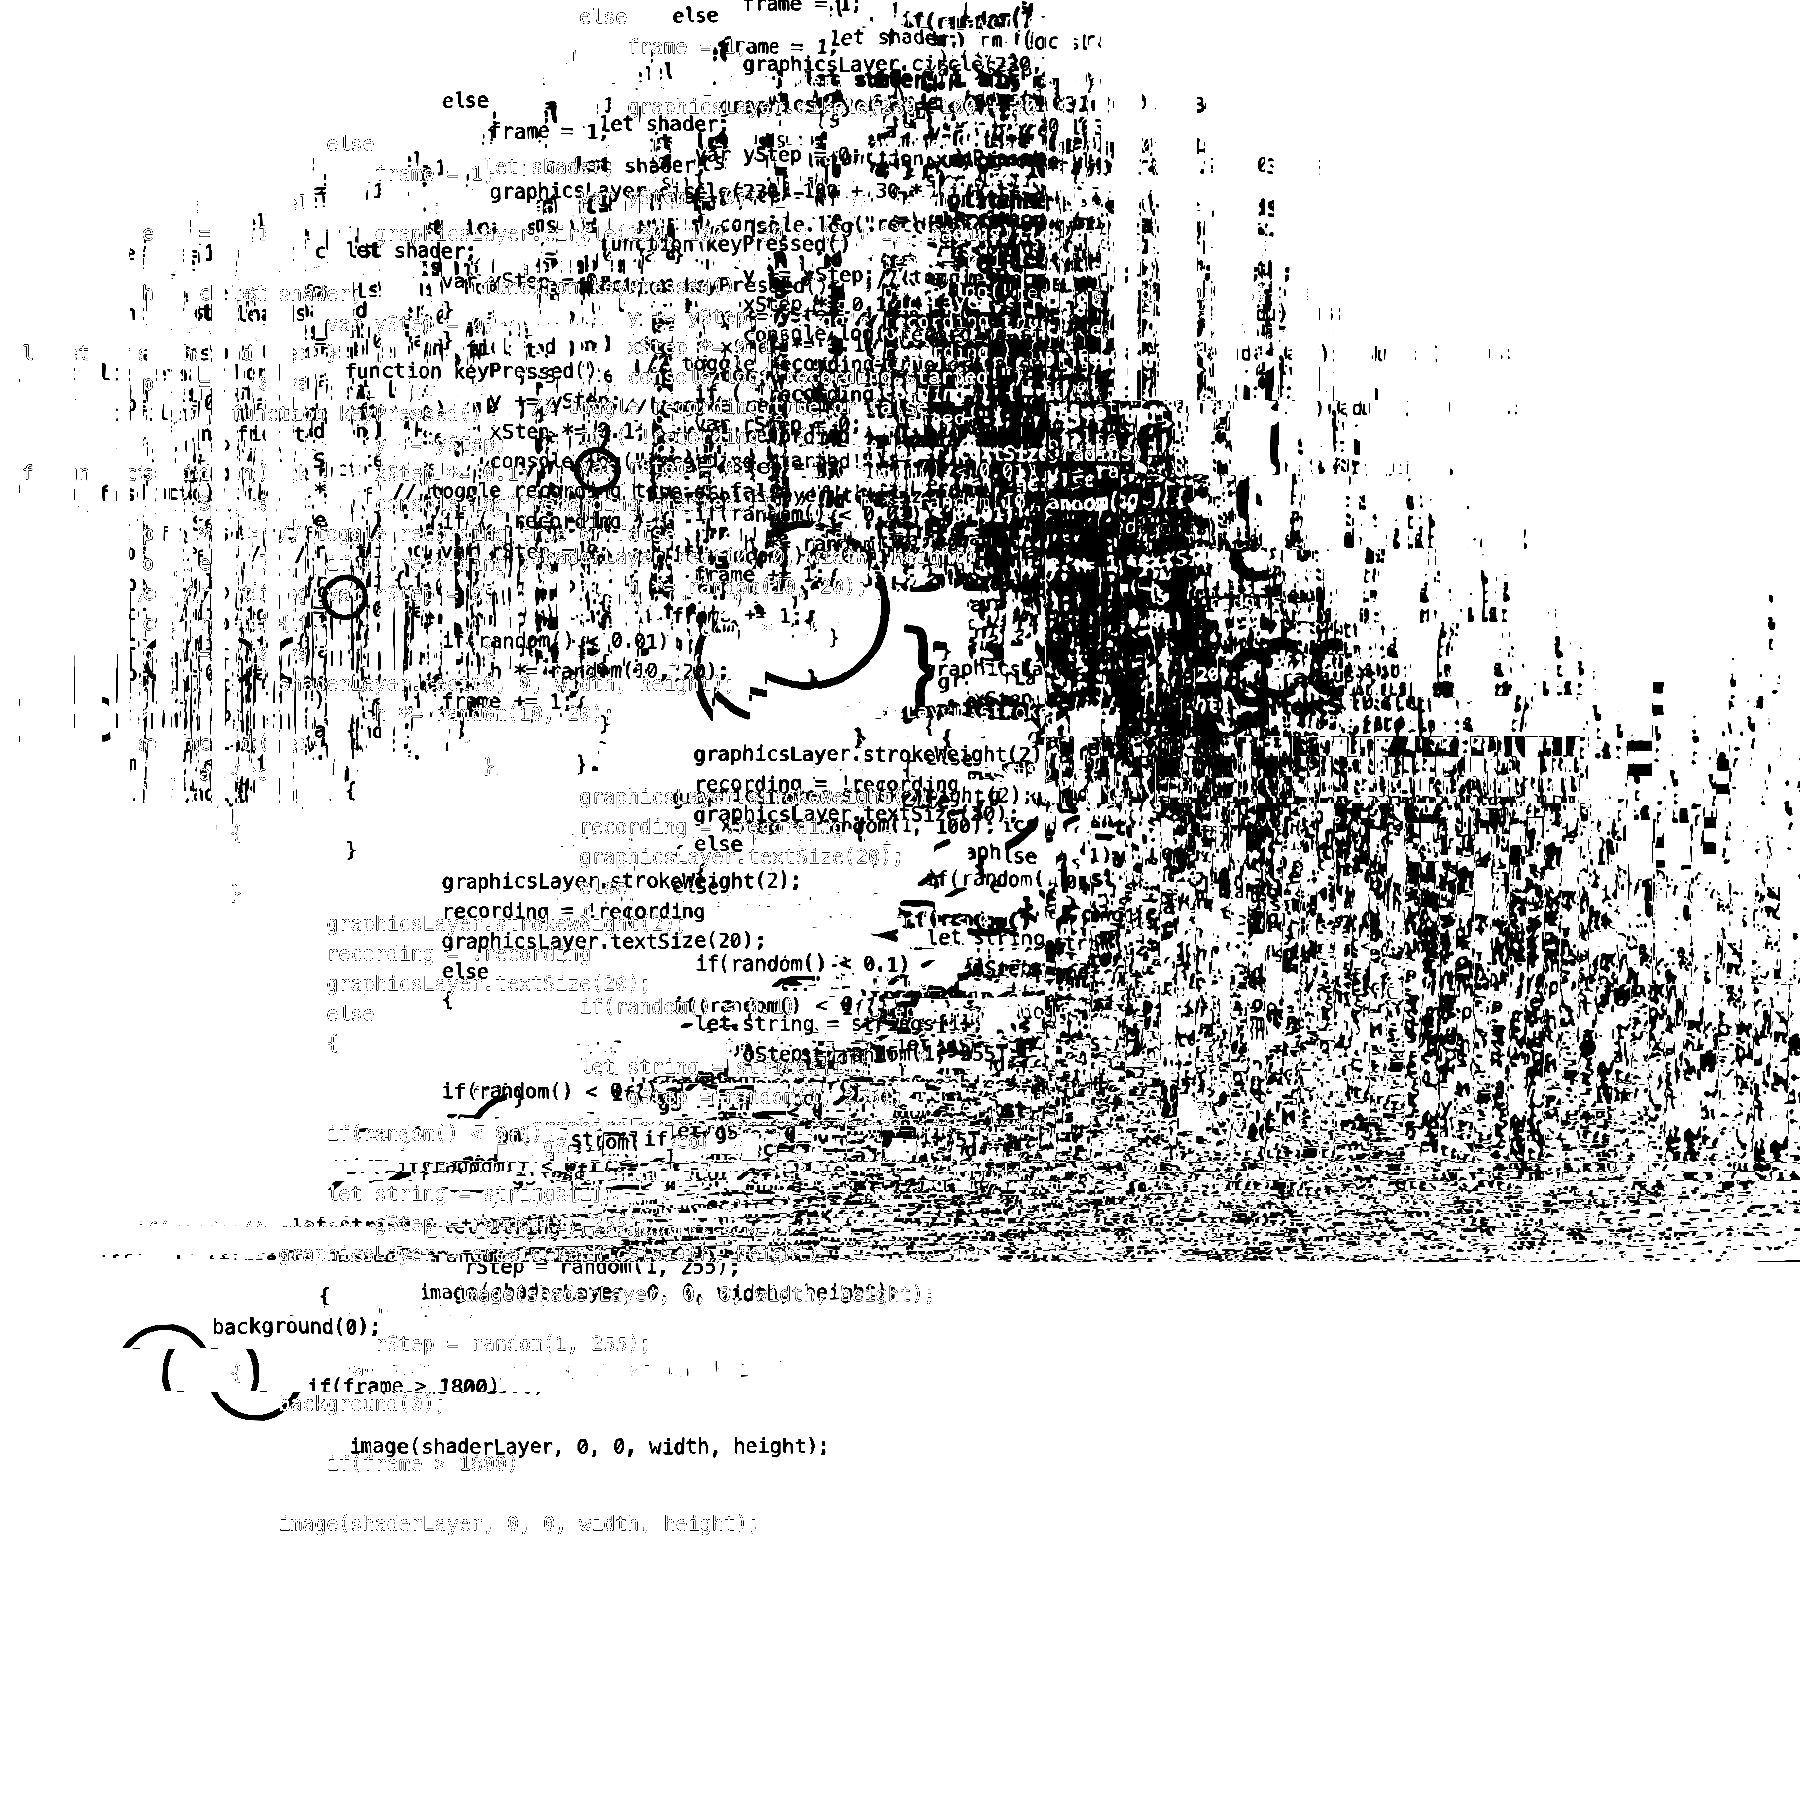

This one reads its own source code, and then draws that code to the screen. A feedback shader glitches everything out similar to 03. Glitch Art. Every frame there's a chance that two lines of the file are swapped with each other. We also occasionally draw a circle and occasionally draw the text for a given line way larger than usual.
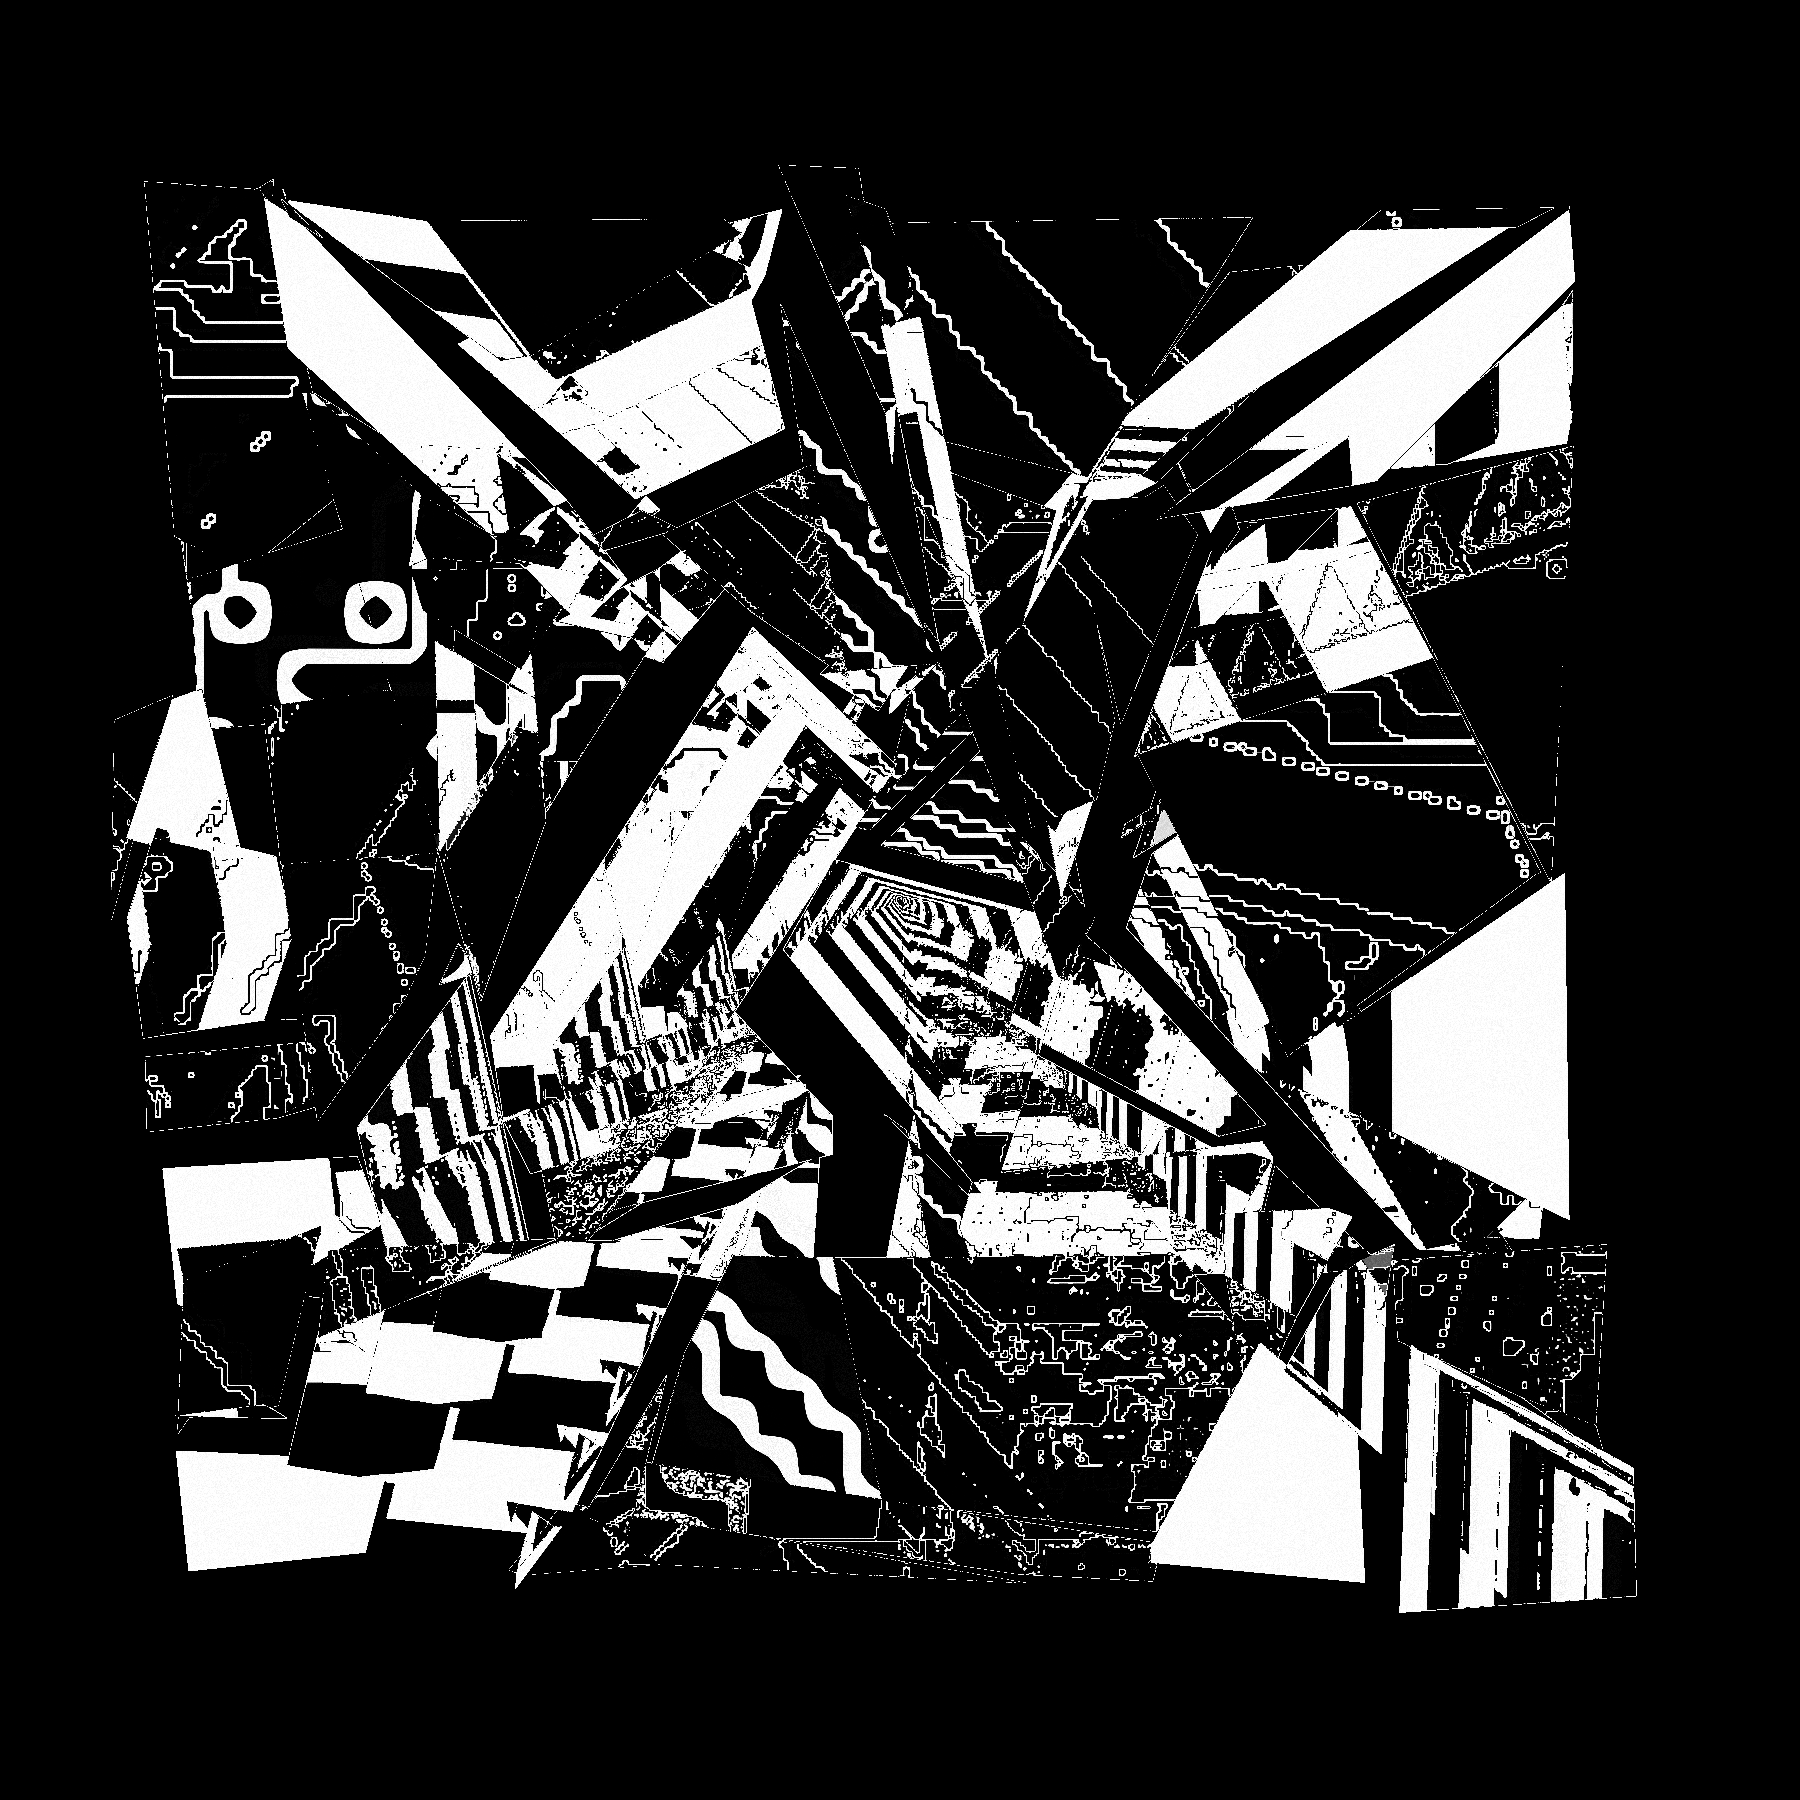
06. Steal Like an Artist
This one pulls random pieces of images in an input directory and draws them. It's also using a feedback shader and some of the random rectangle stuff from 03. Glitch Art. I fed this one a bunch of images I'd generated with my other project Eva so I'm stealing from myself here haha.
07. Sample a color palette from your favorite movie/album cover
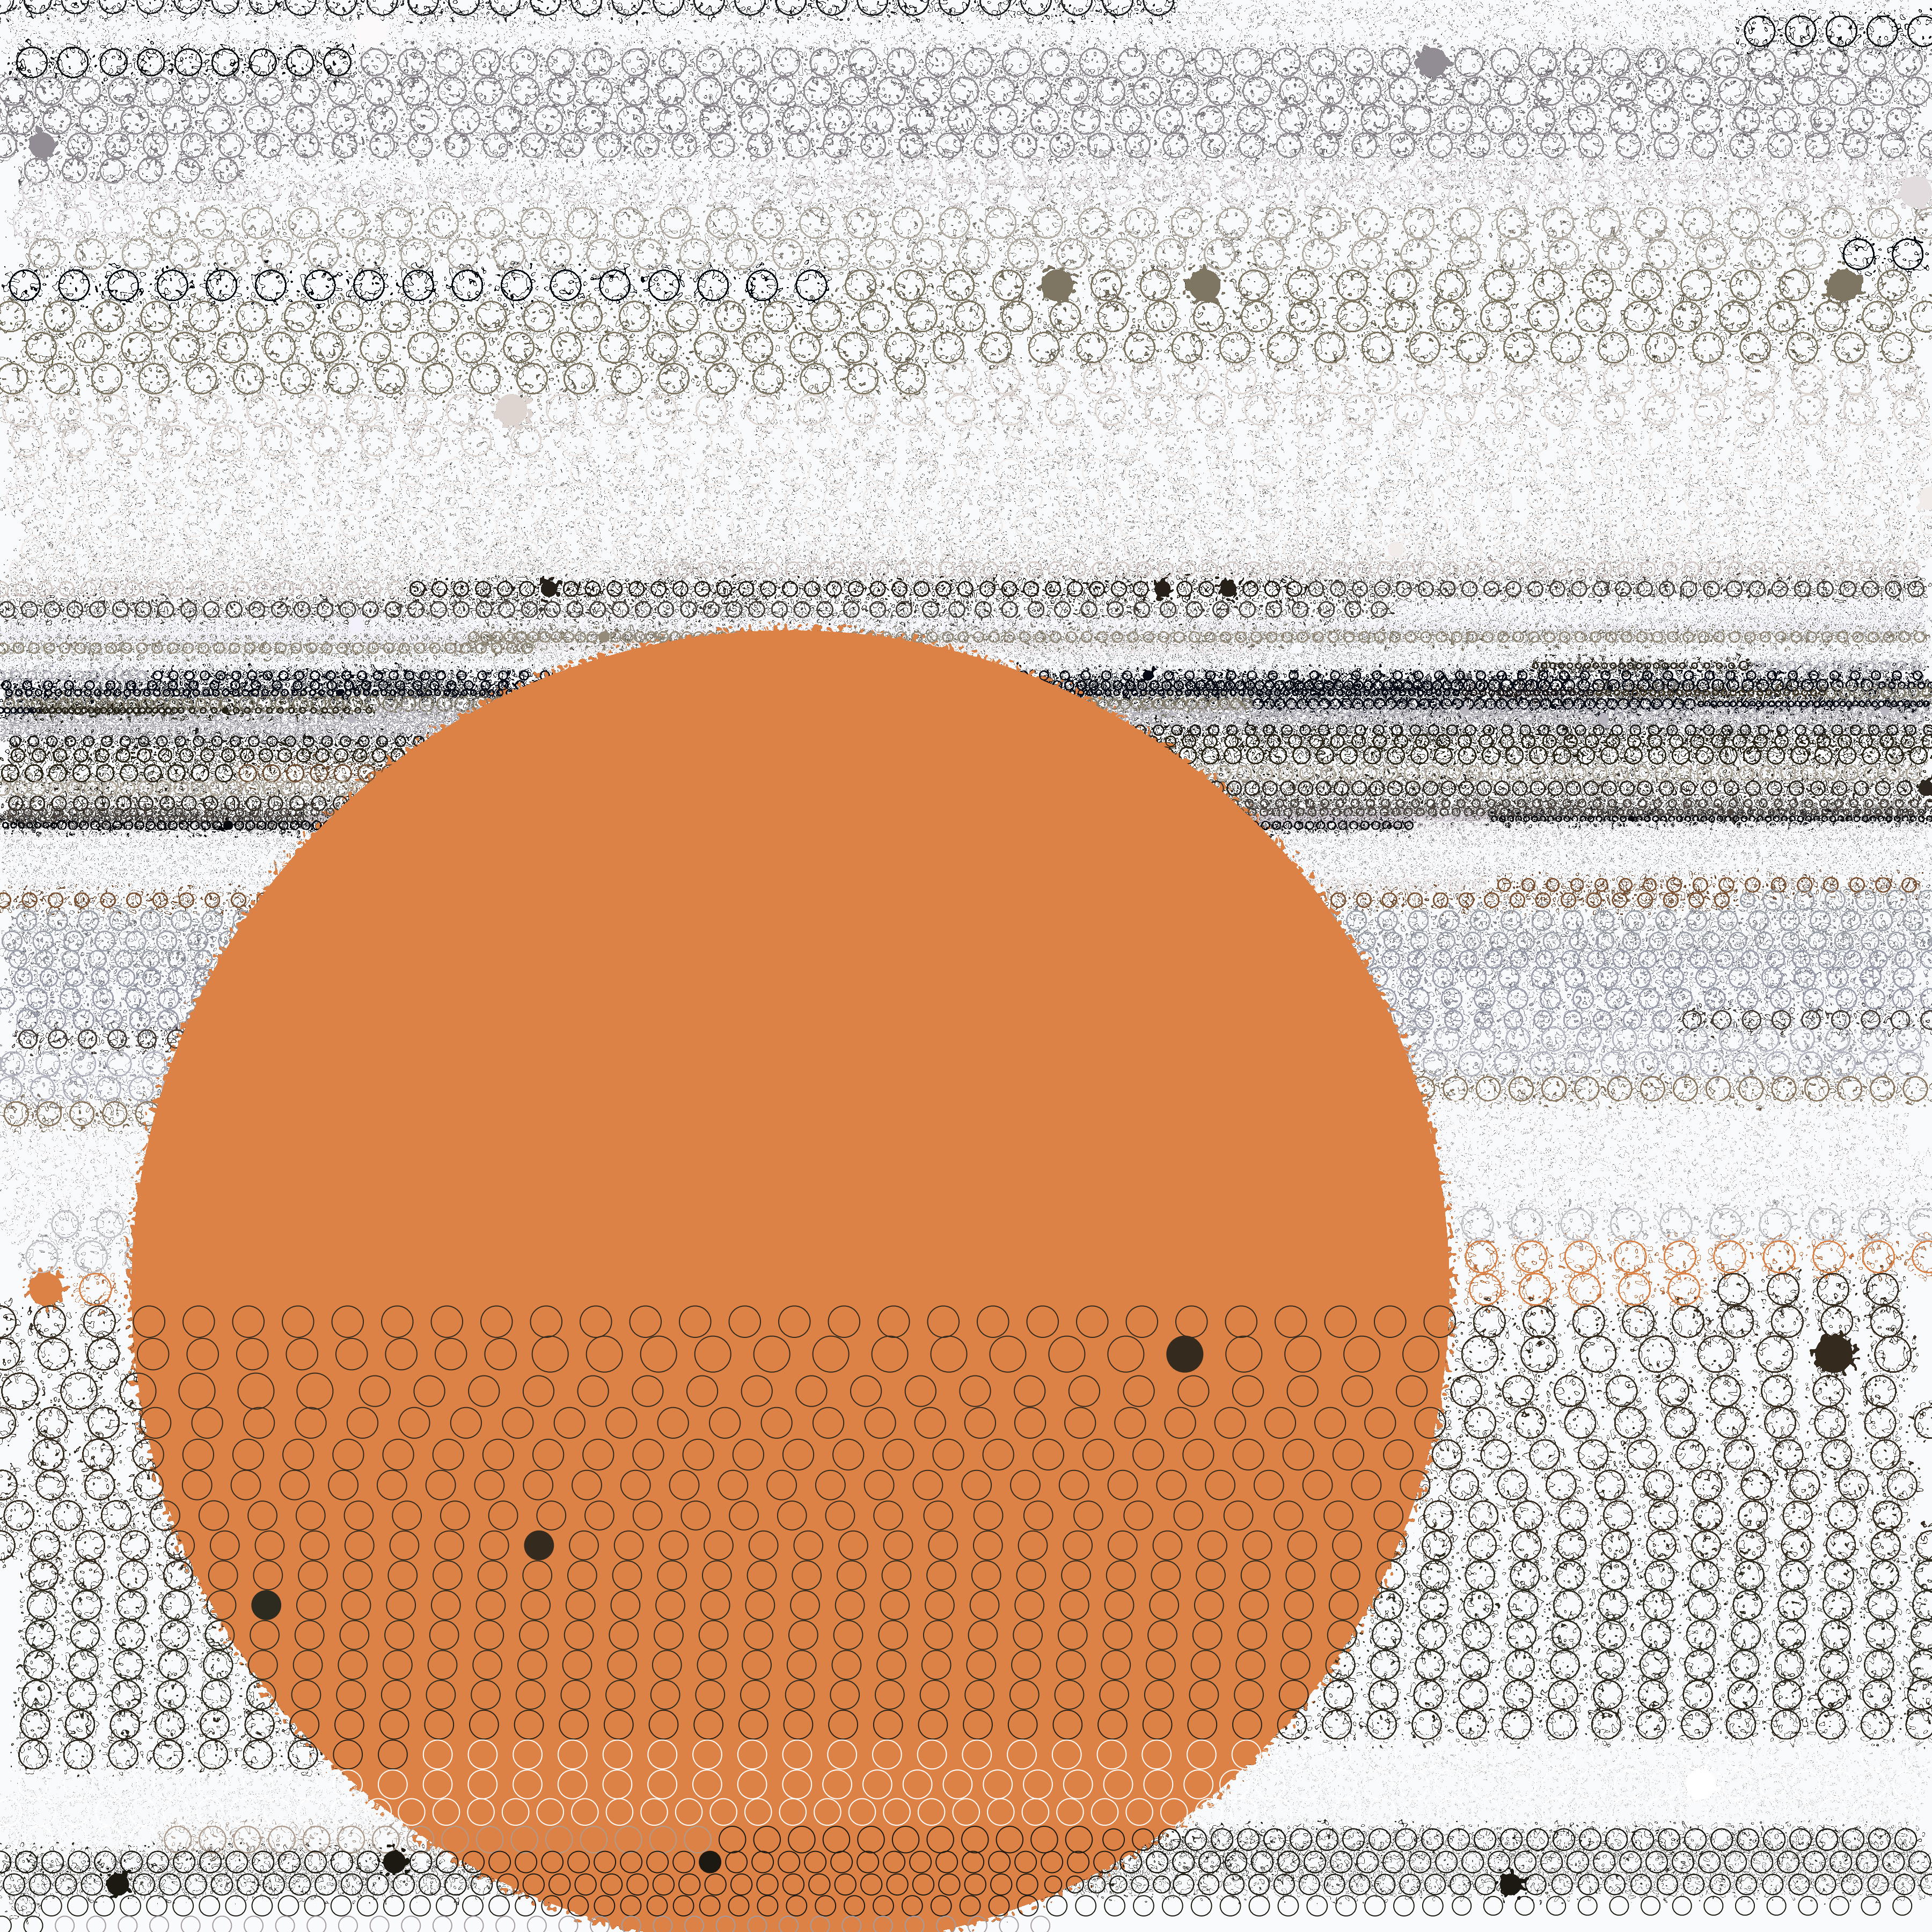
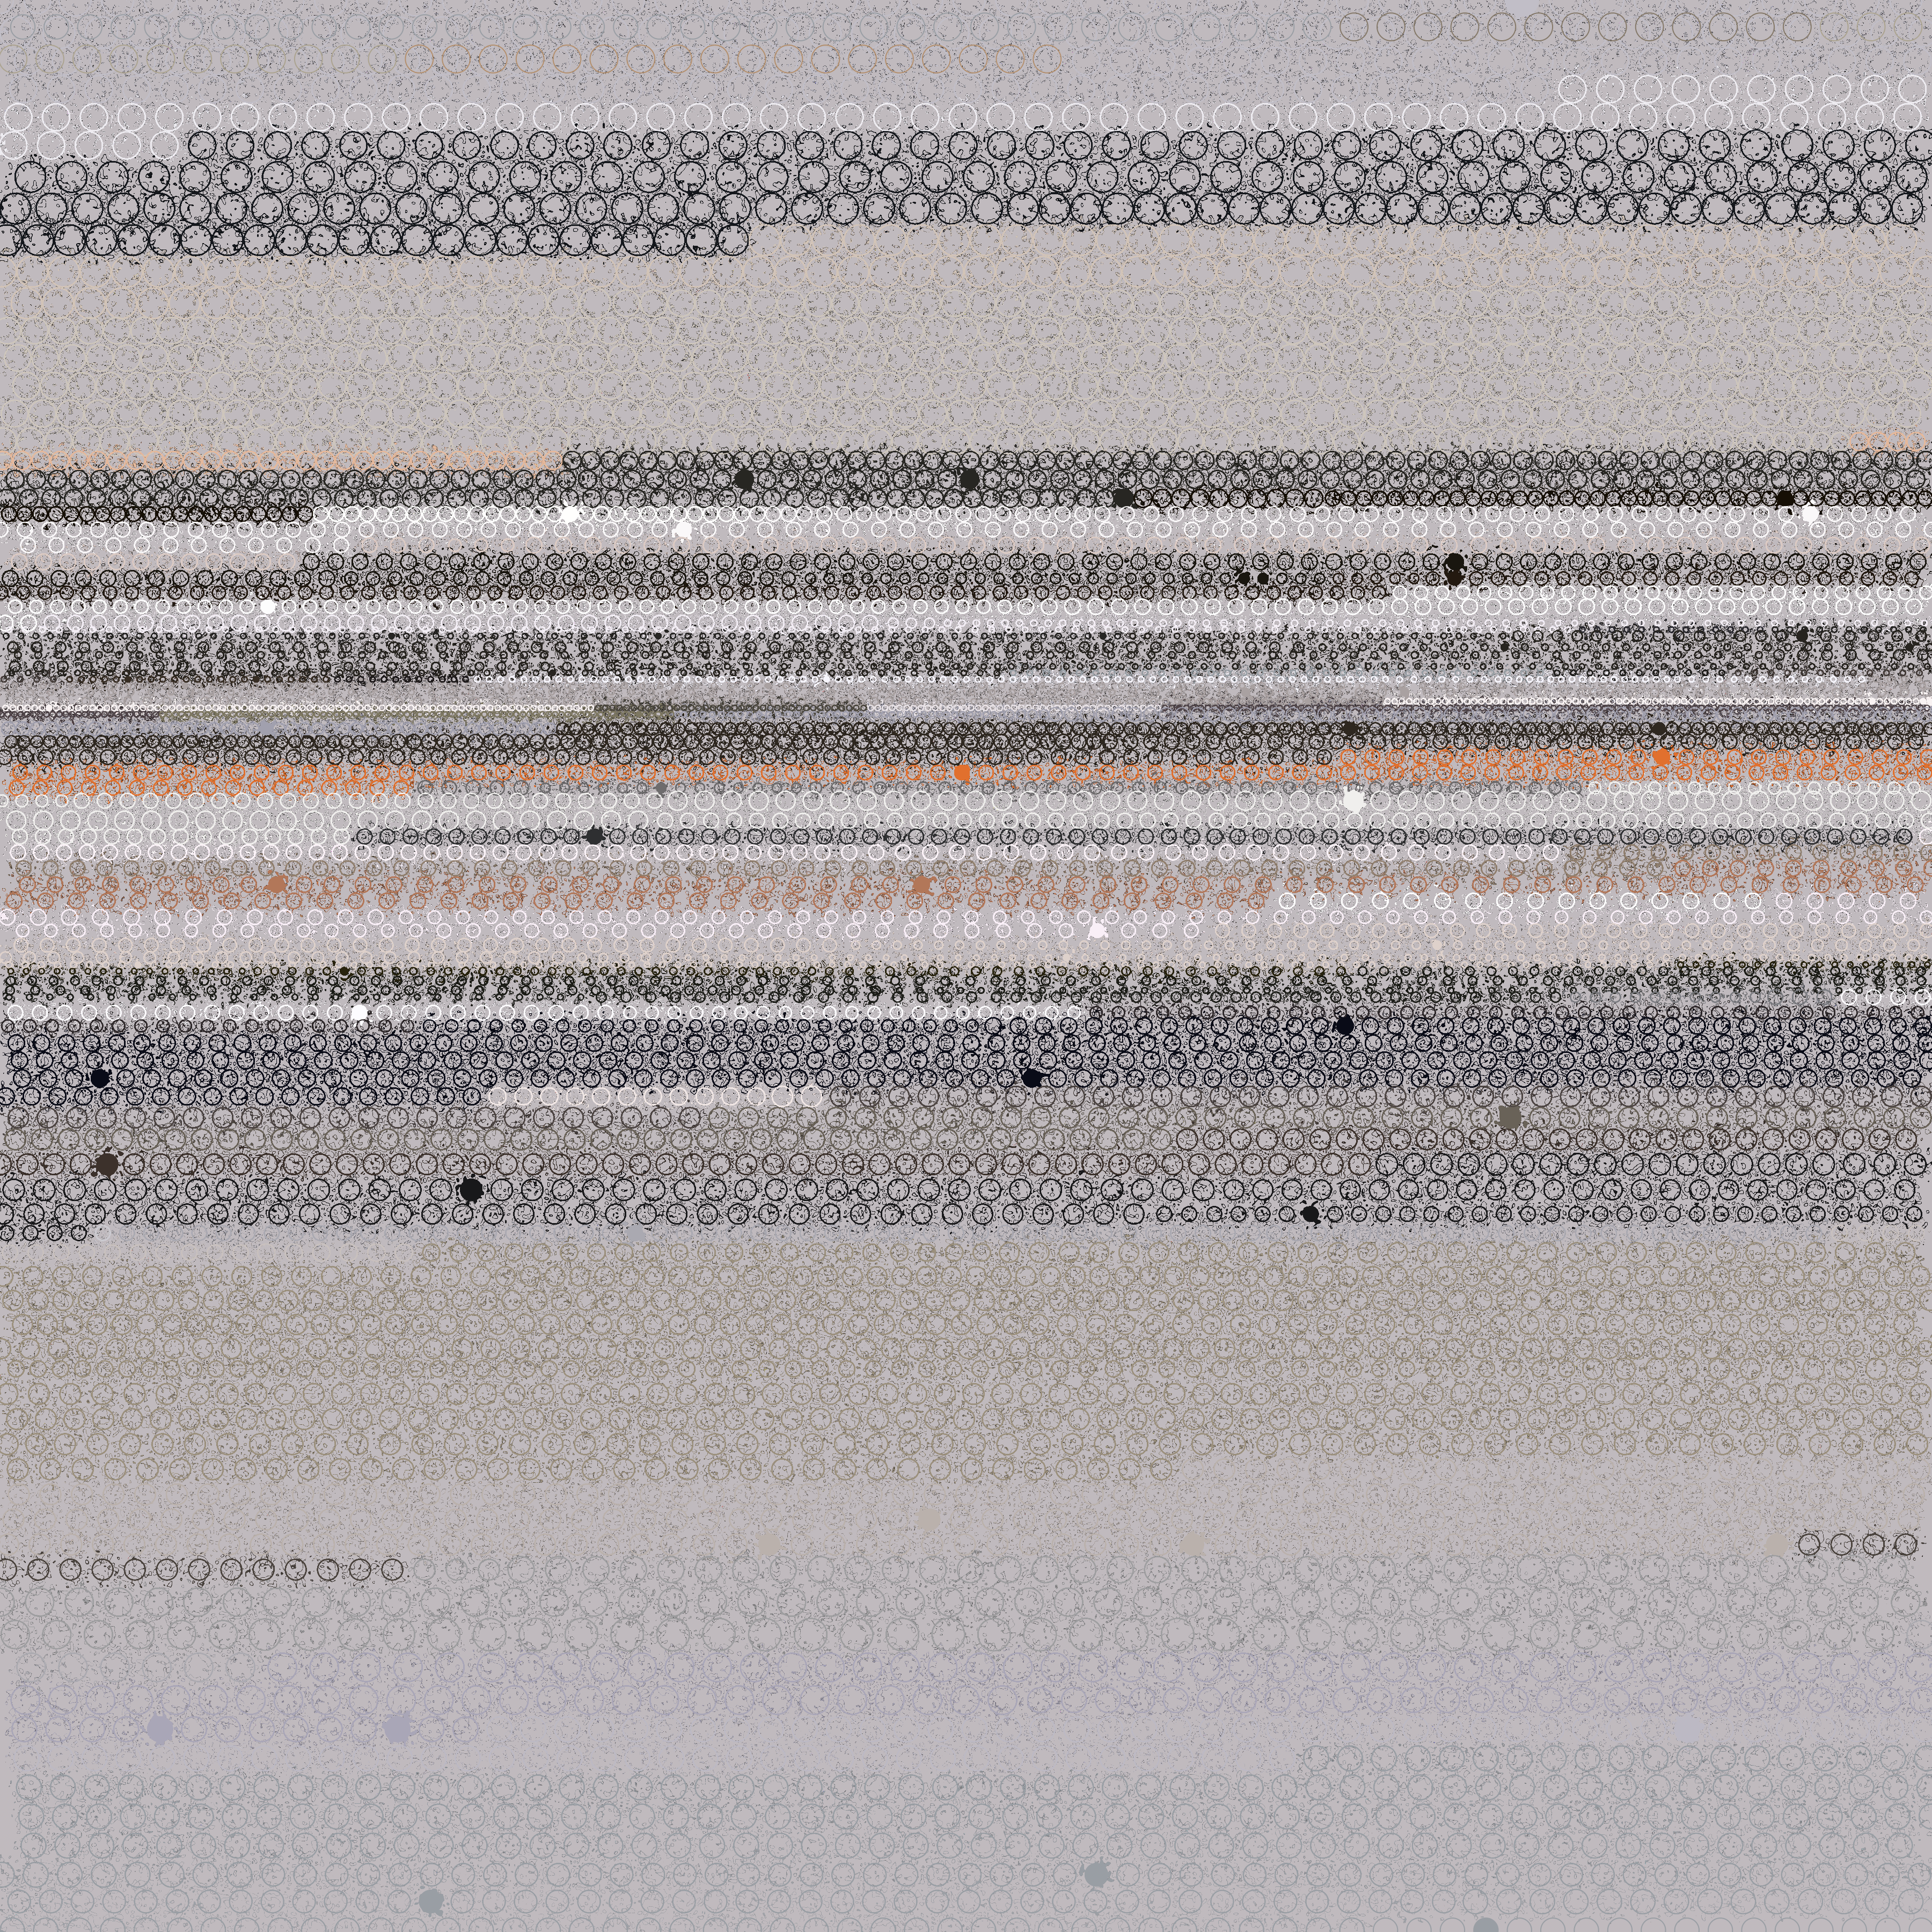
I had a hell of a time deciding what my favorite movie was so I ended up just finding a movie still that I liked the colors in. I ended up using a still from My Fair Lady because I liked how much black and white there was.
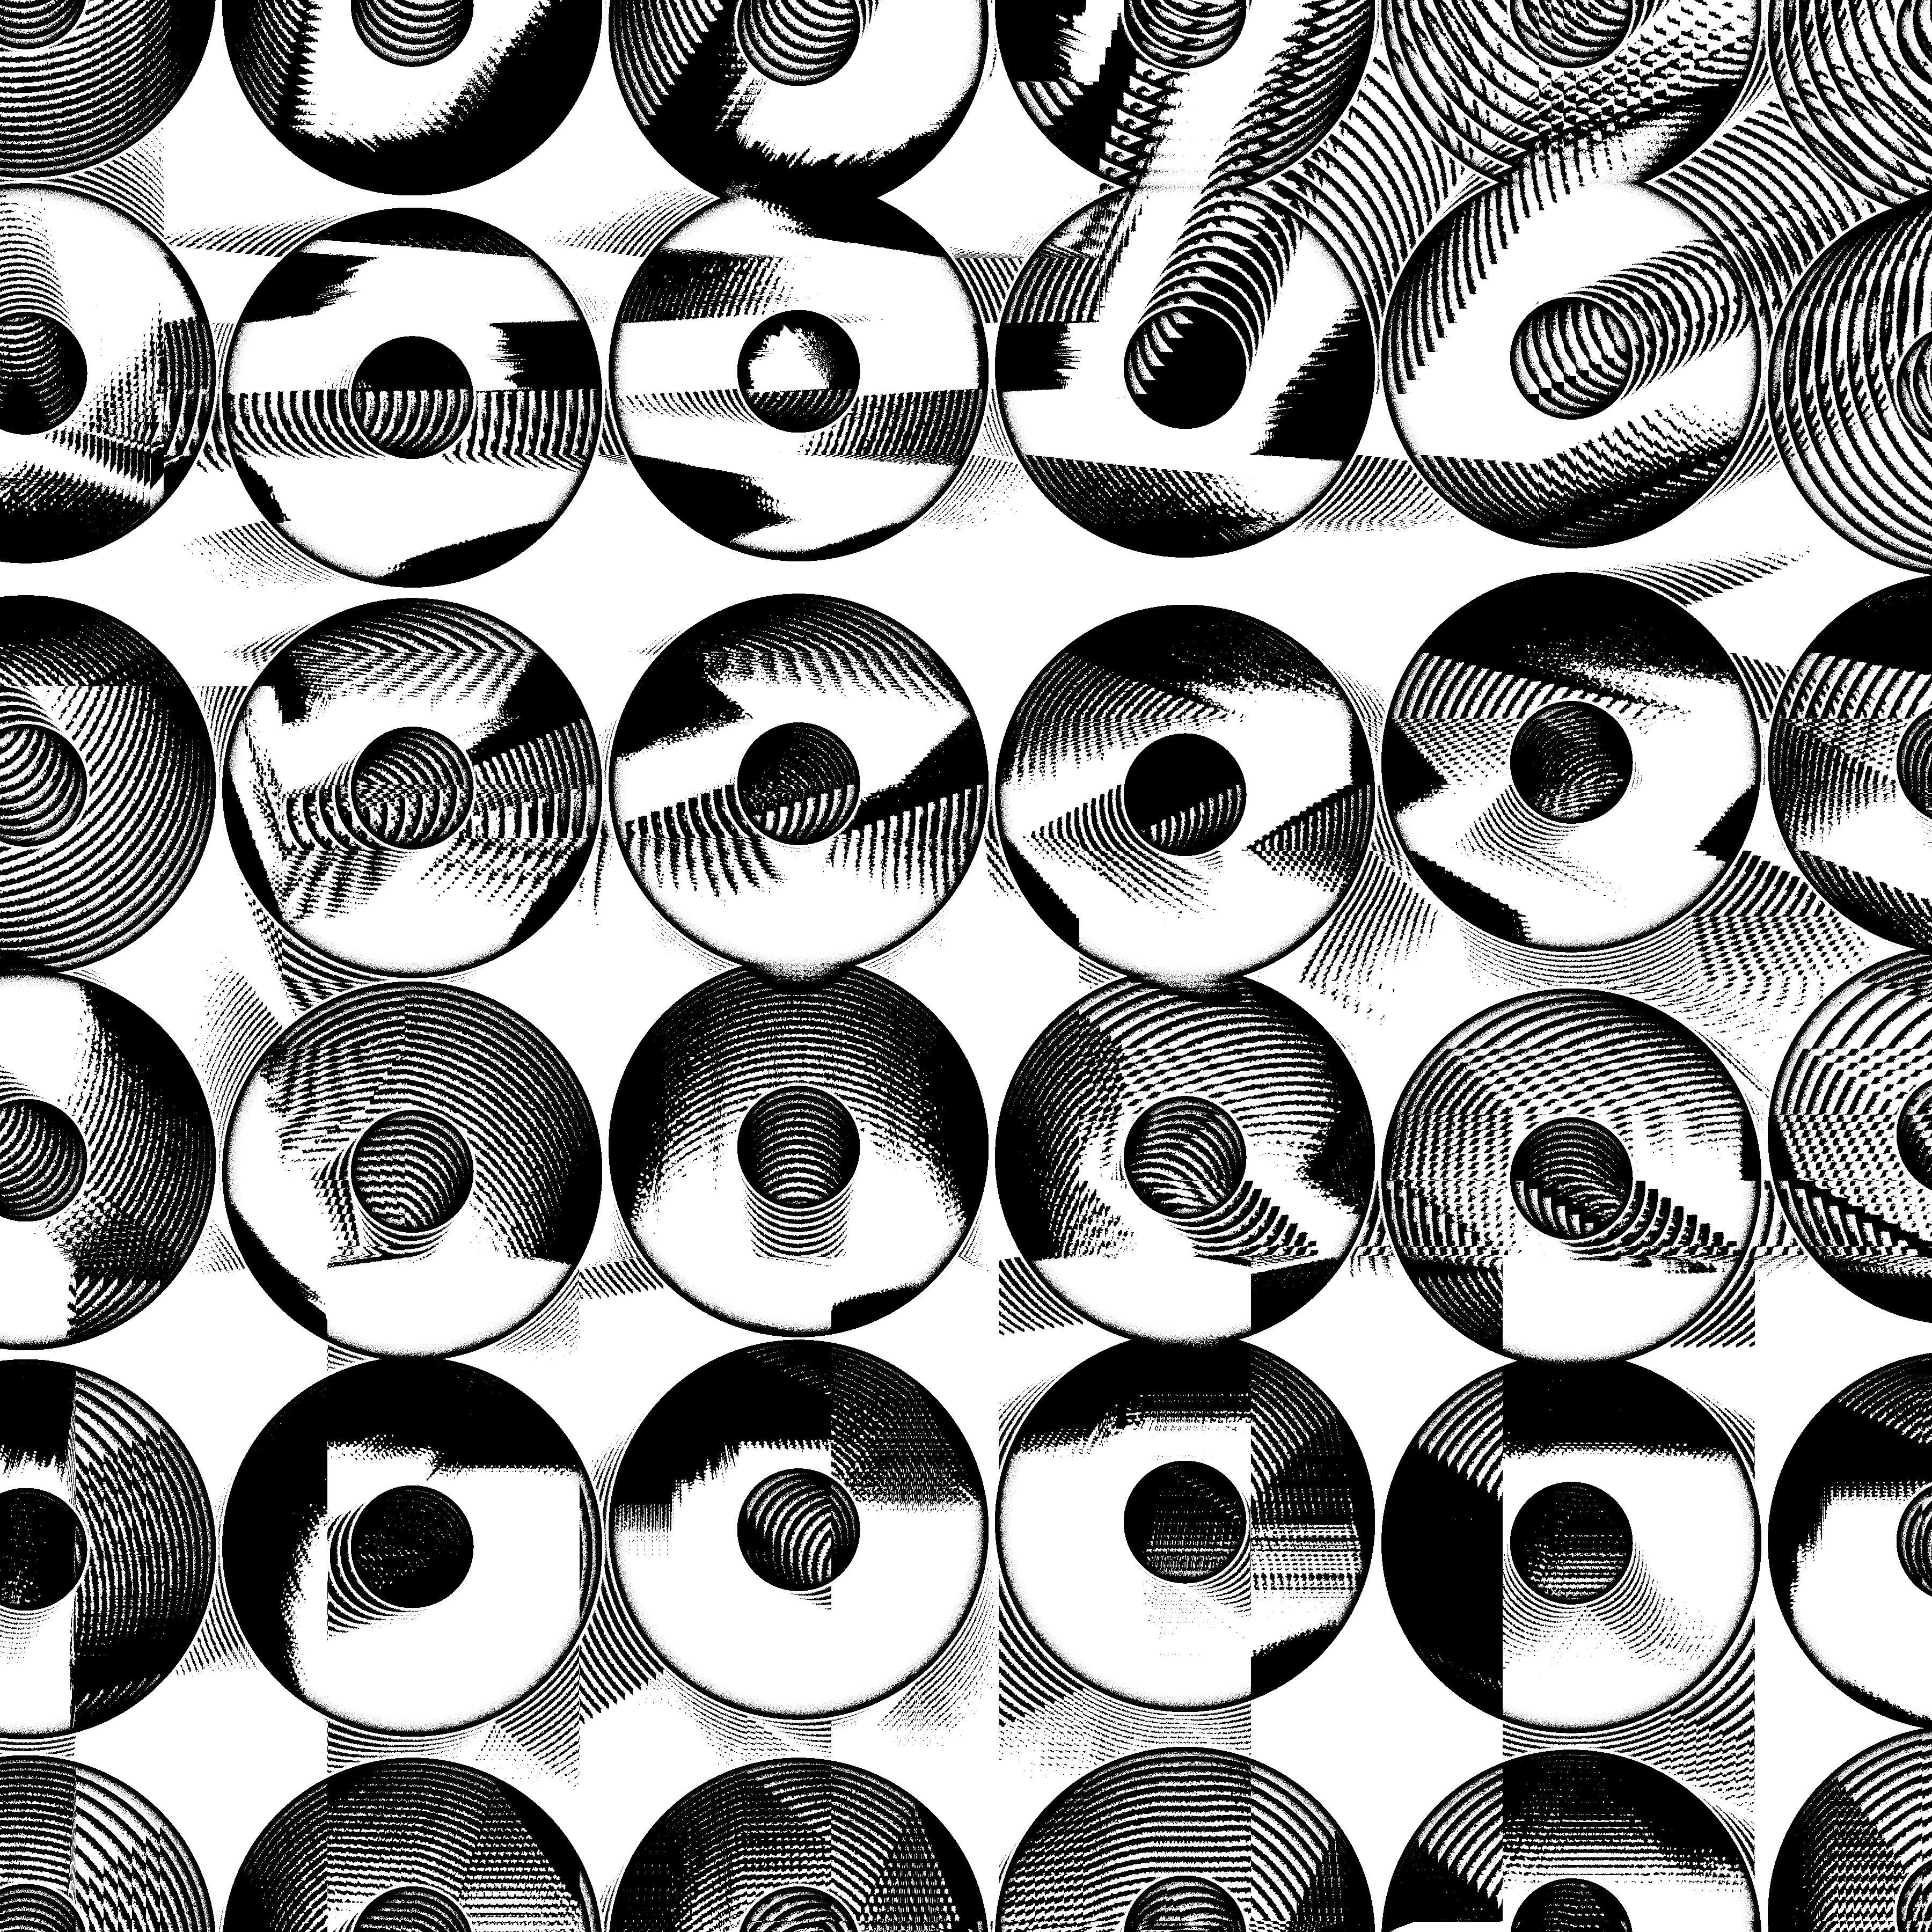
This one draws a series of circles starting at the top left of the image. The circle color is determined by a randomly sampled pixel from the input movie image. We sample one random pixel and draw circles with that color until we decide to sample a new color.
Every time a circle is drawn, we step to the right by a specific amount before drawing the next circle. When we move off the right edge of the image, we step down by a specific amount and then jump back to the left of the image, starting another row. Each time we draw a circle, there's a small chance that we change these step distances. There's also a chance that we change the circle radius or sample a new color from the input image. Each circle also has a small chance of being filled instead of just being an outline, and an even smaller chance of being around 100x bigger than the other circles (and always filled if it's draw that large).
We also have a shader that's drawing a version of the image that's been randomly offset with some noise in the background for a little extra texture. I like that this one kind of felt like a textile to me.
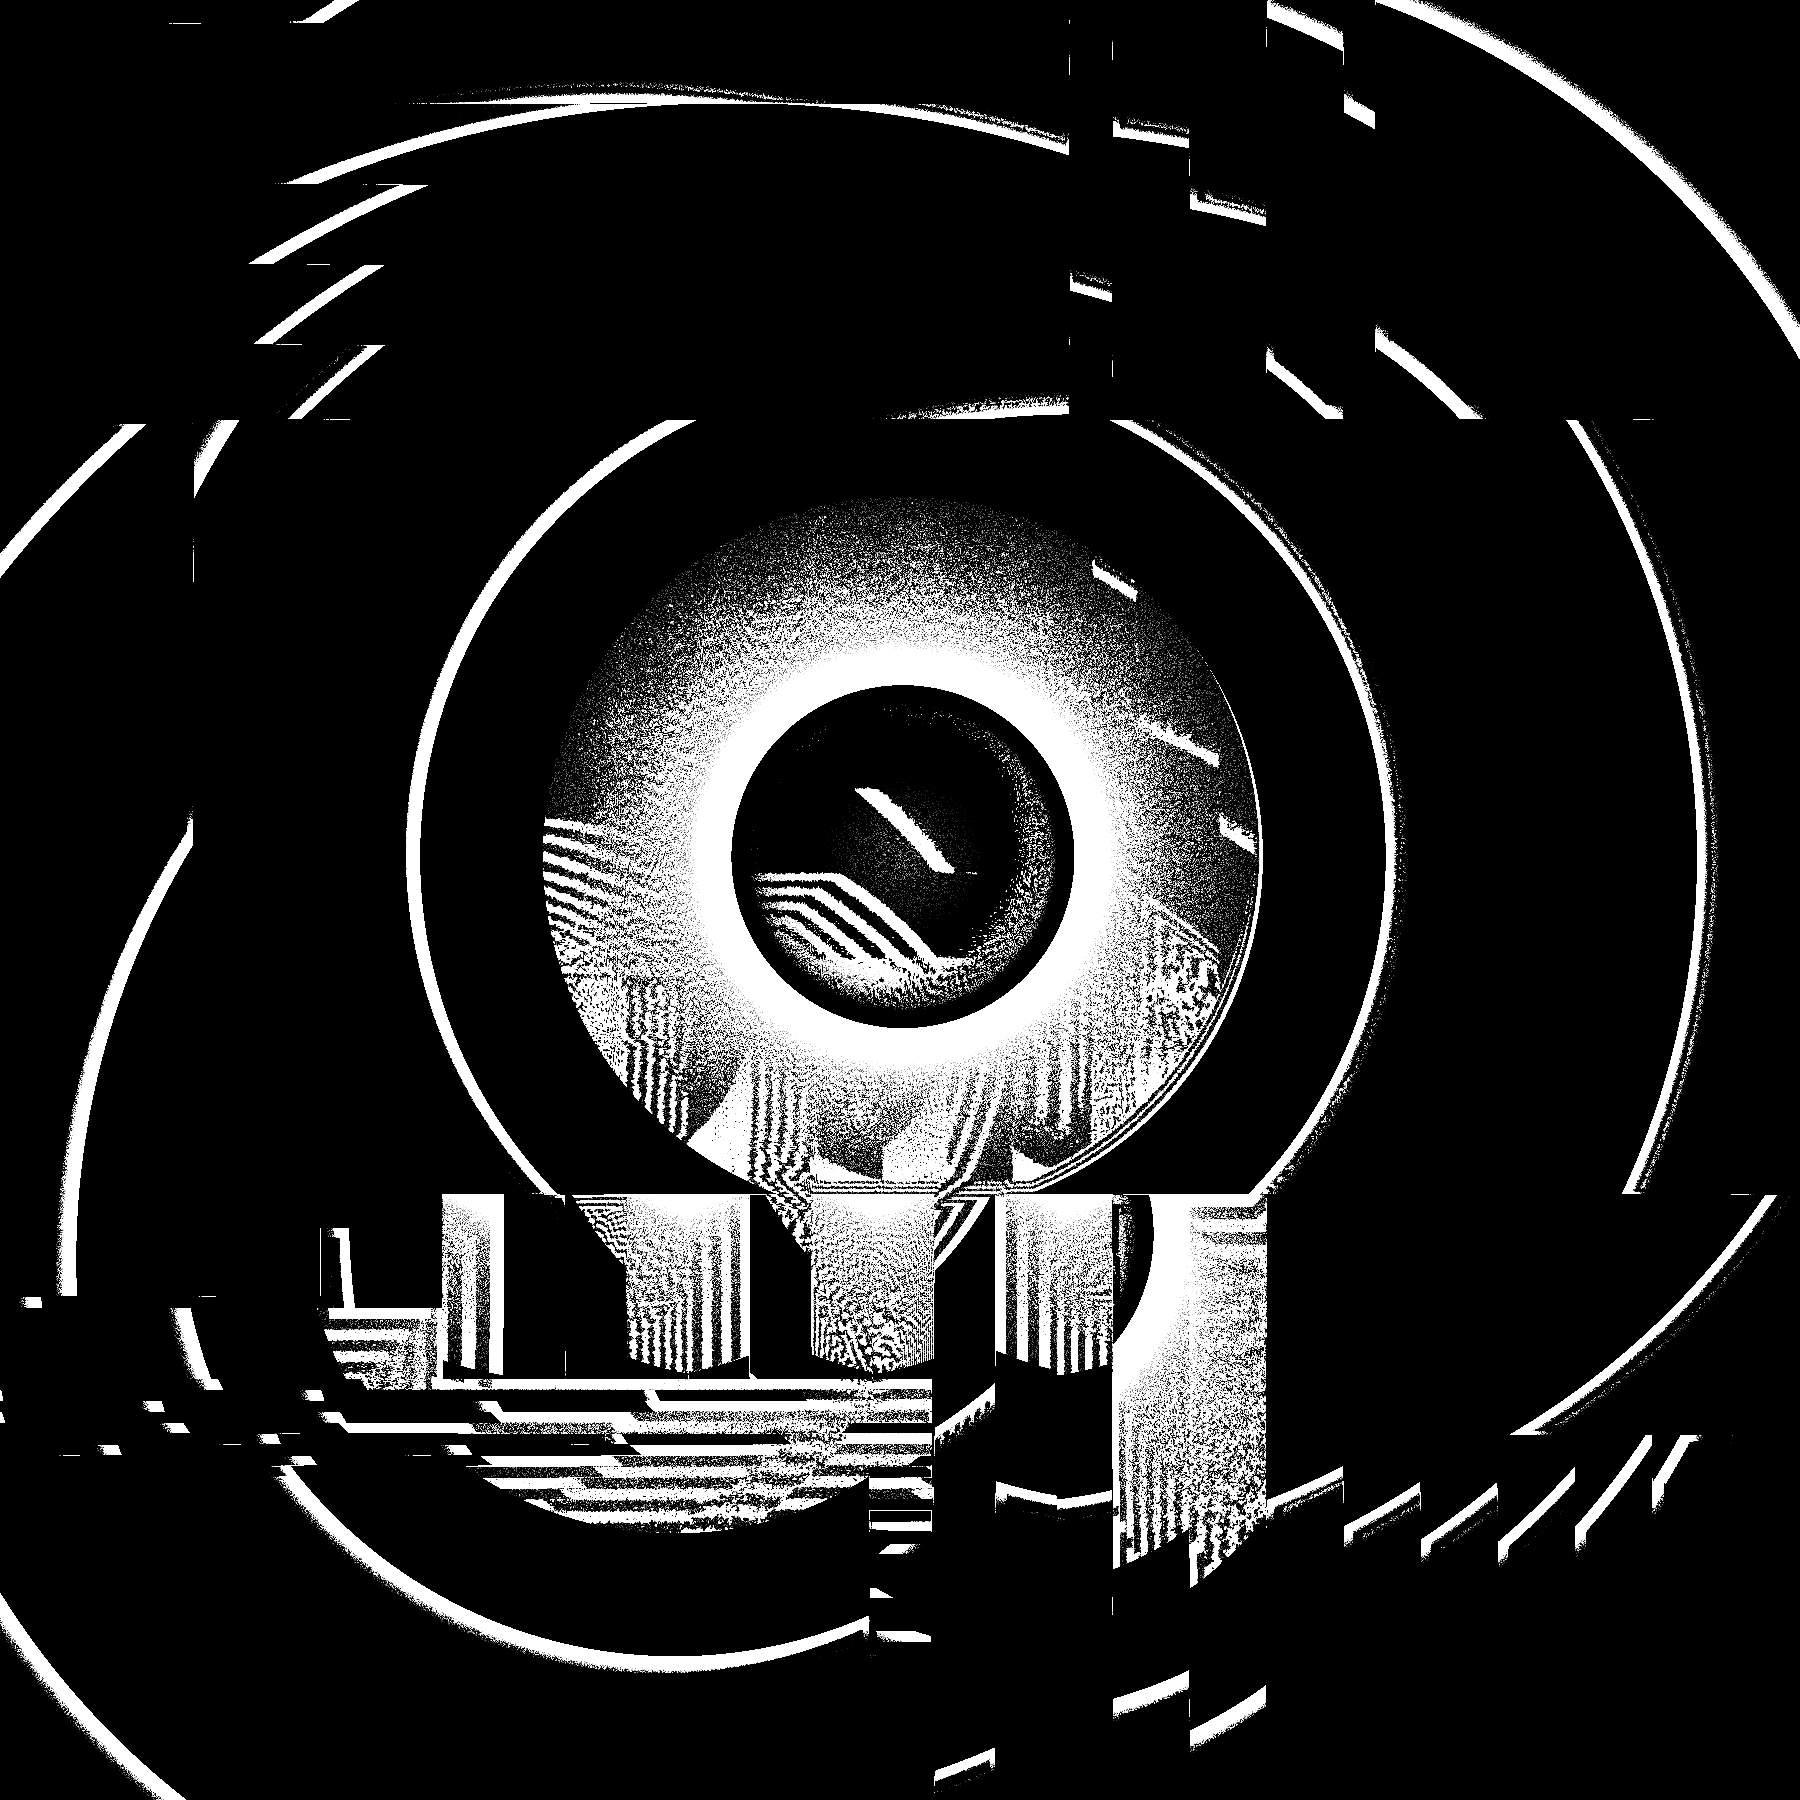
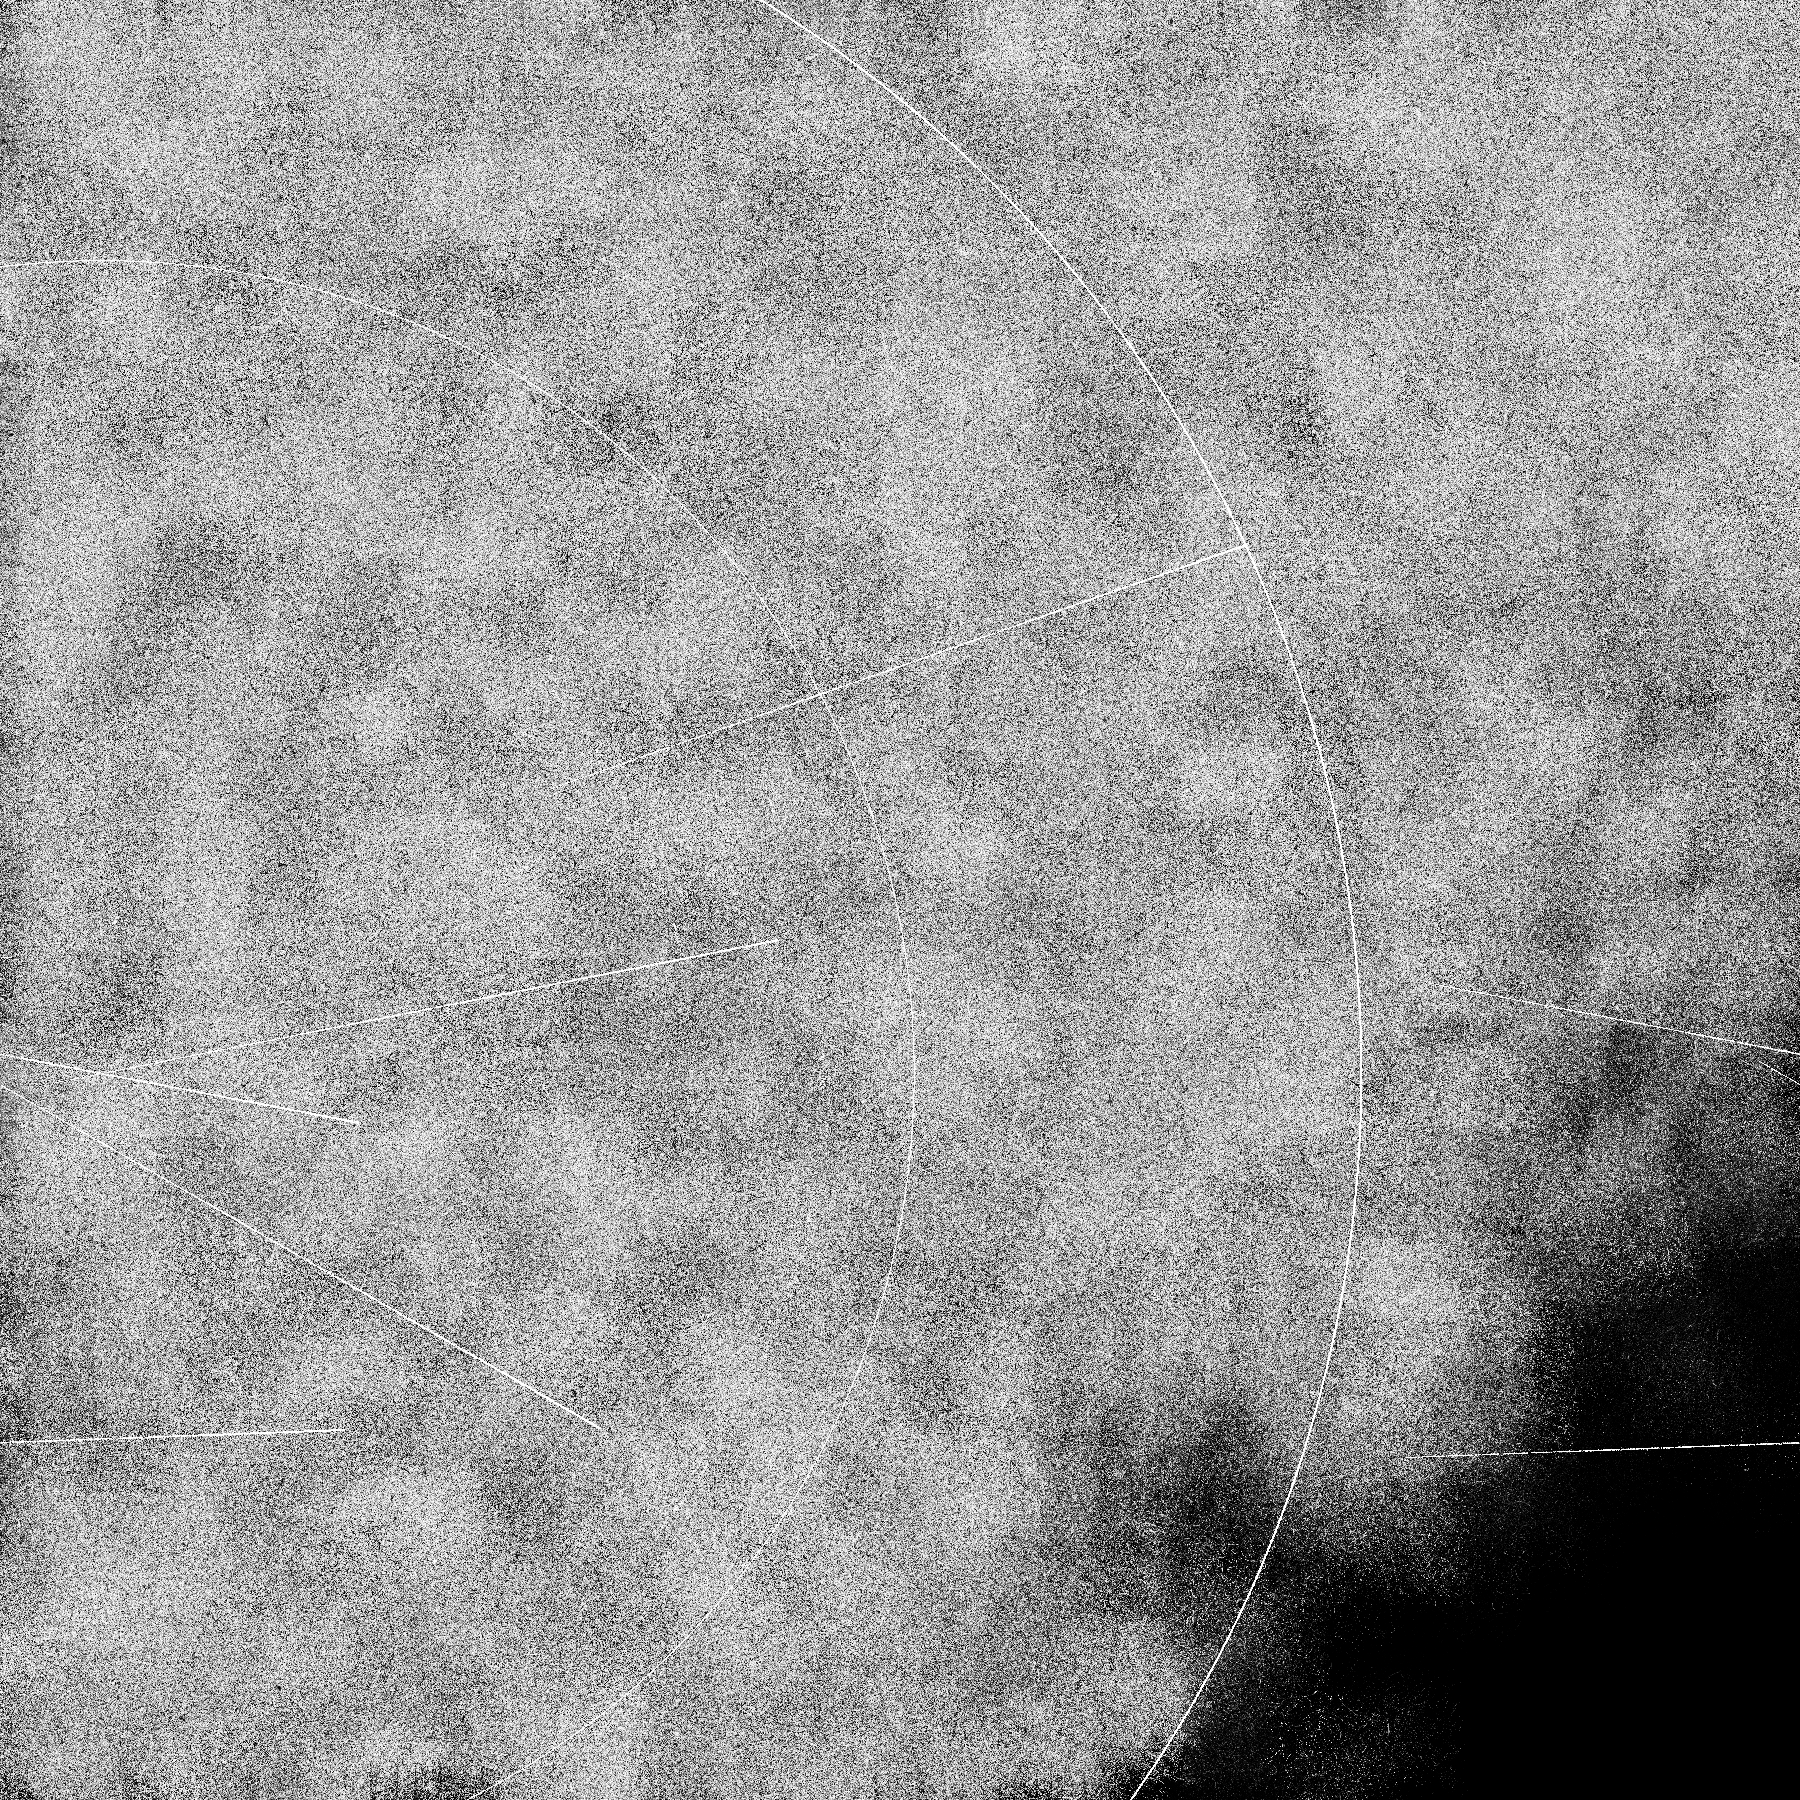
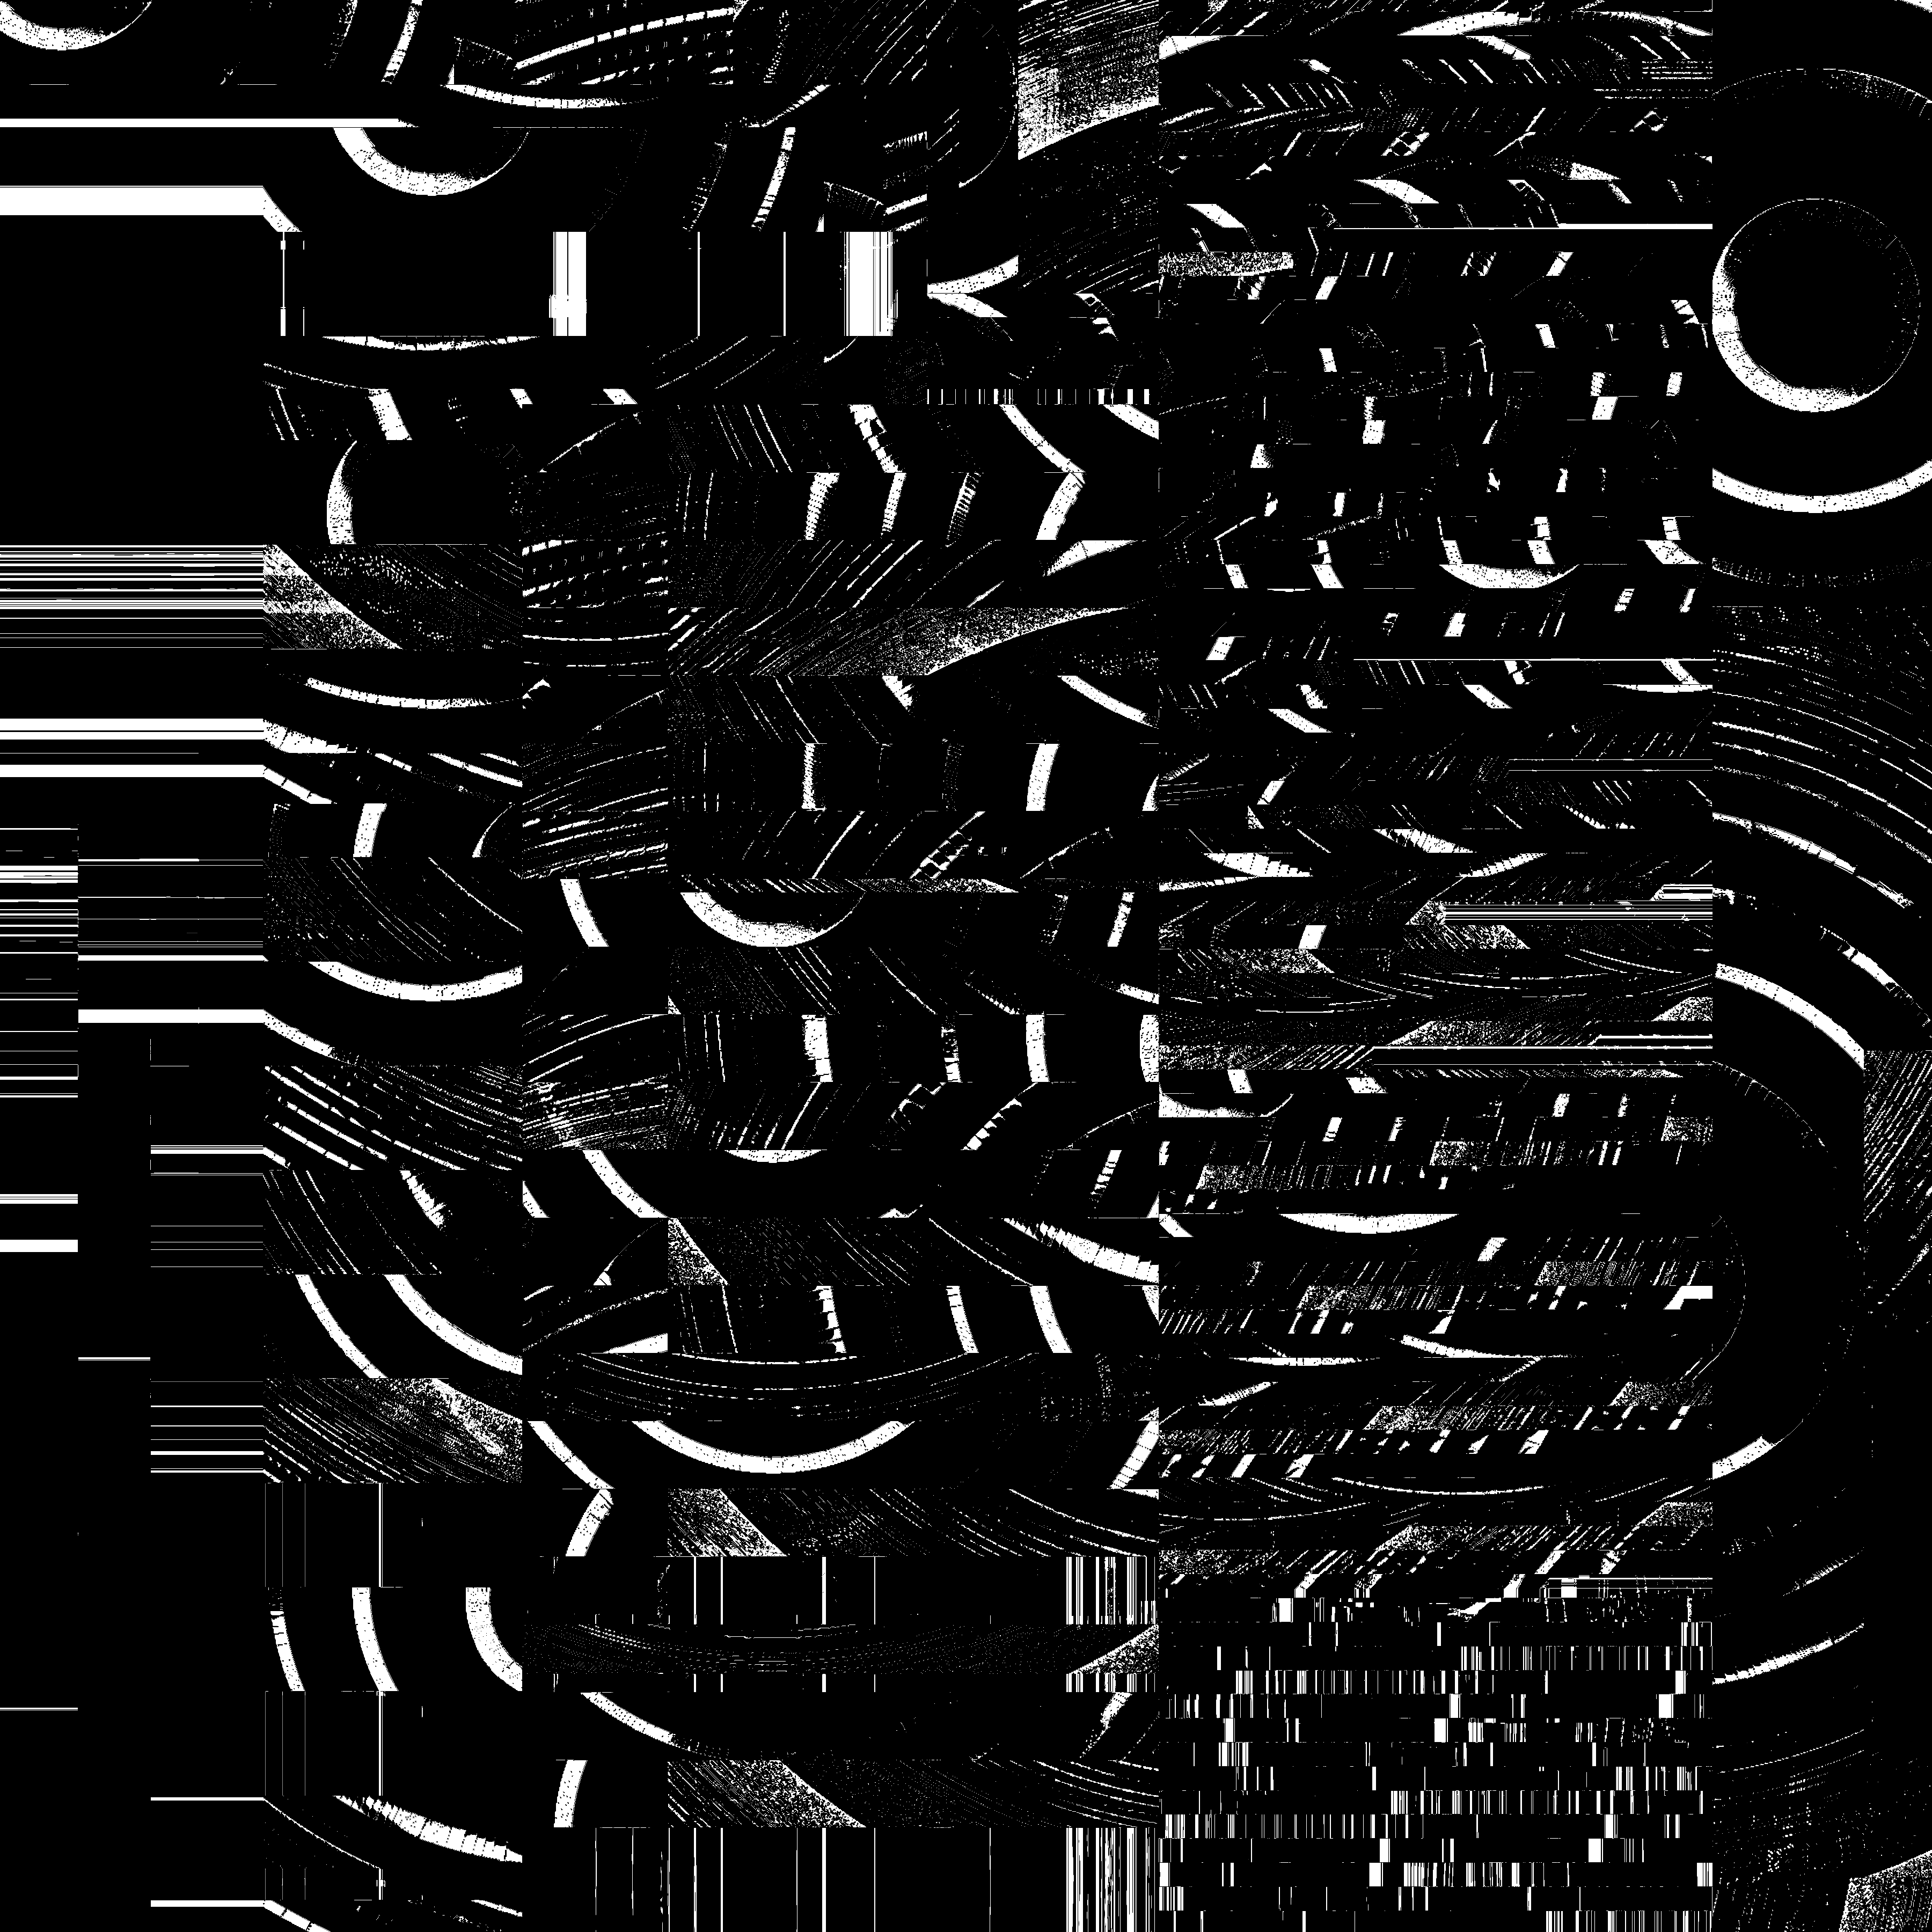
08. Signed Distance Functions
This one is quite similar to 03. Glitch Art and is all drawn in a fragment shader. I was a bit tight for time so I didn't get to experiment as much as I'd have liked here.
I often draw rings in a shader by taking the distance between the current pixel and the center of the ring, and feeding that into some trig functions. It's not exactly a signed distance field but it's similar. This time I'm taking a whole grid of points into consideration and am using the distance to the closest point (using min which is how you union things in a signed distance field)
09. Plants
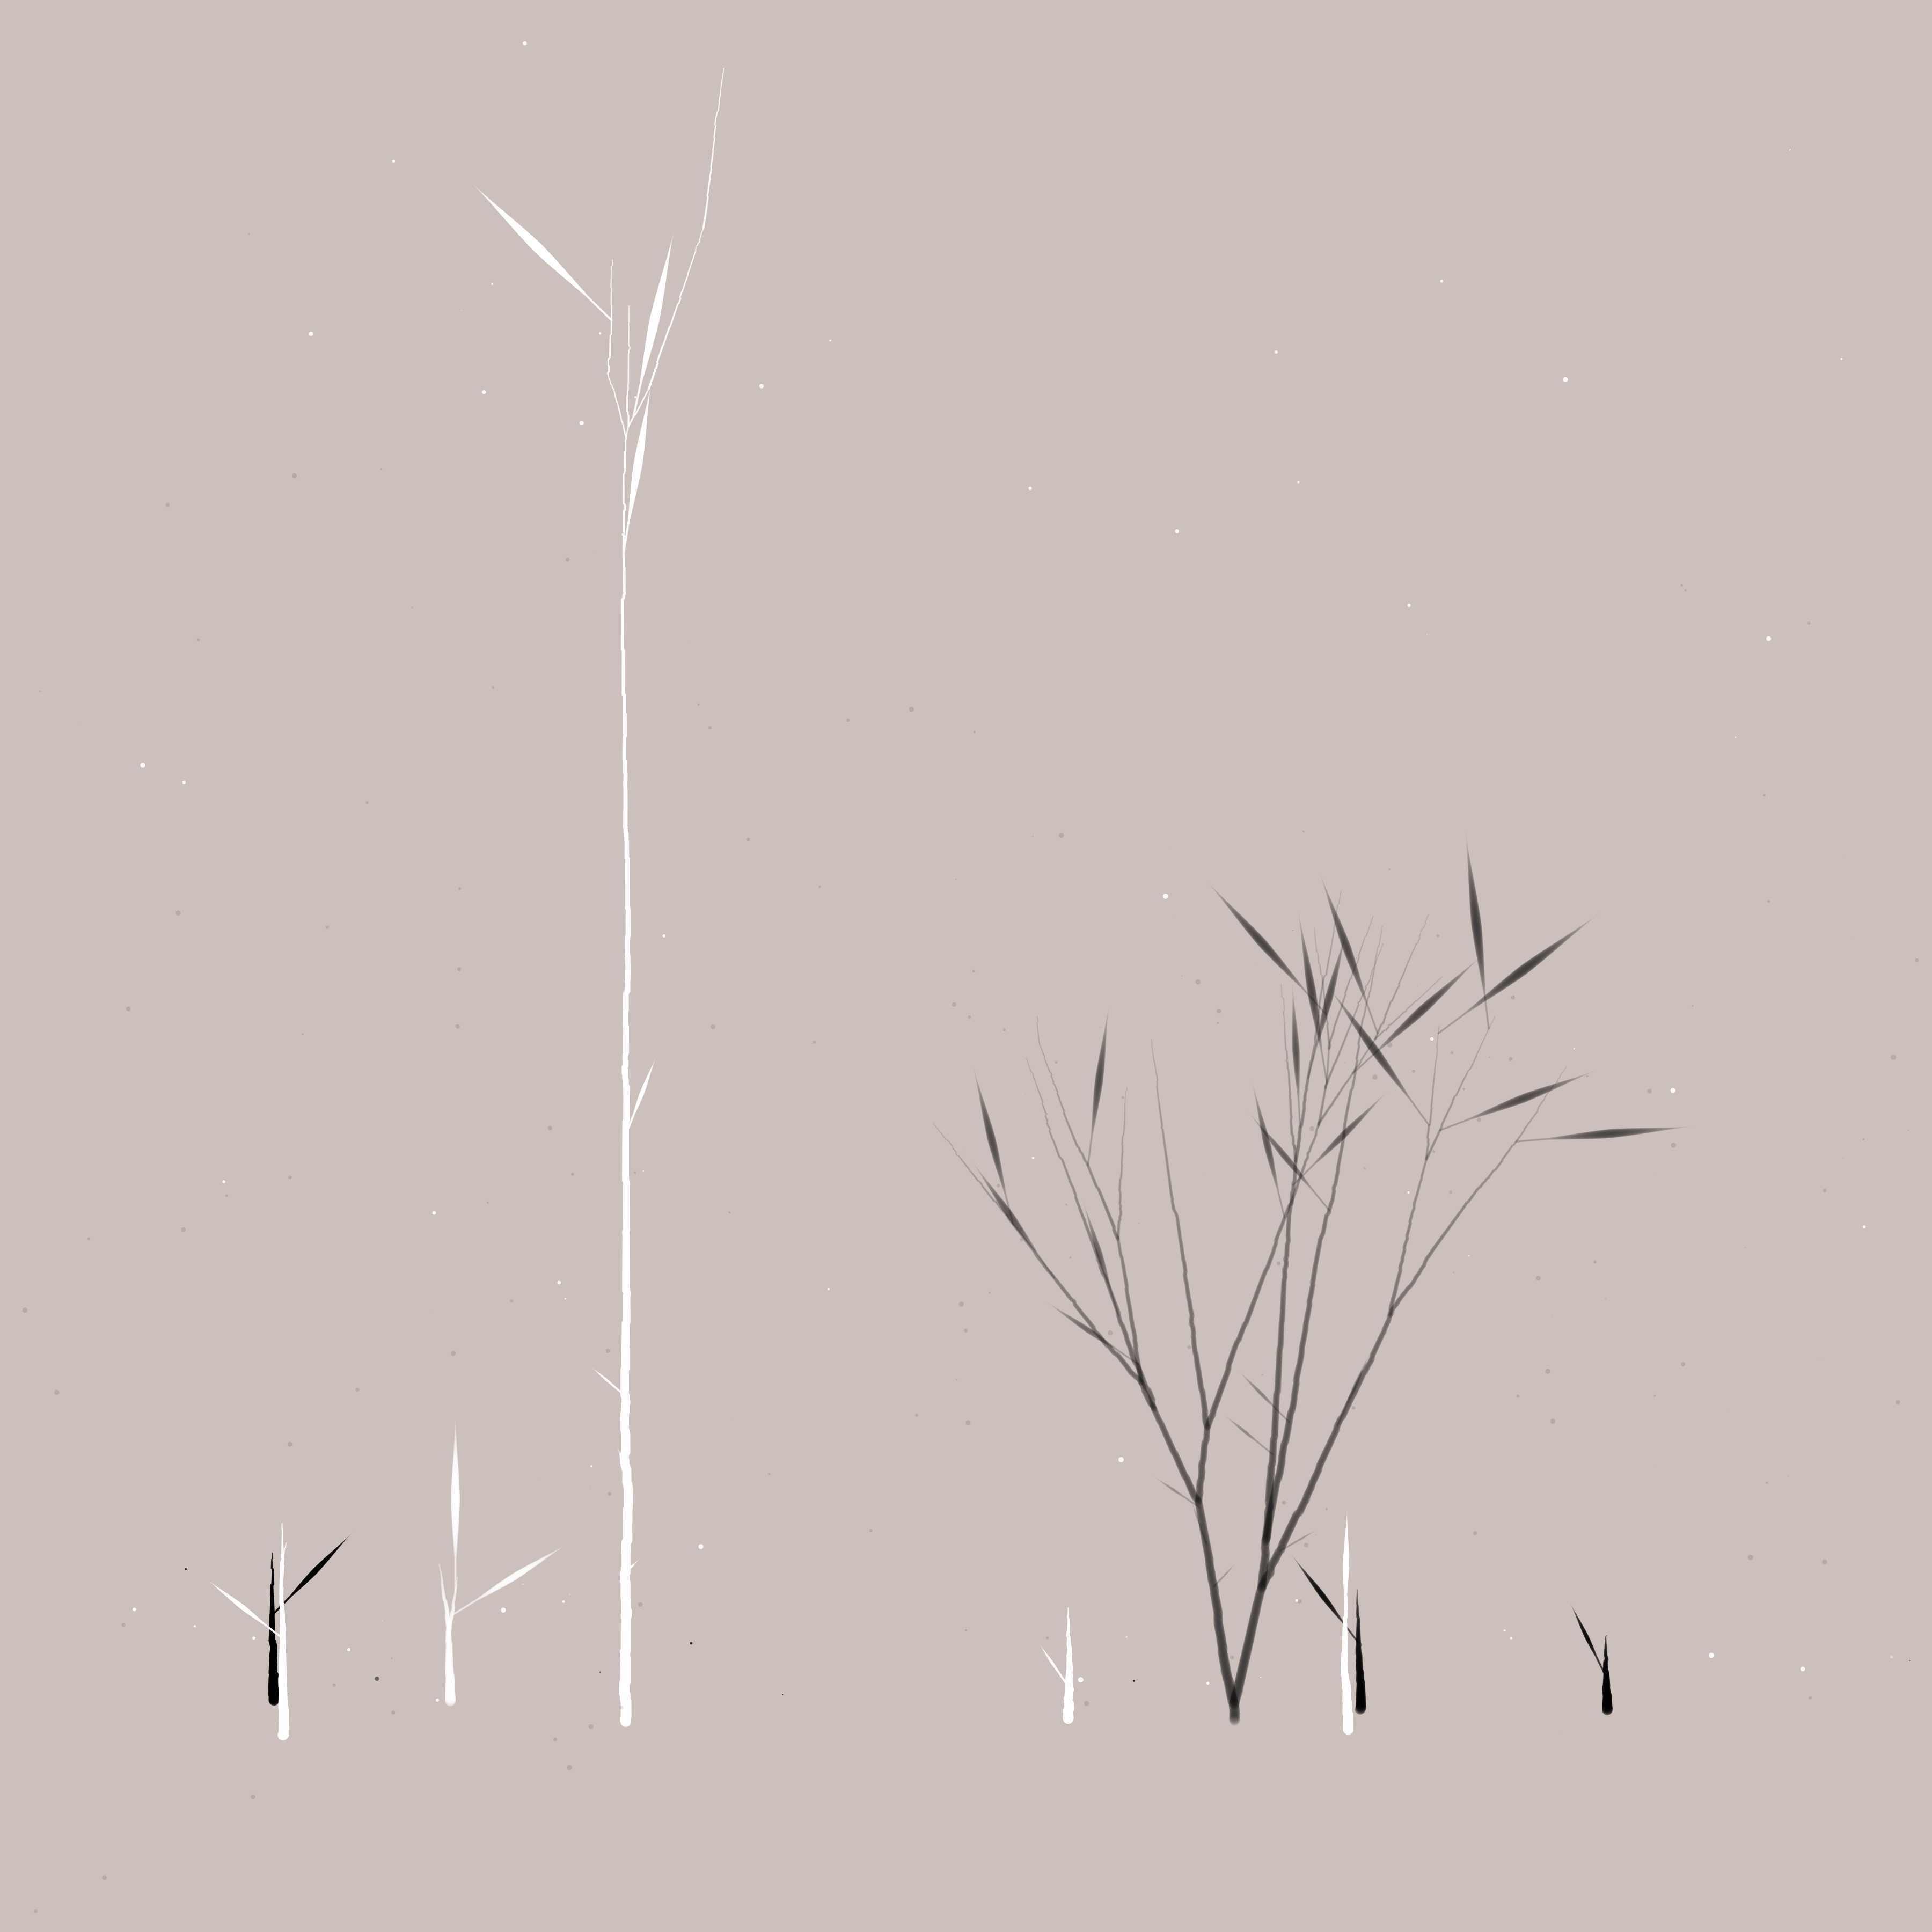


This one was fun. We start at the bottom of the plant, drawing circles and moving up each time we draw a circle. We randomly offset the circles side to side to give the stem a little bit of a wobble, and as we move up, we decrease the radius of the circle so that the stem gets thinner.
Each time we draw a circle there's a chance we will branch off into two new branches. When we do that we generate a random angle to separate the two branches and add a small random rotation towards the ground, which opens up and rounds off the plant a bit, and helps reduce the amount of overlapping branches. We occasionally draw a leaf too, which is a series of circles like the stem, but starts small, gets larger, and then tapers off again.
We also have a random chance to draw a circle offset by a lot more than the normal stem wiggle which gives us some random speckles around the image for a tiny bit more texture.
This one was fun and is something I'd like to revisit again. I think the stem and leaf shapes could be a lot more interesting with a little more fiddling.
10. Generative Music
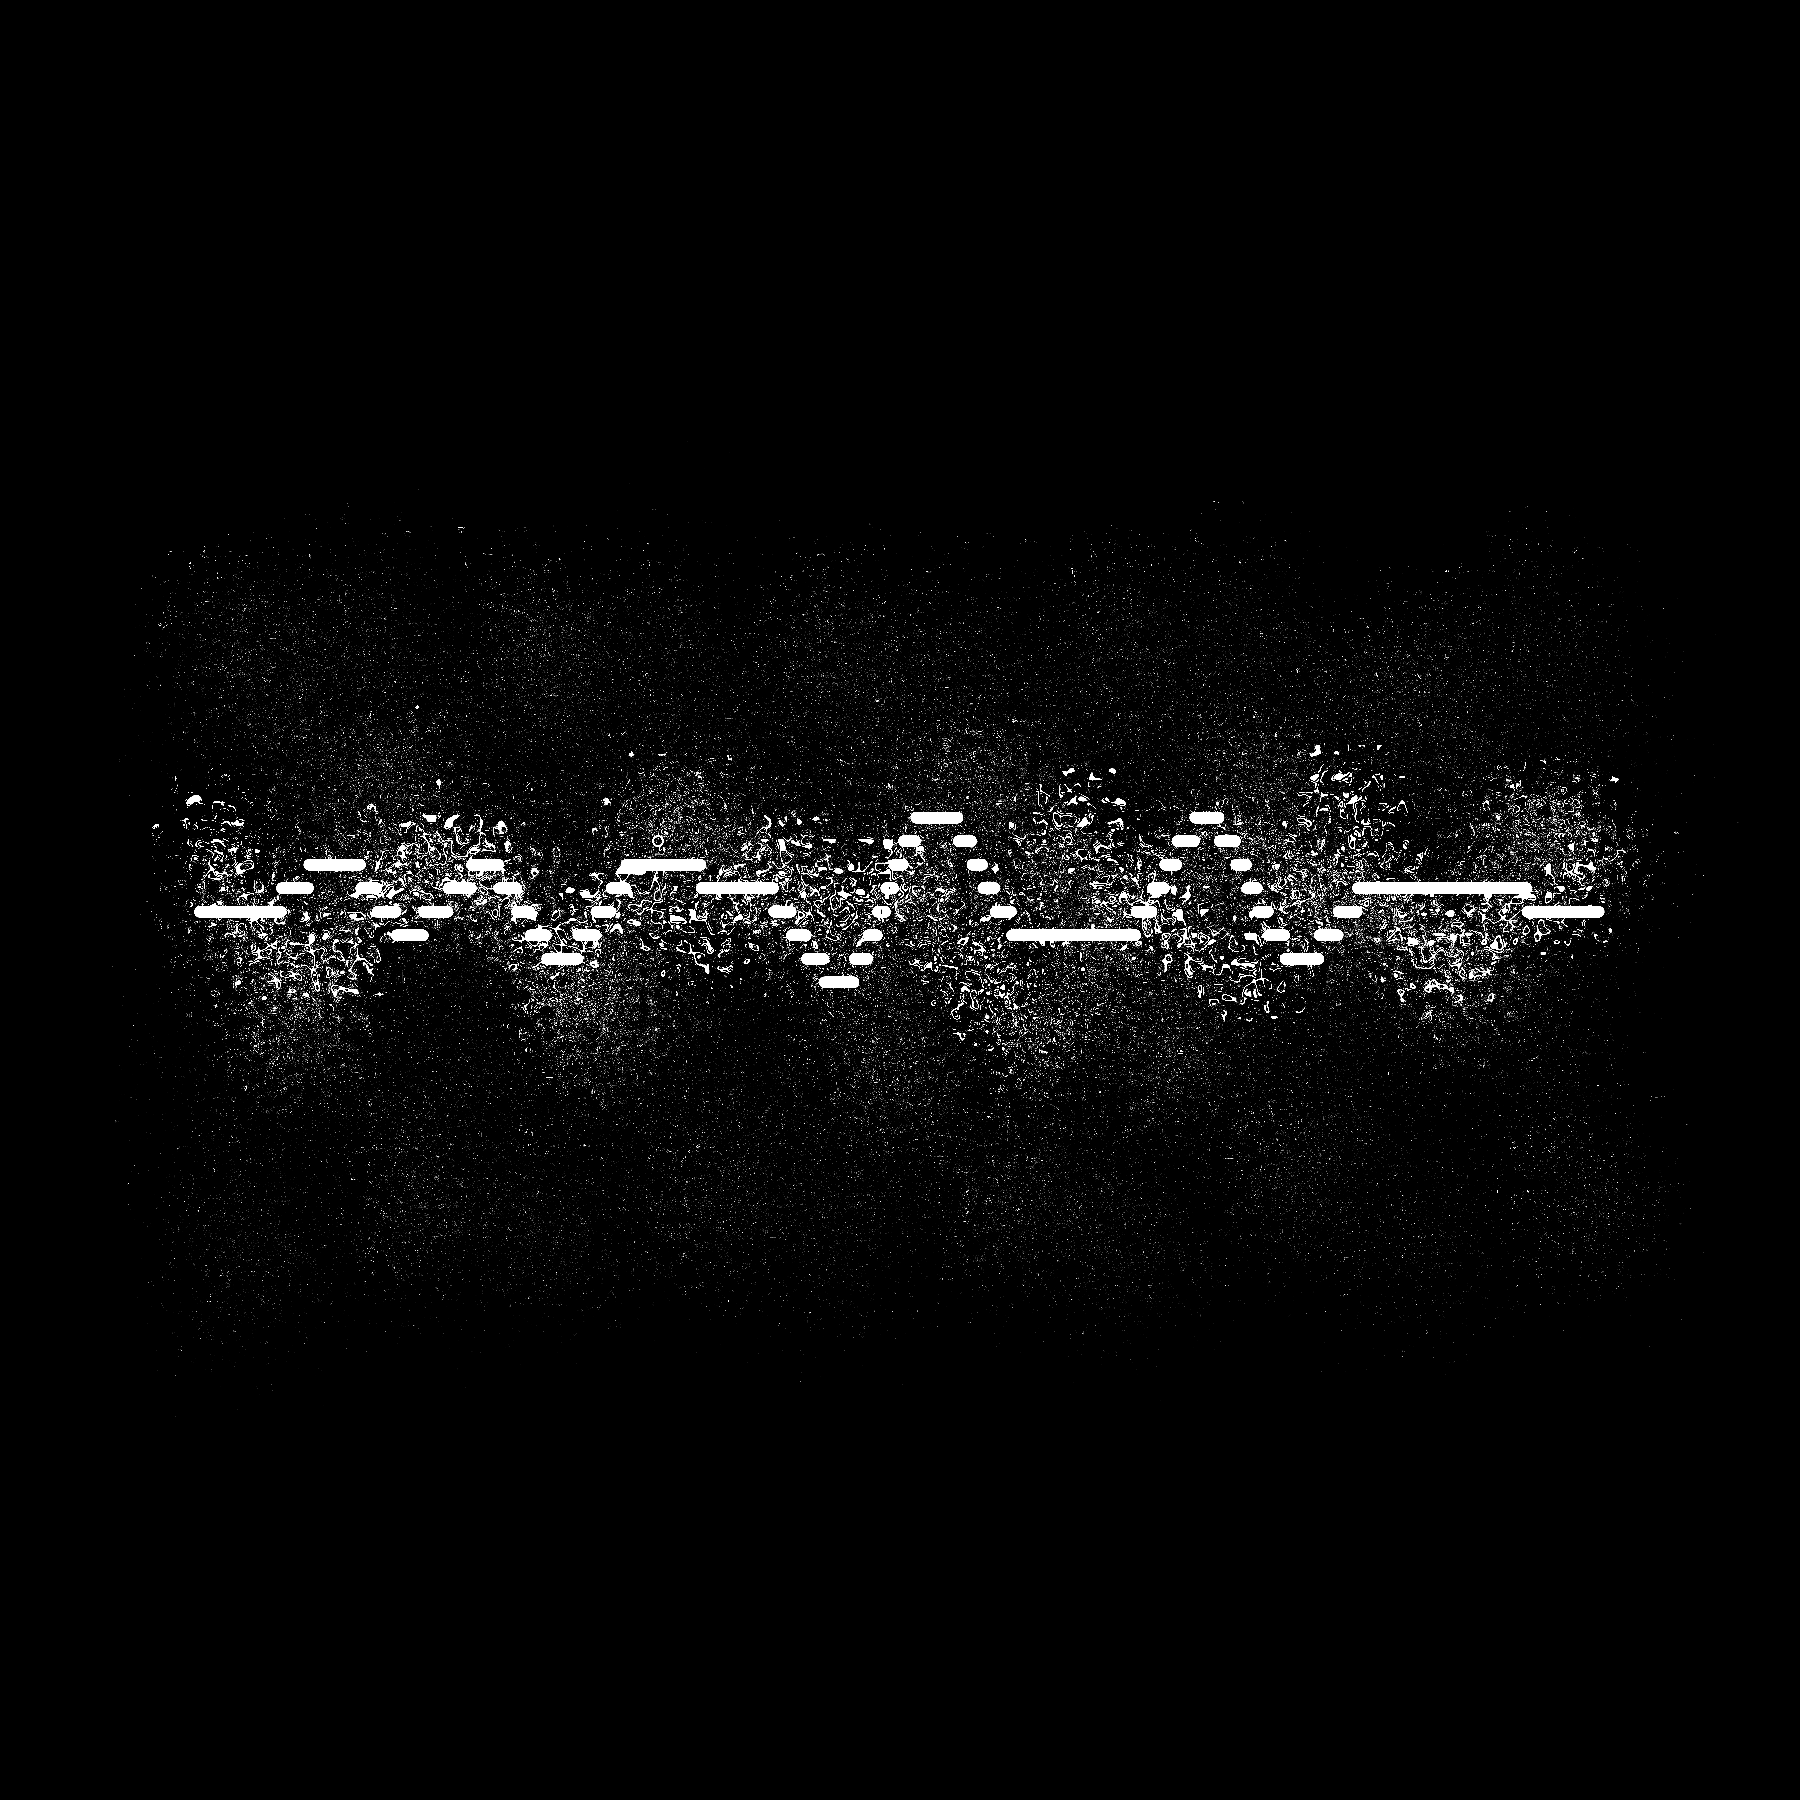

I found this one frustrating because it was sooo up my alley but I didn't have enough time to really give it the love it deserved. I ended up just generating some music with the Torso-T1 in Ableton, and then learned how to play that back in p5js and grab the waveform data which I hadn't tried before. I then drew the waveform out of a bunch of circles and ran it through a fragment shader to get the background texture.
I really want to revisit this too and spend more time working on the generative audio part. I'd love for the visuals to drive the audio some too instead of it being a unidirectional thing.
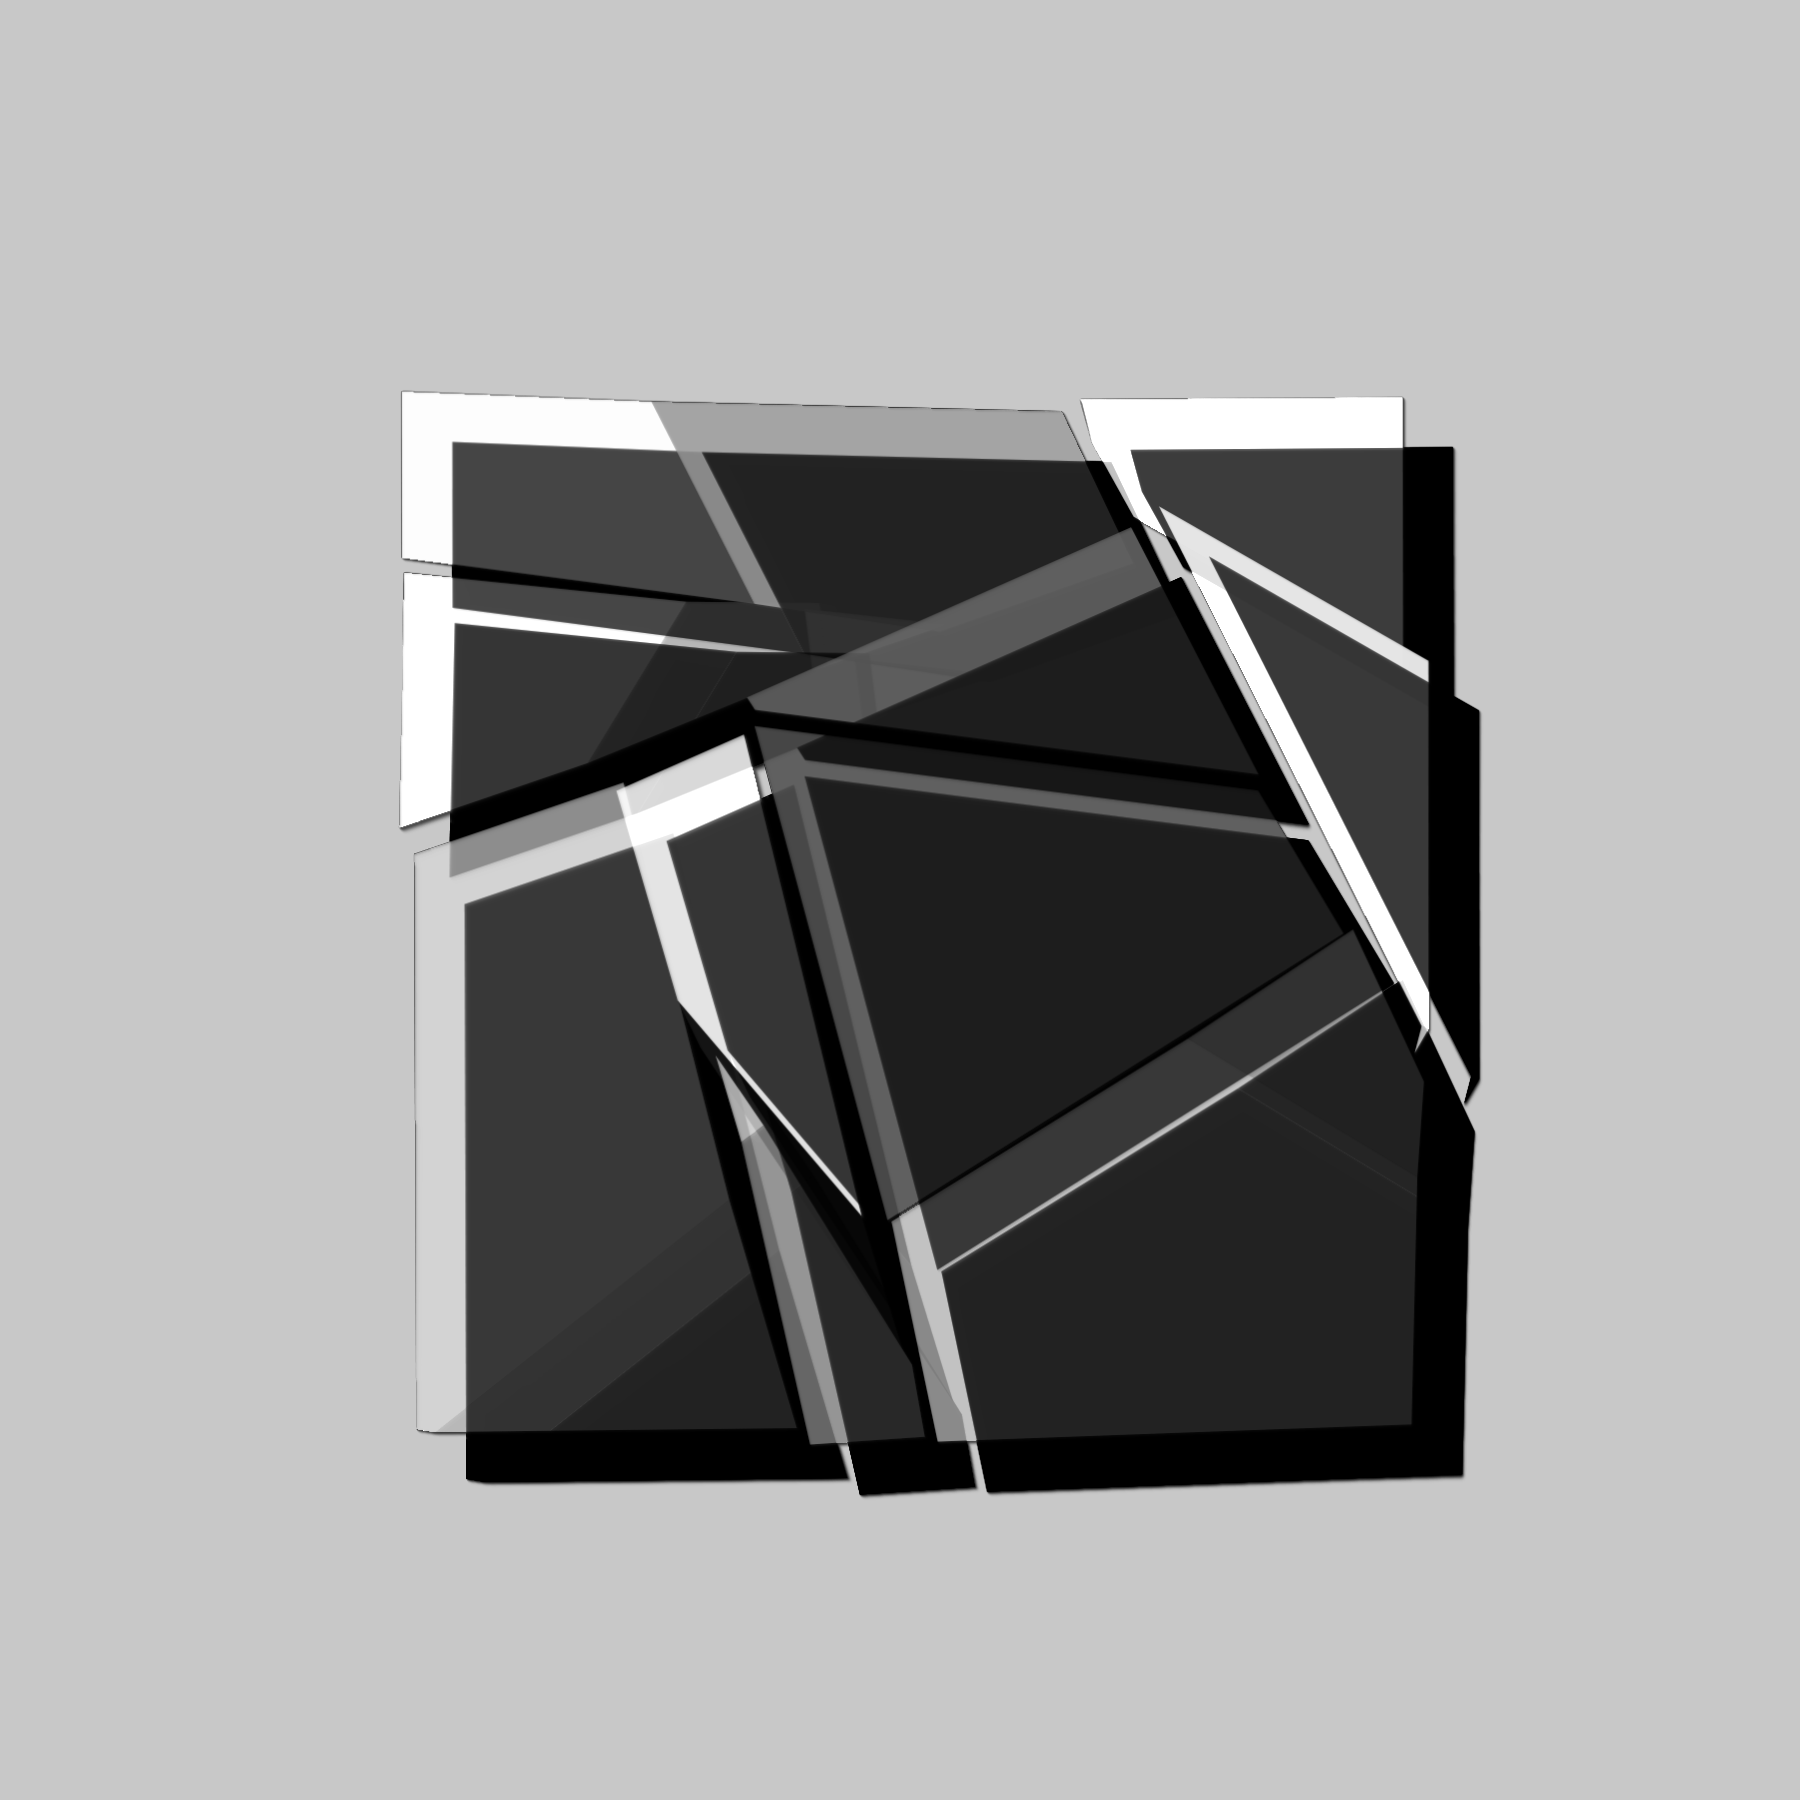
11. Suprematism


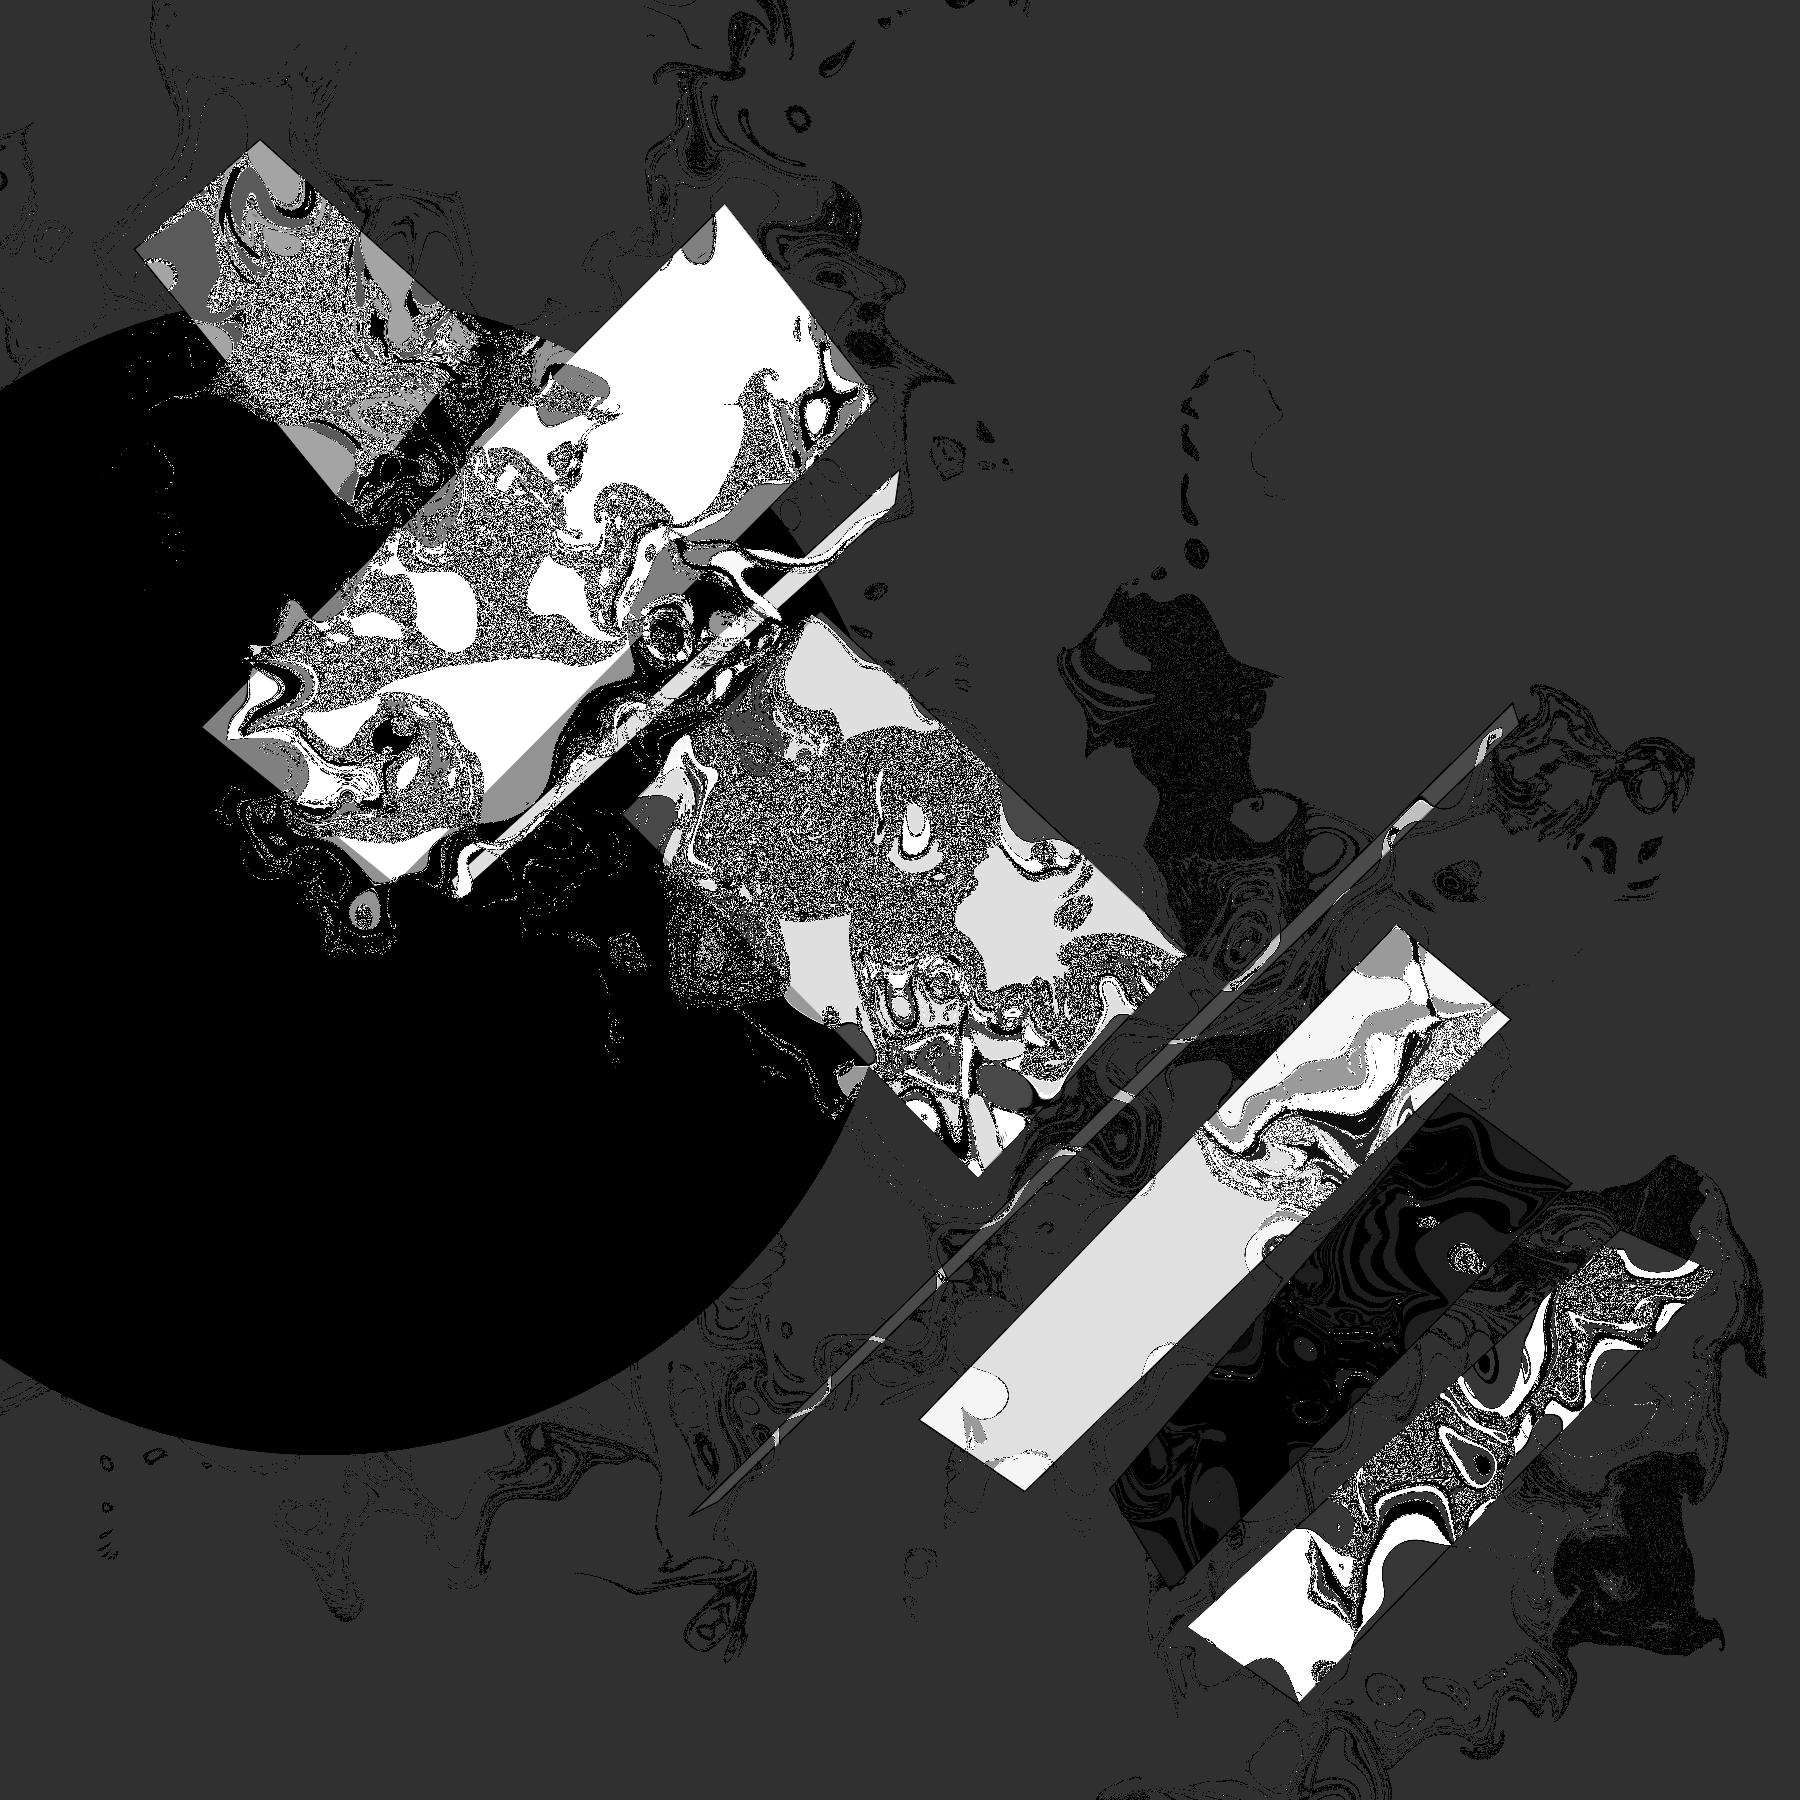
This was another one that had to be quick for me, but I enjoyed learning about the art movement, and I also learned how to draw polygons from a series of vertices in p5js which I hadn't done before. This one's got a feedback shader doing the liquidy noisy stuff too.
12. Tessellation
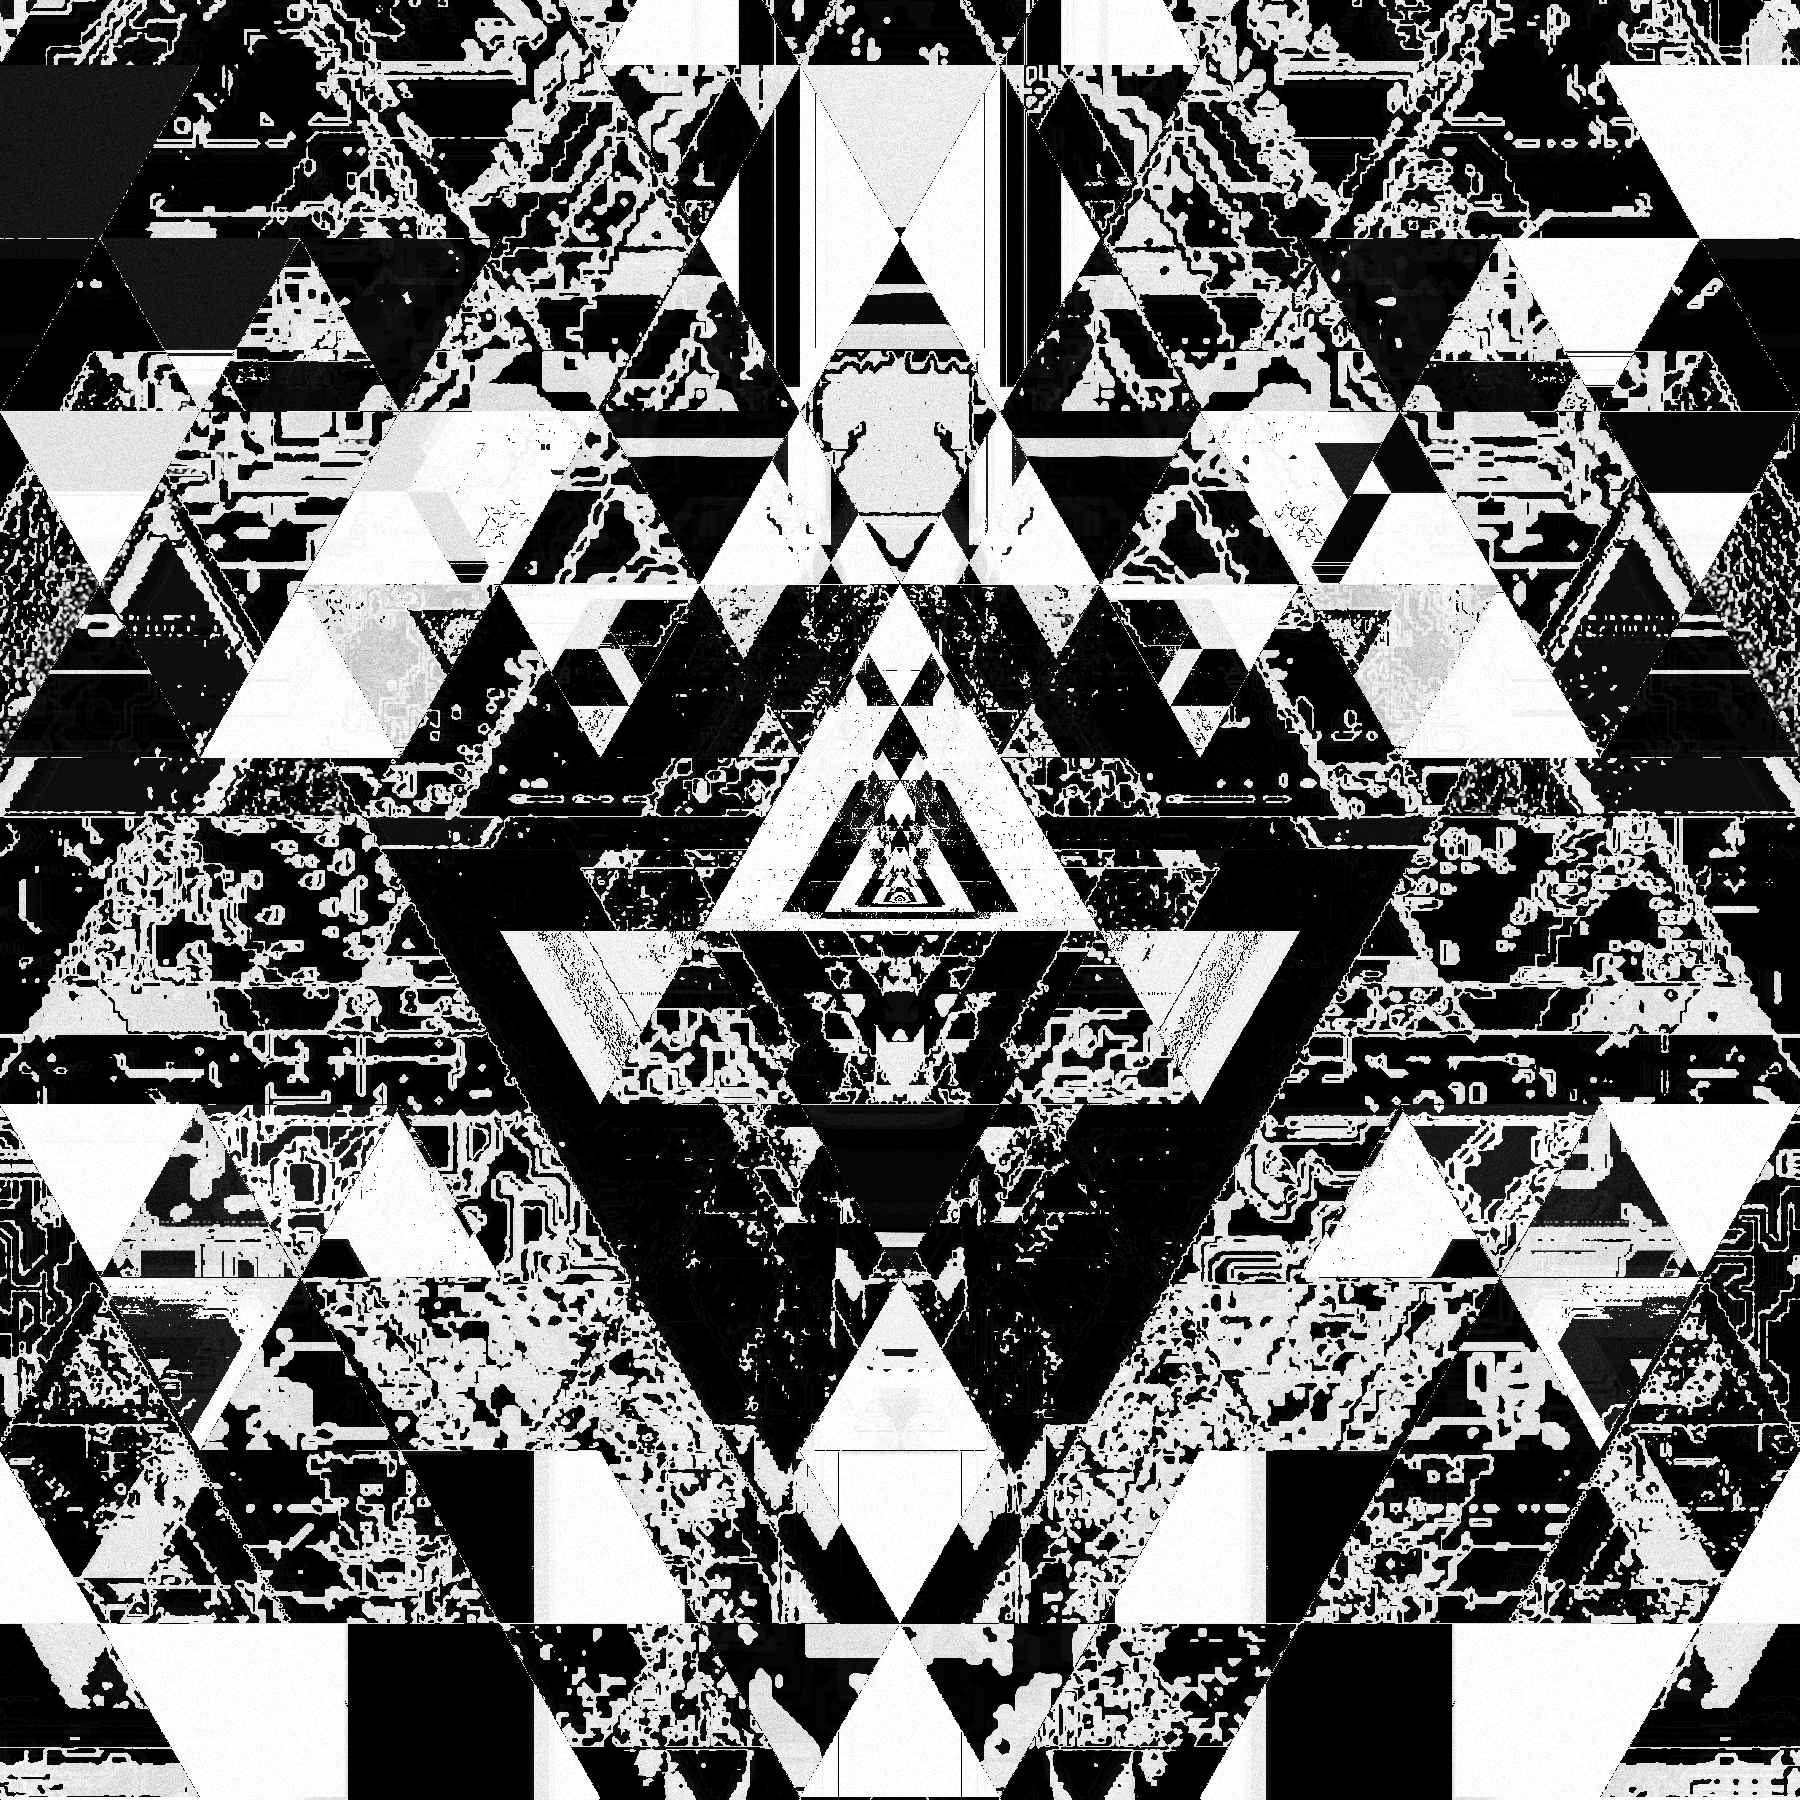
This is another one I'd love to revisit. I chose a super basic triangular tessellation but I would love to learn how some of the more complicated ones work. Here we're drawing a triangular grid with the triangles colored according to their distance from the center of the image (run through a trig function of course). The triangles are then run through a feedback shader which gives us most of the texture.
13. Something you've always wanted to learn

This one was pretty fun. I don't usually work with polygons but have often enjoyed work I've seen from folks dividing polygons and breaking them into smaller pieces, so I decided I'd try to learn how to do that.
We start with a square here, and then divide it along a random line into two polygons. Then we repeat that process with the resulting polygons a bunch of times. Then when we go to draw the image we shift each polygon's position by a random amount, and draw it in a random color which is then fed into a shader that was almost identical to 12. Tessellation for the final magic.
14. Asemic
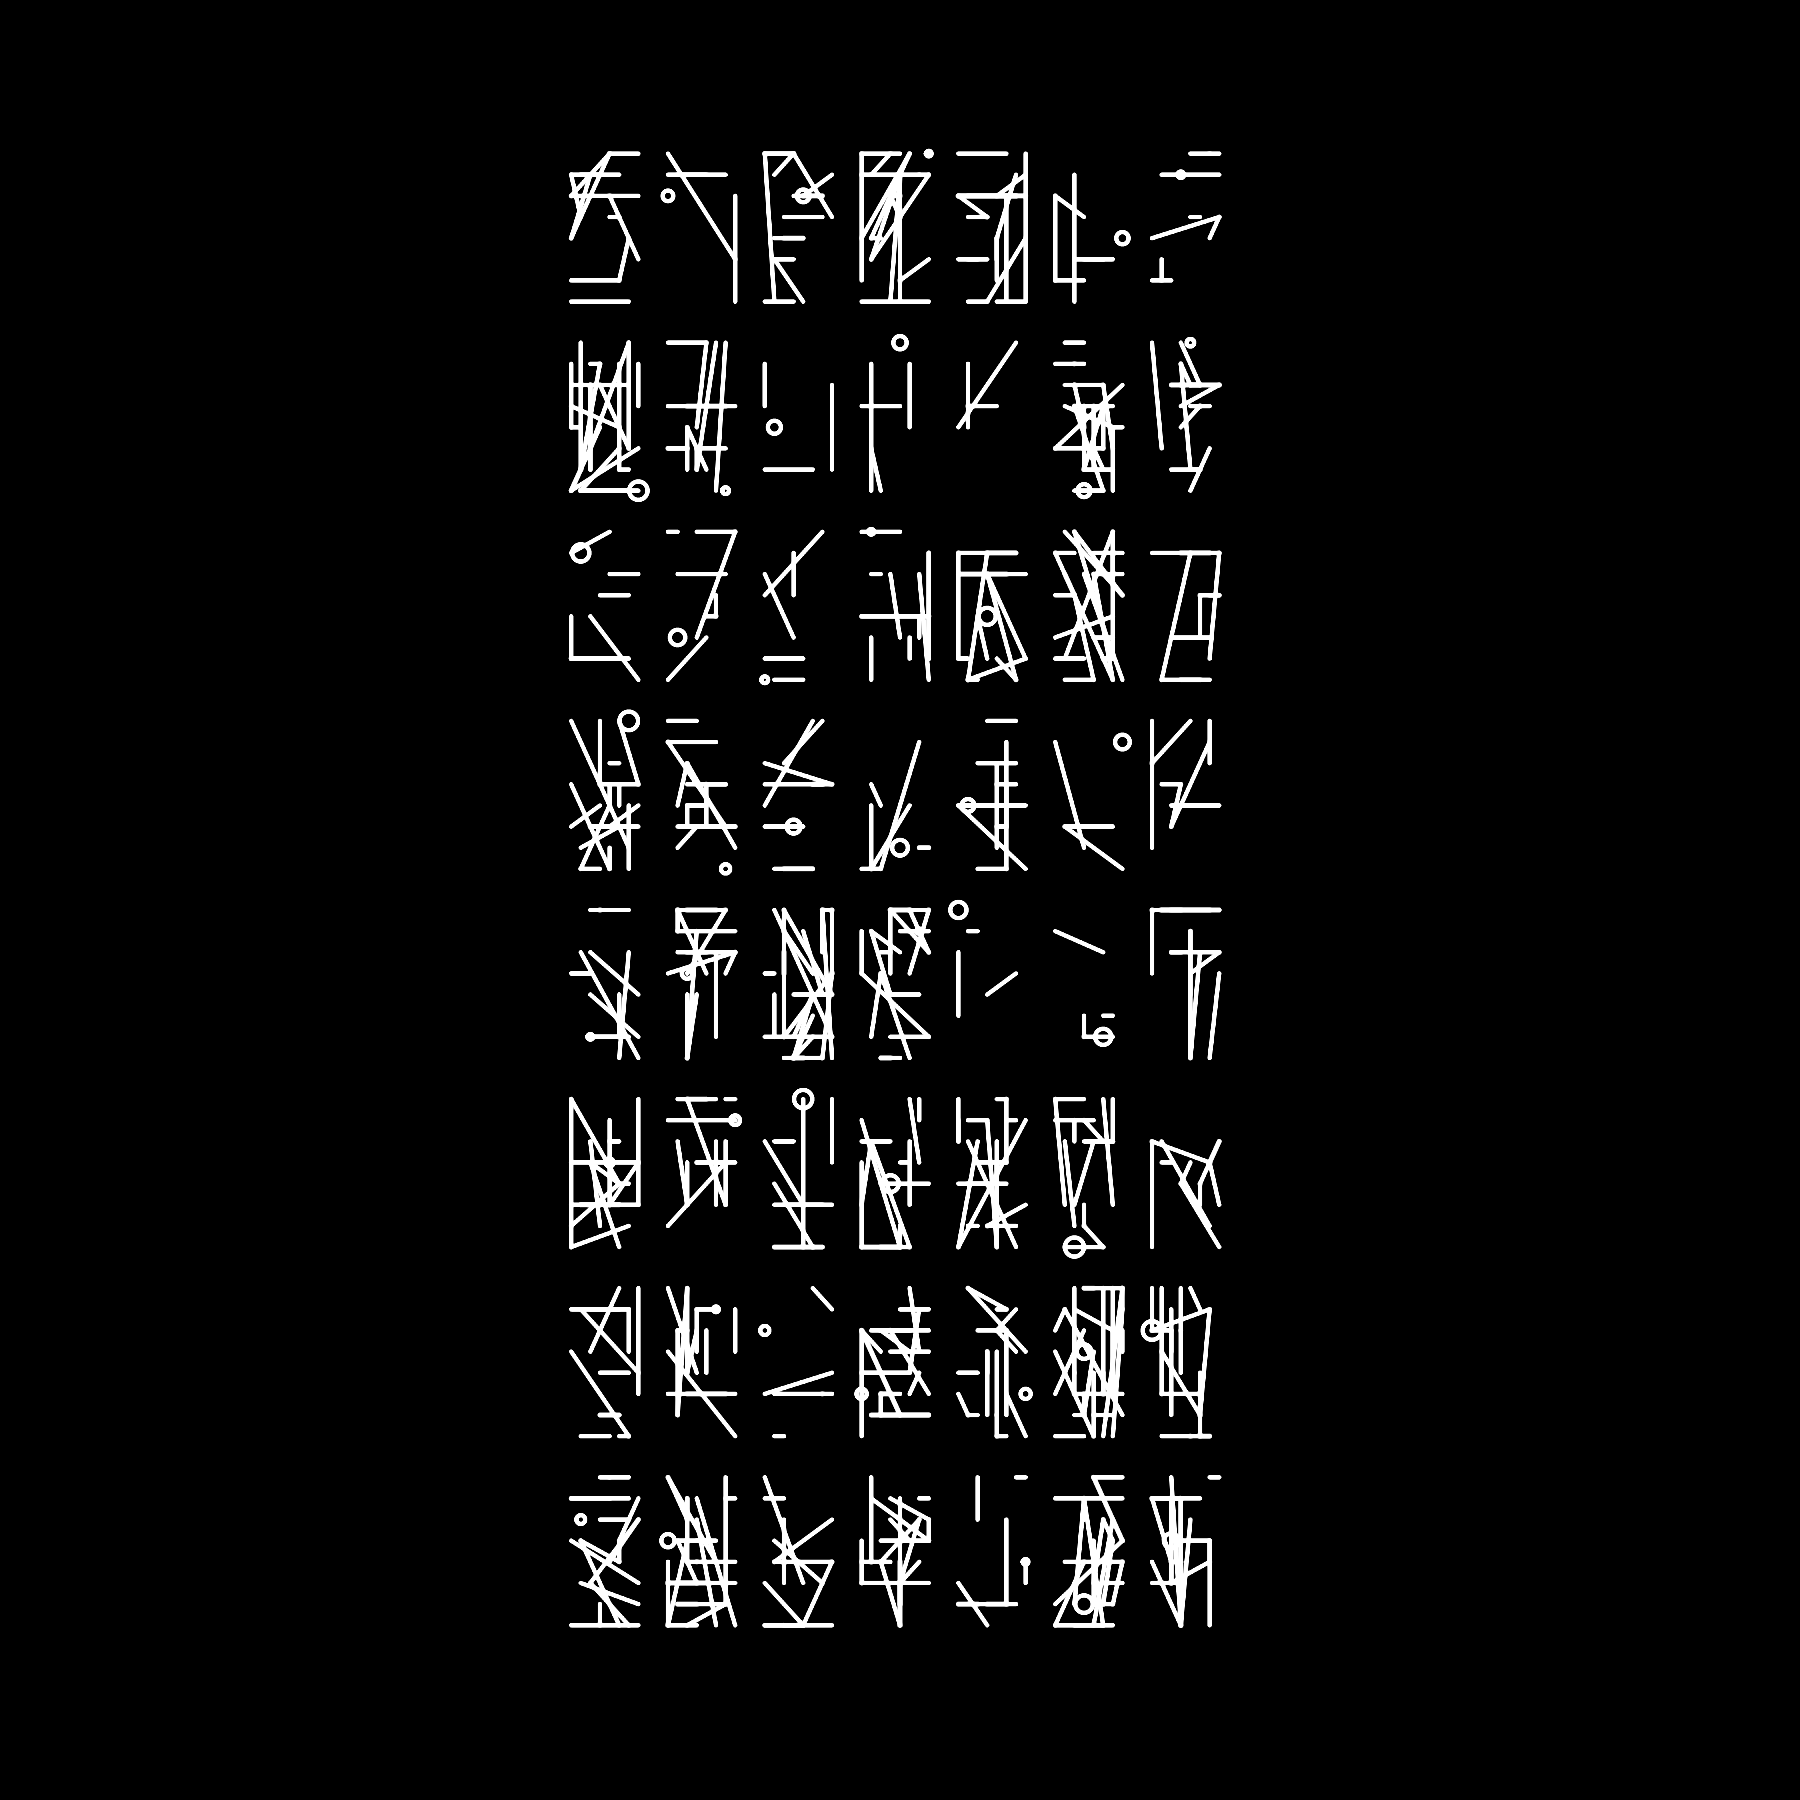
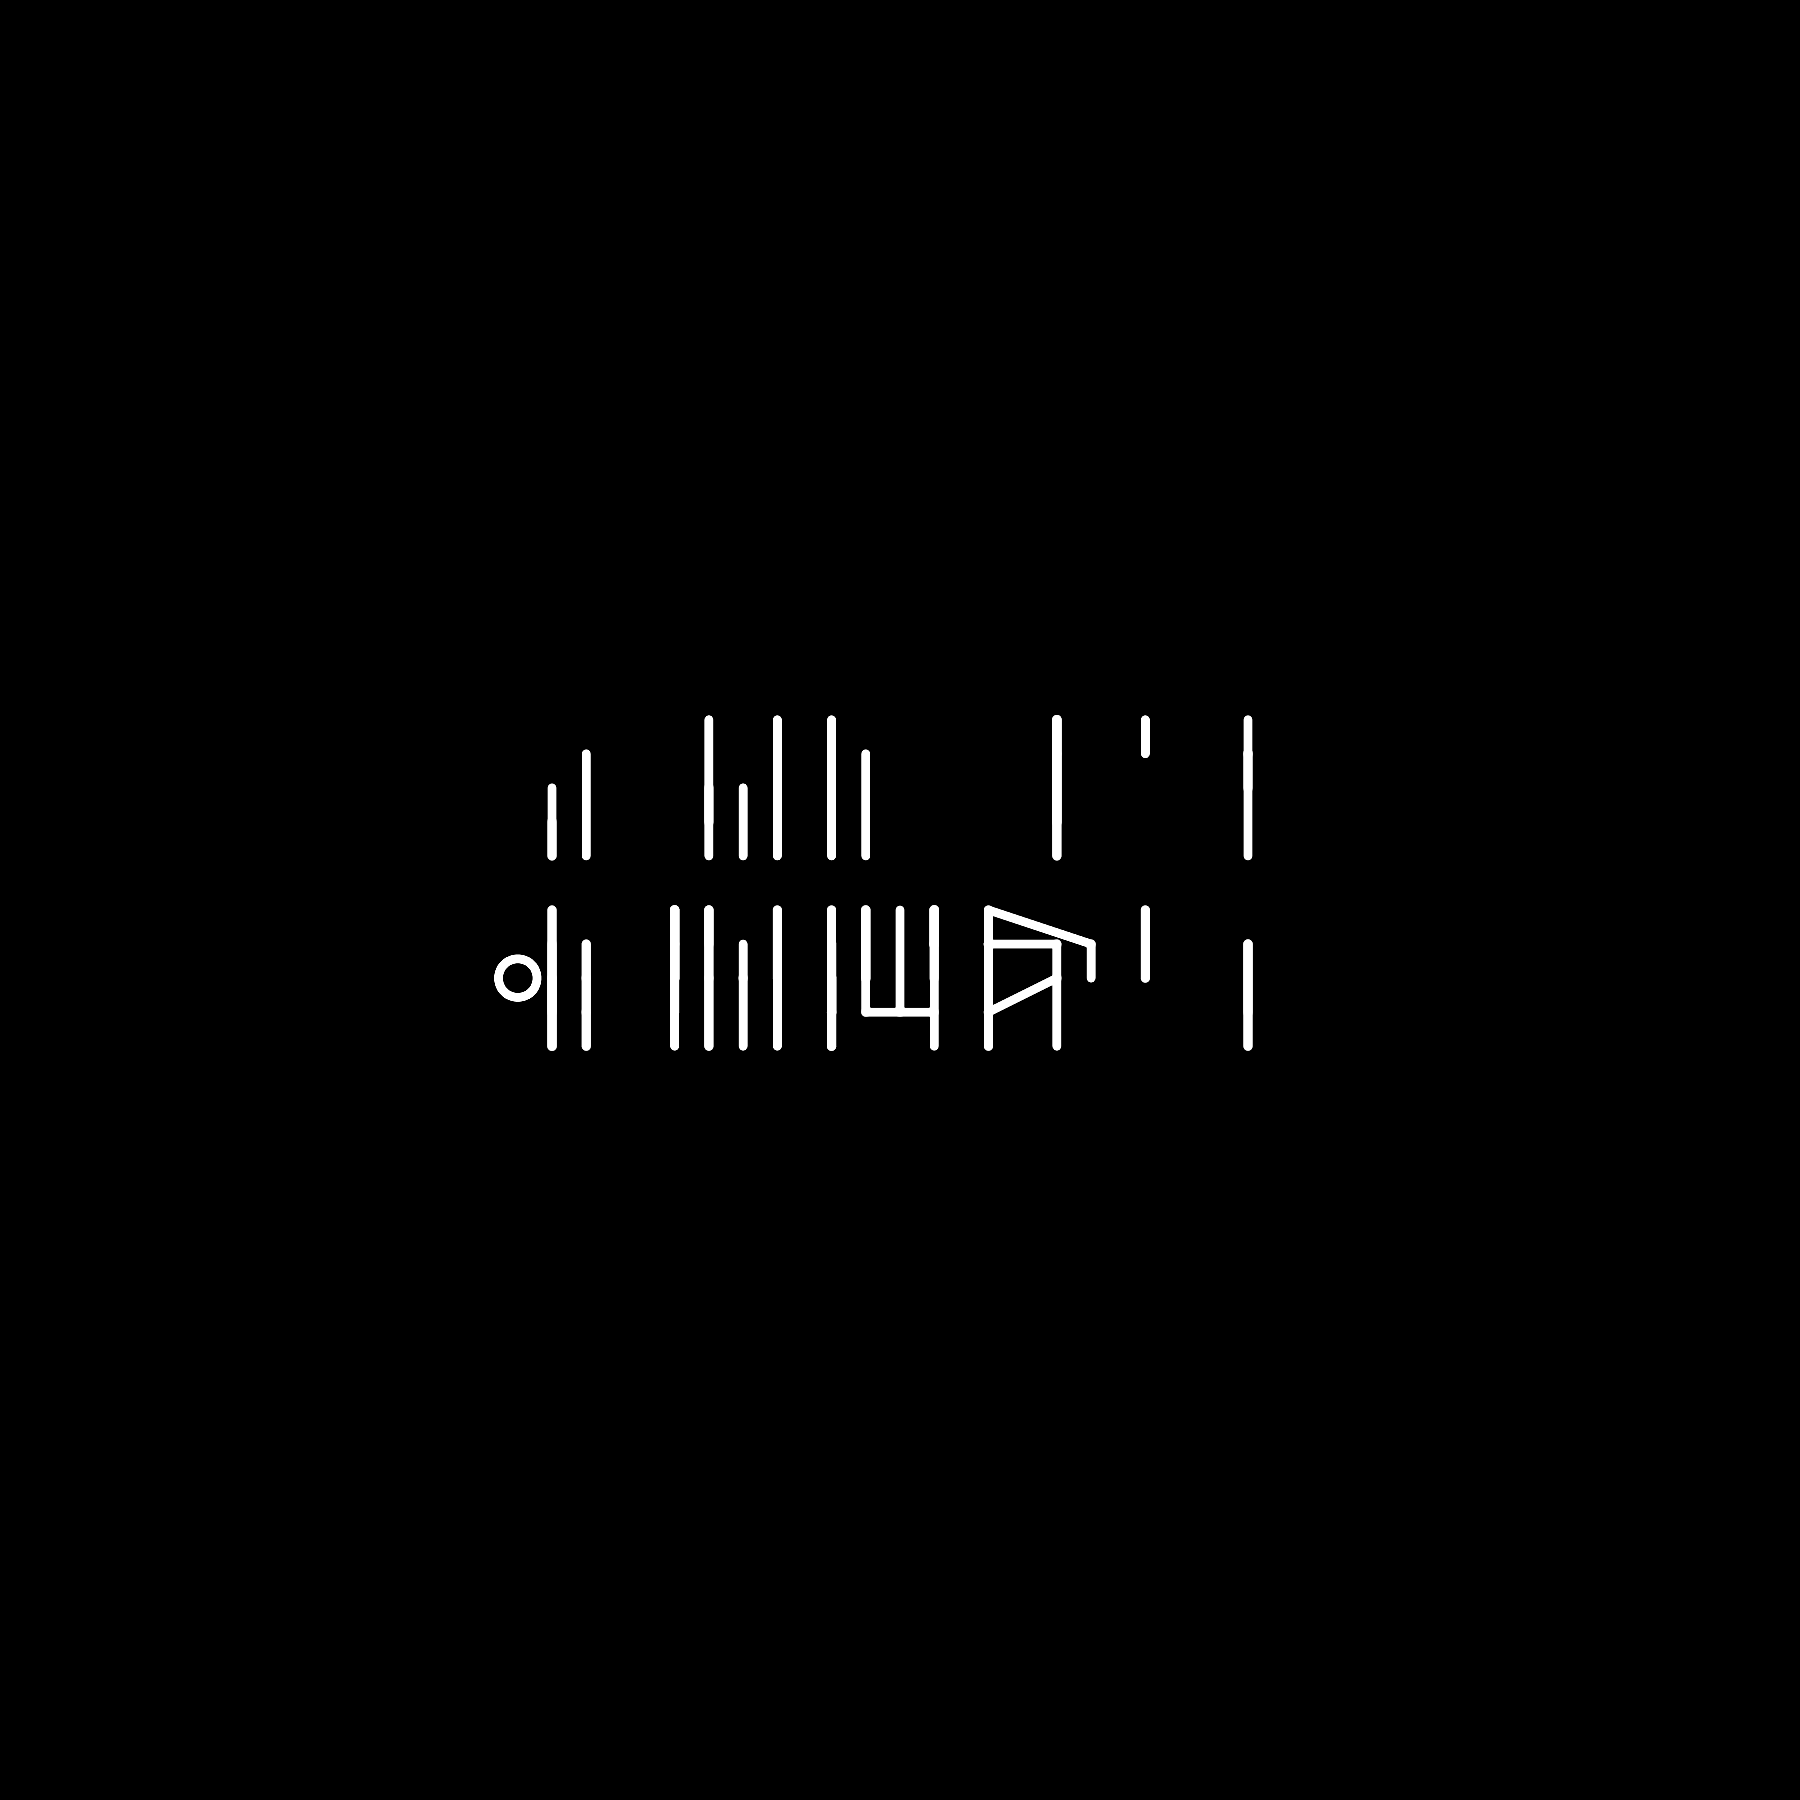
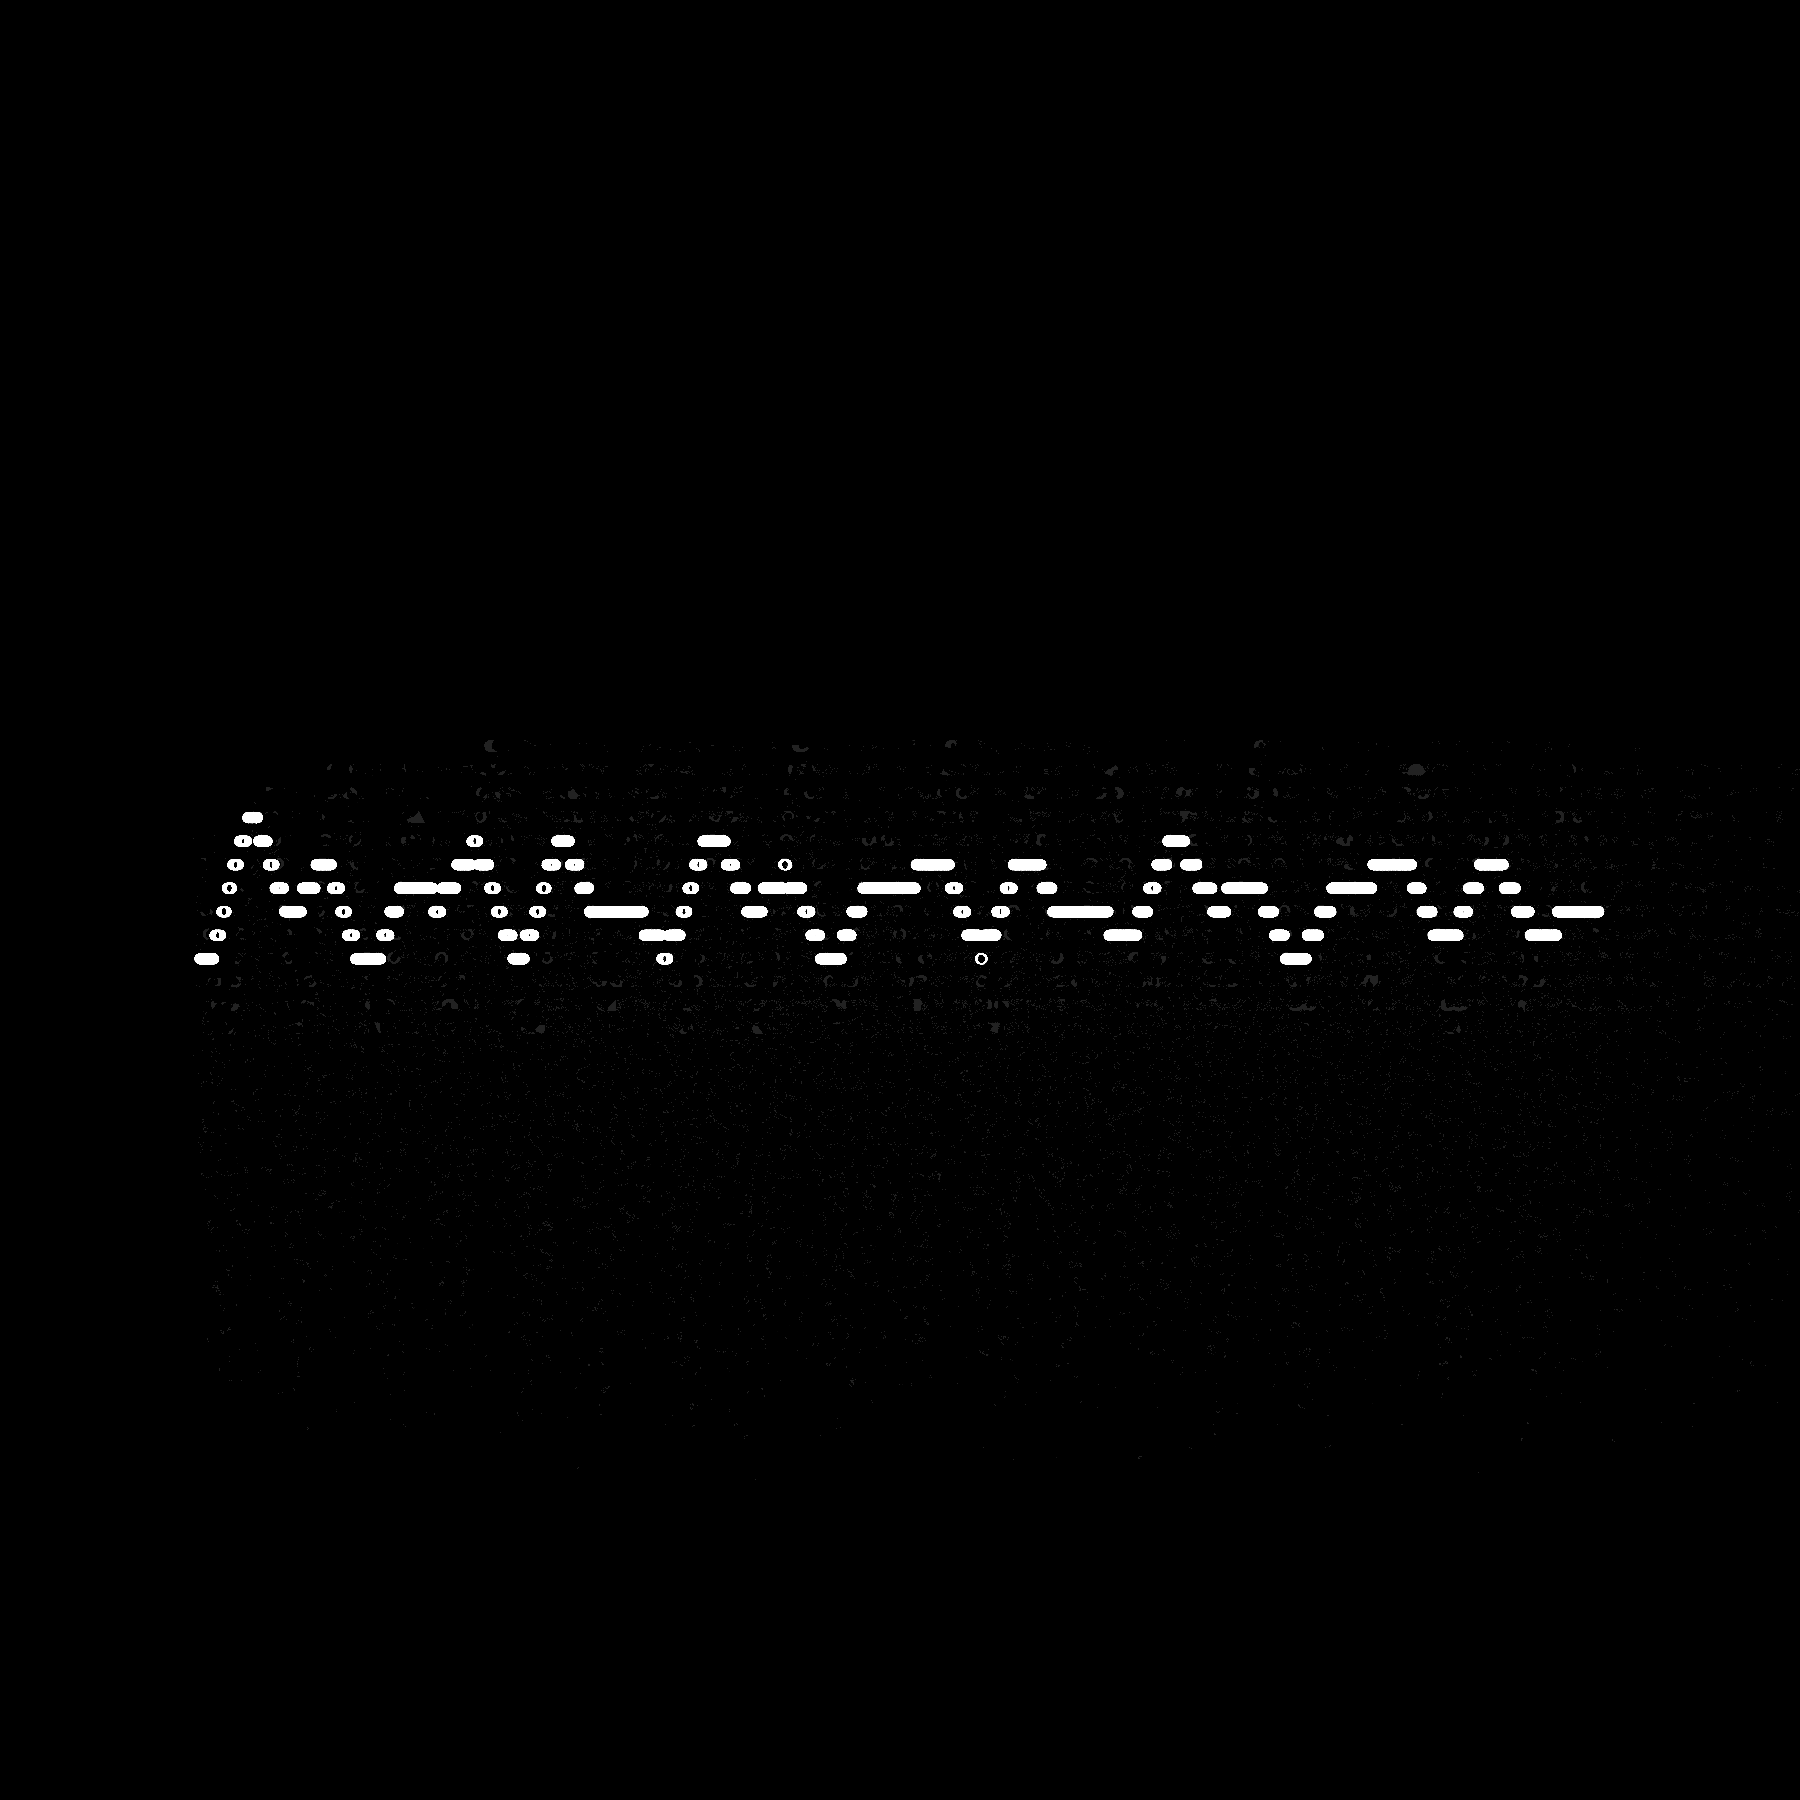
I loved this prompt. For each glyph, we have a smaller grid that's divided into a randomly selected number of vertical and horizontal cells. We pick a random point in that grid and store that as our drawing position. Then we pick a random offset from our drawing position, draw a line to it, and set it as our drawing position. There's also a small chance we'll reset the drawing position to a random location without drawing a line, and a small chance to draw a circle somewhere on the glyph grid.
We're also randomizing the spacing between the glyphs, the height and width of the glyphs, the stroke weight we're using, the number of drawing steps the glyphs will execute, the chance that diagonal lines will be allowed, the chance circles will appear, and the chance the drawing position will reset. It feels like it can spit out pretty varied sets of glyphs so I spent a lot of time refreshing this one and had such a hard time choosing favorite outputs.
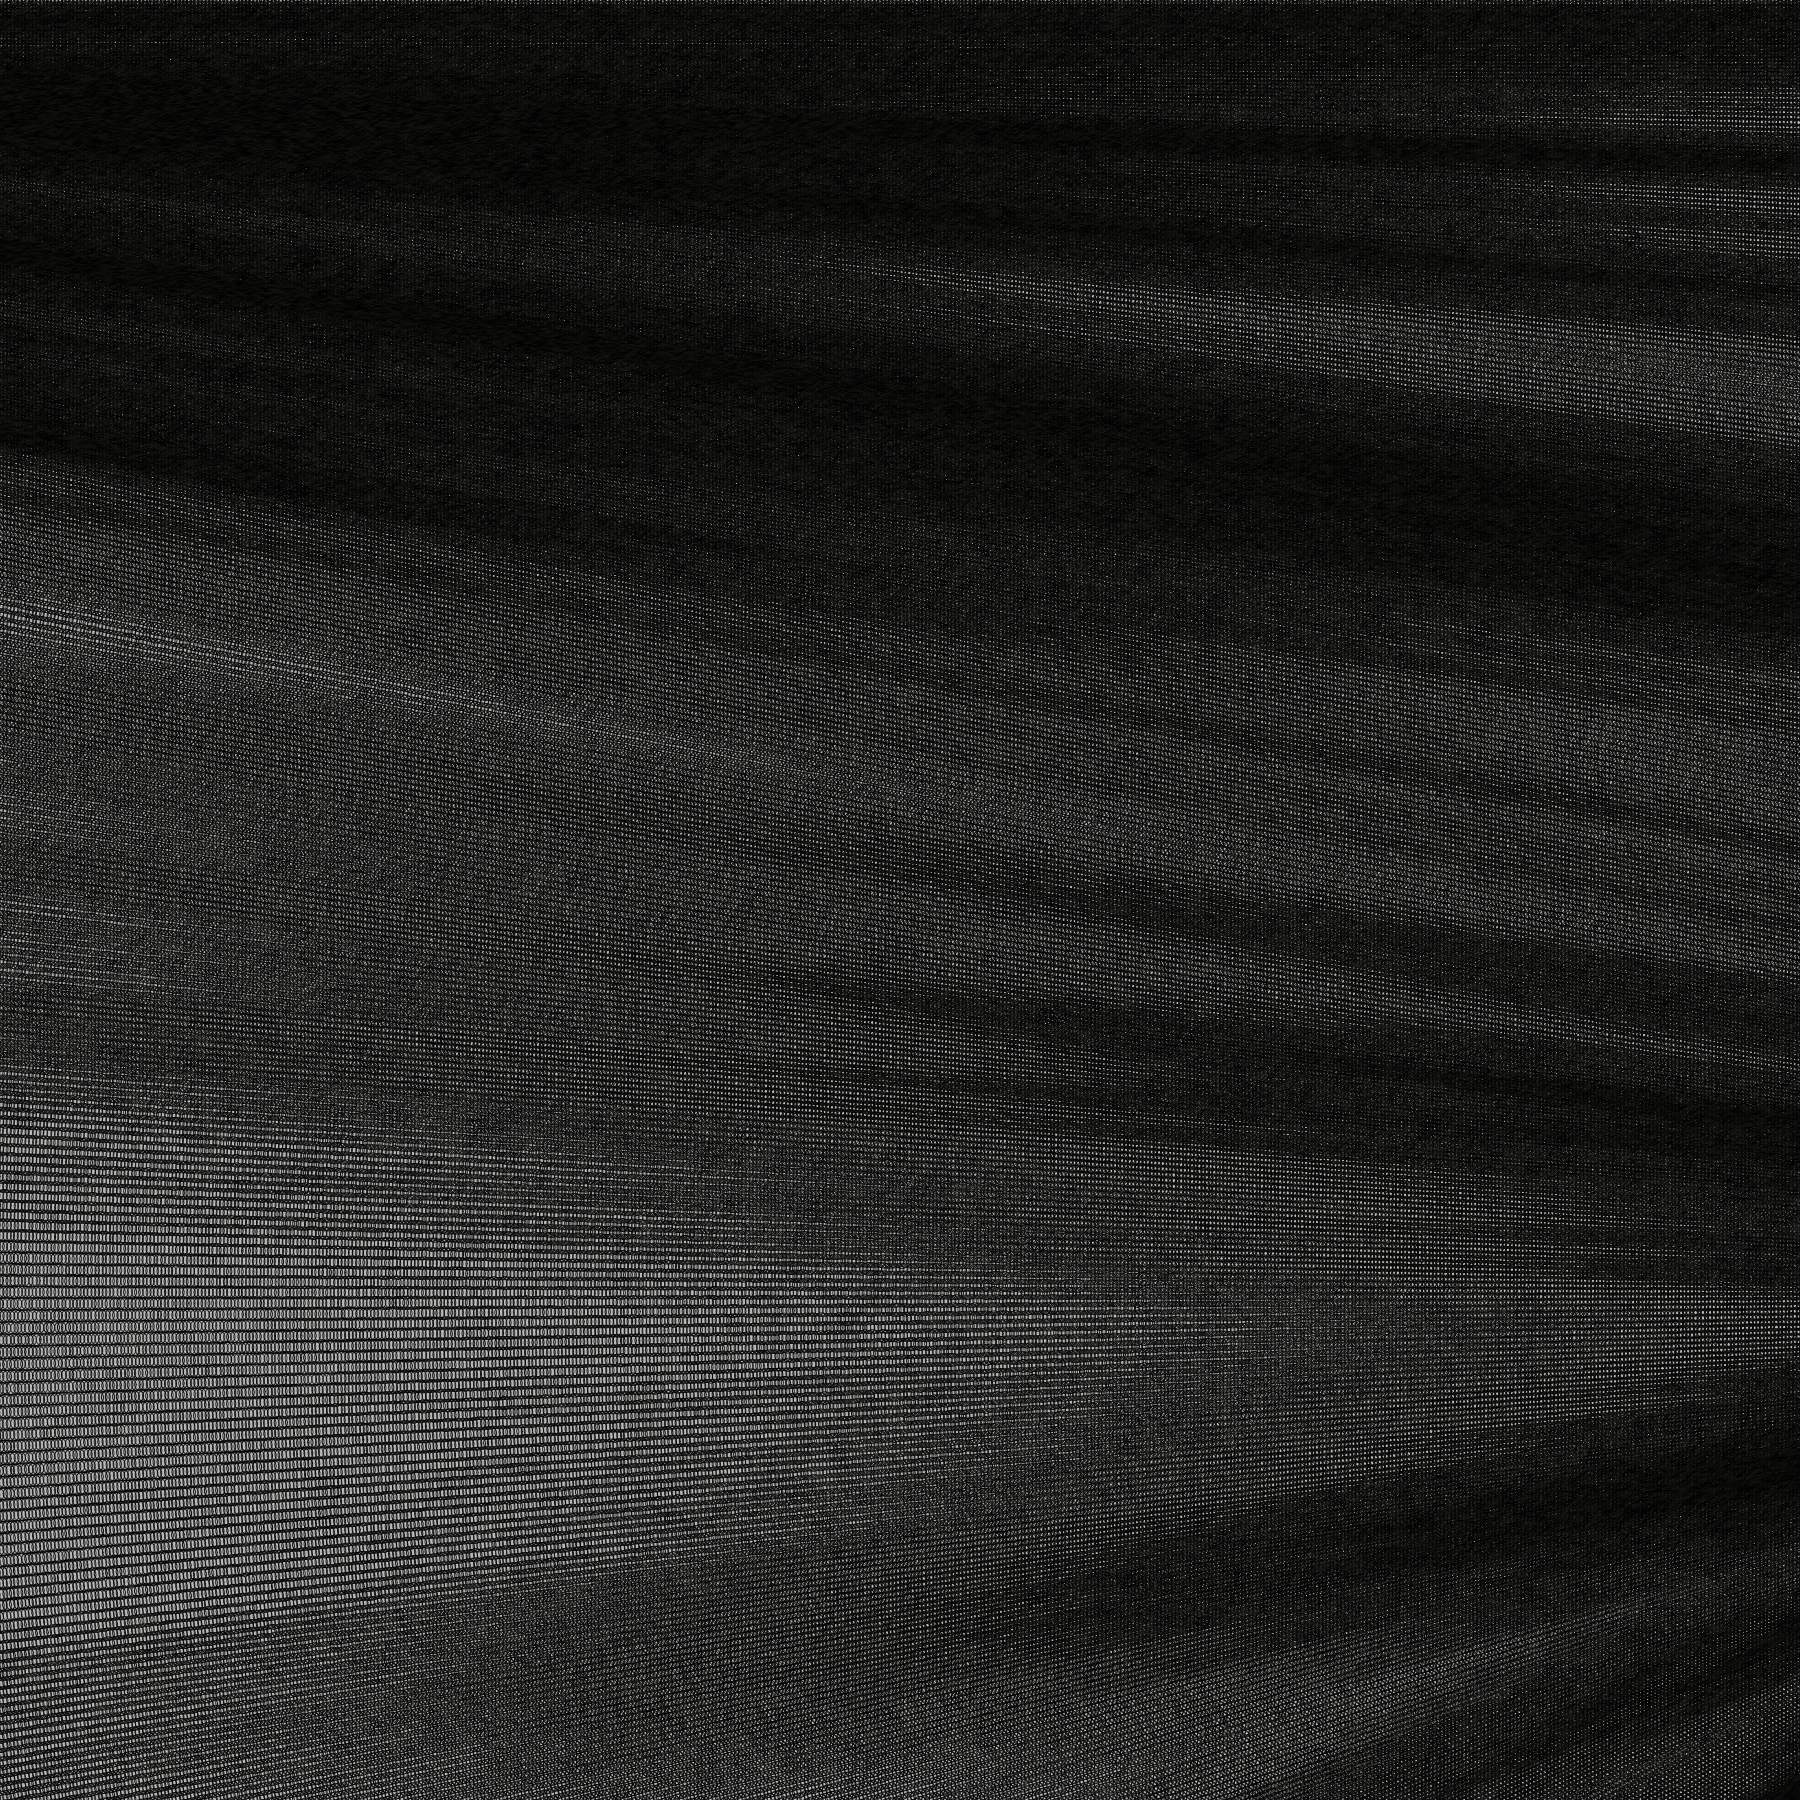
15. Sine Waves
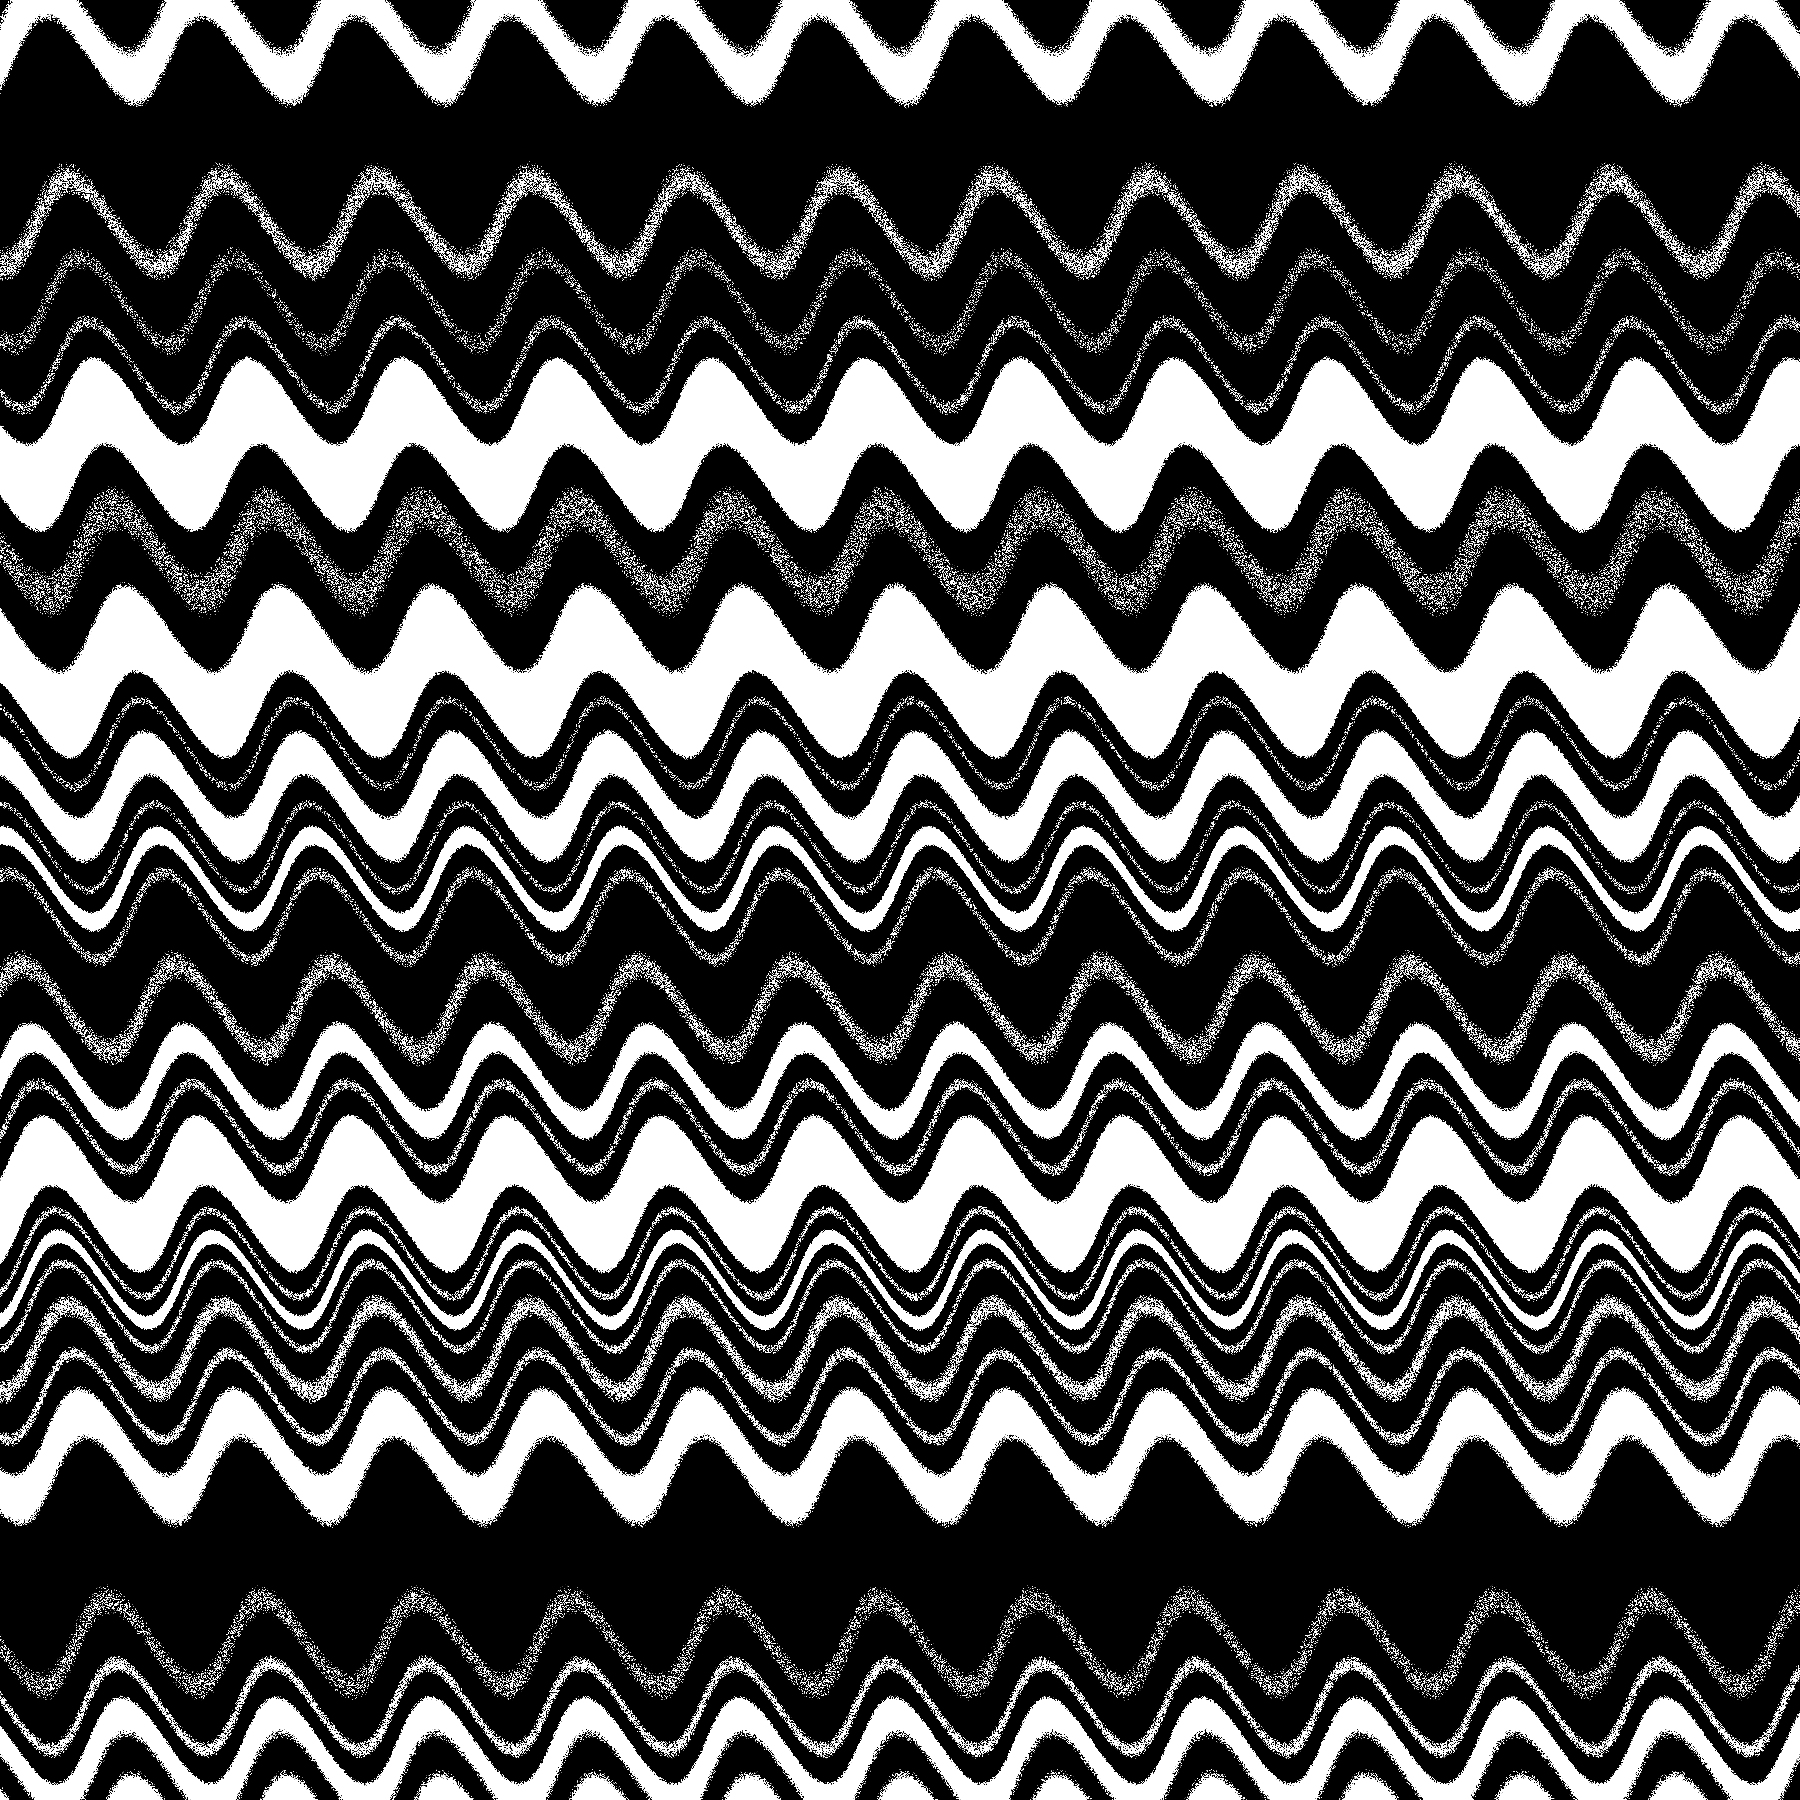
This one landed on a day where I didn't have a ton of time to devote to my sketch, so it's quick and easy and is just drawing some sine waves with a pixel shader. There's a few sin functions that take the pixel y position as an input and are then multiplied together to create the horizontal bars, and the y position that's fed to those sin functions is also offset by a sin that's fed the x position to make the bars wavy. There's a little bit of noise added as well for some texture.
16. Reflection of a reflection

This one was pretty quick but I liked the results. I basically just took the shape division from 13. Something you've always wanted to learn and then, when drawing the shapes, rotated each shape around the center of the image and drew it again. In this case I had 16 copies of it drawn around the center. This one is also running through a feedback shader which is kind of like a reflection through time.
17. A grid inside a grid inside a grid

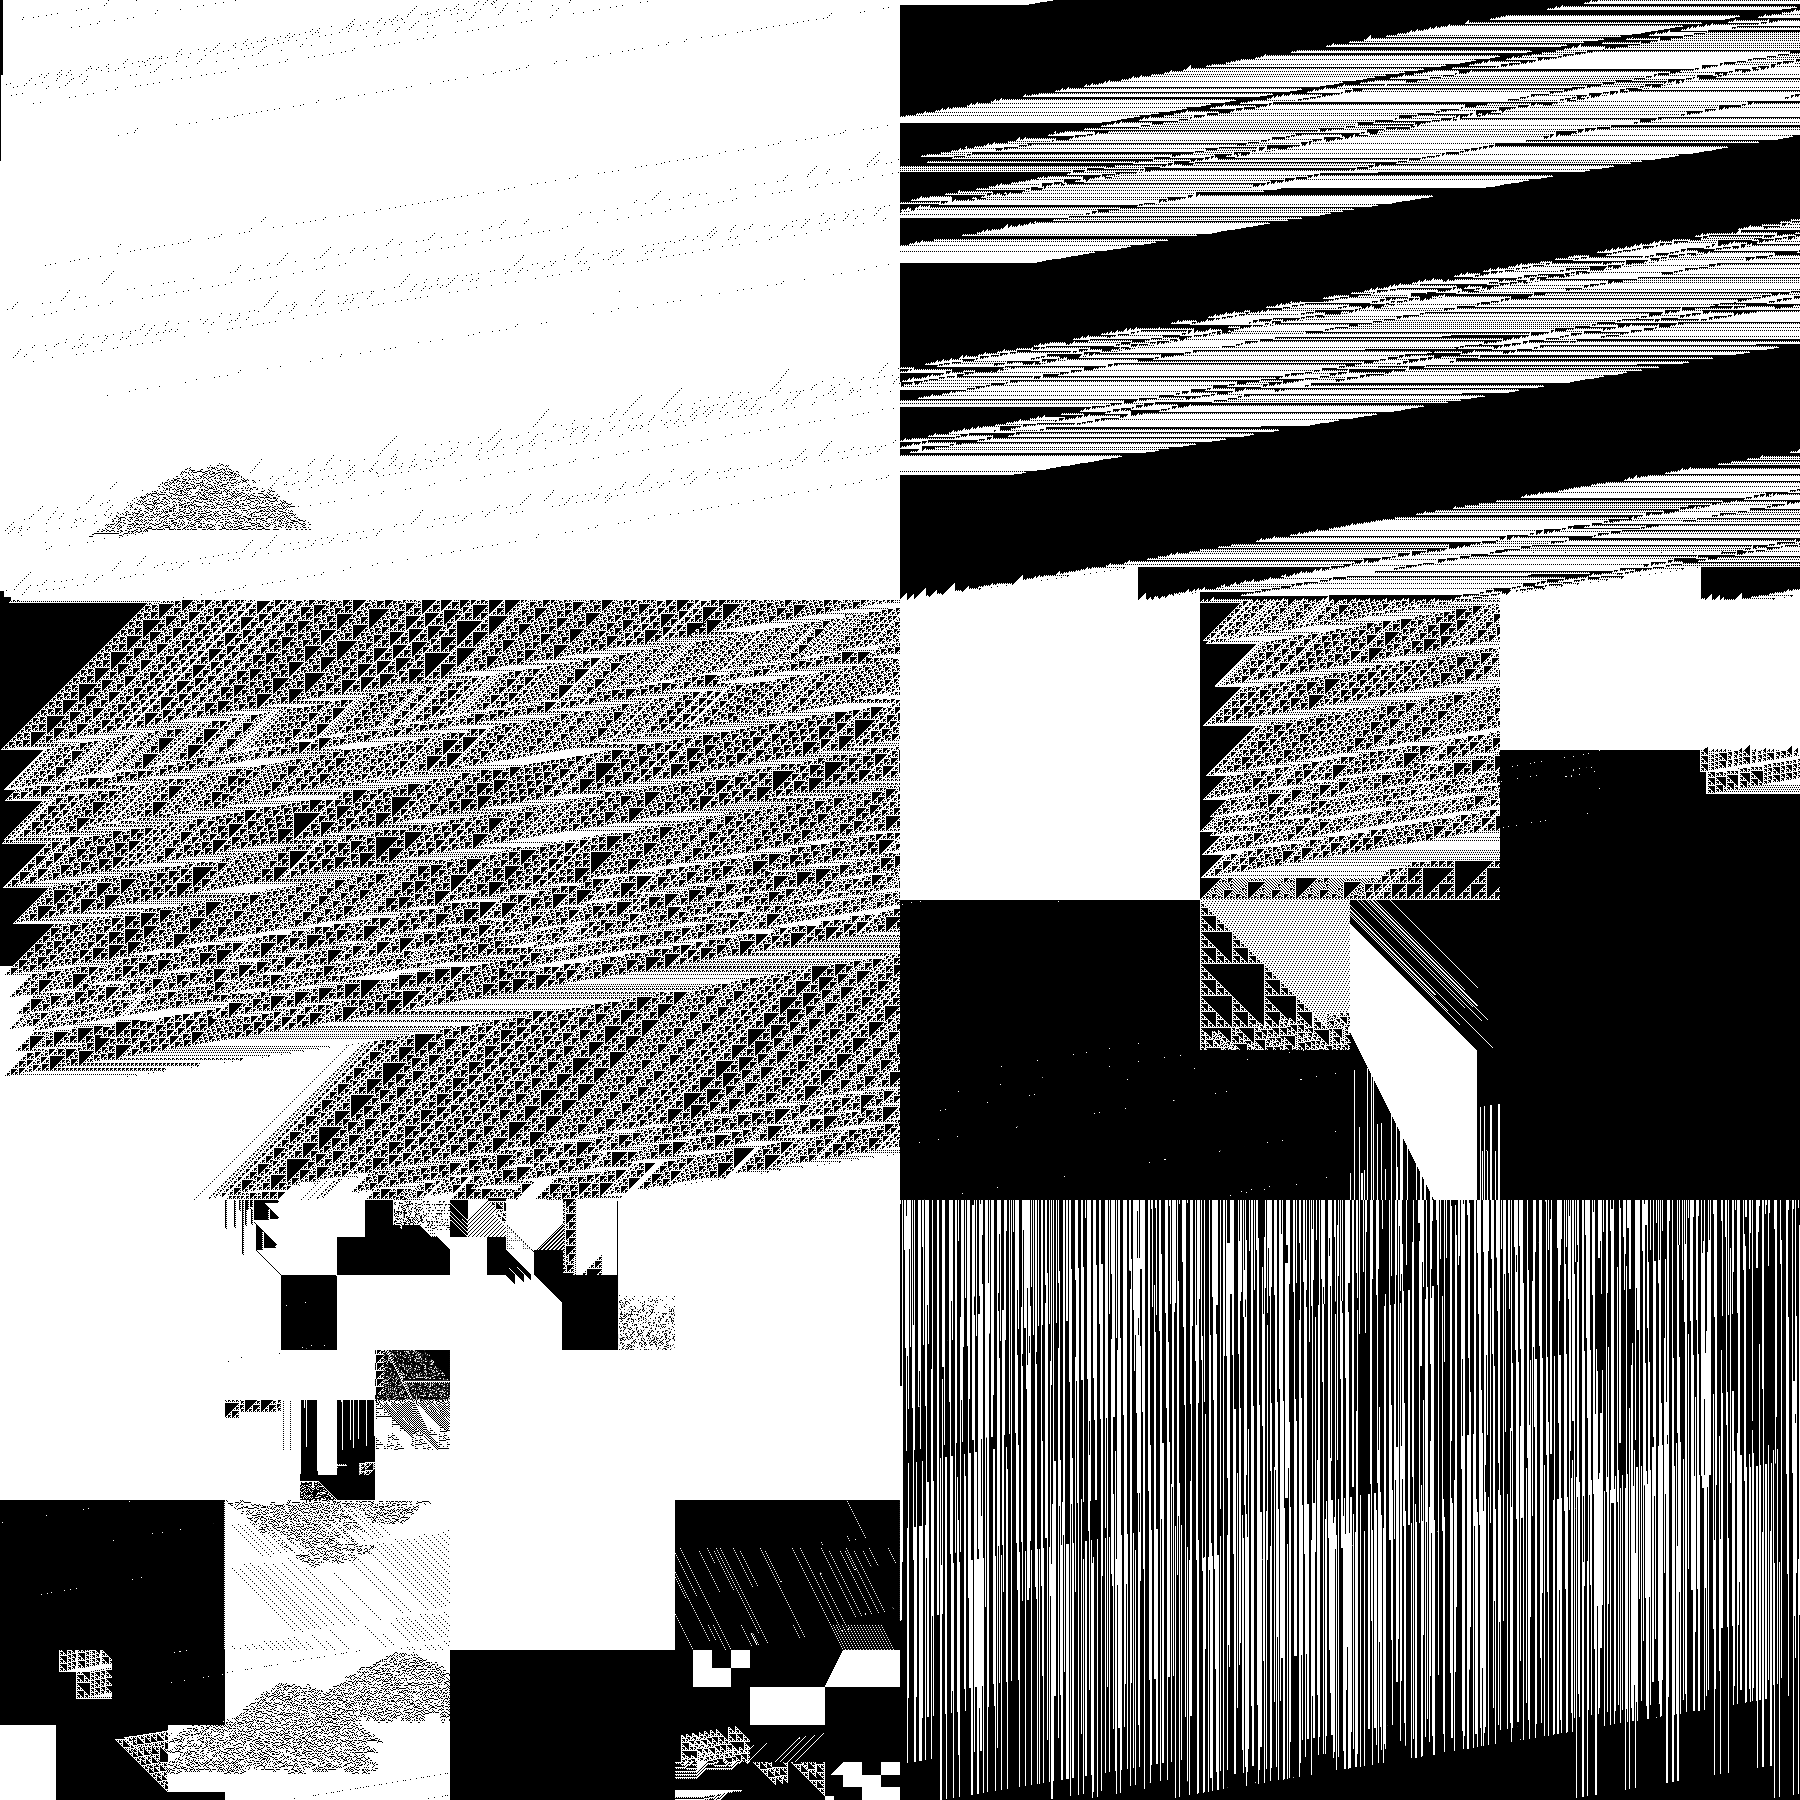
This one was really interesting to me. I started out by writing a little grid class and then writing some code that would take a grid and randomly create a new smaller grid in one of its cells. I ran that for a few iterations and had it spitting out random colors for each grid cell which was being fed into a feedback shader. I was feeling pretty uninspired by this and like it was too similar to previous sketches, and not really coming up with any other ideas that I loved. I was fiddling with numbers in the feedback shader and seeing if I could stumble across anything interesting, and lo and behold, I happened to accidentally create some Cellular Automata like behavior!
I was really not expecting or aiming for this result at all but I was pleasantly surprised! The feedback shader is just running some neighboring pixel values through a few sin functions and multiplication operations which is not how I would have tried to implement CA. My assumption is that the sin functions, with the right multiplications applied to the inputs, managed to turn pixels "on" and "off" (set them to -1 and 1) in the right pattern to produce the behavior. Neat!
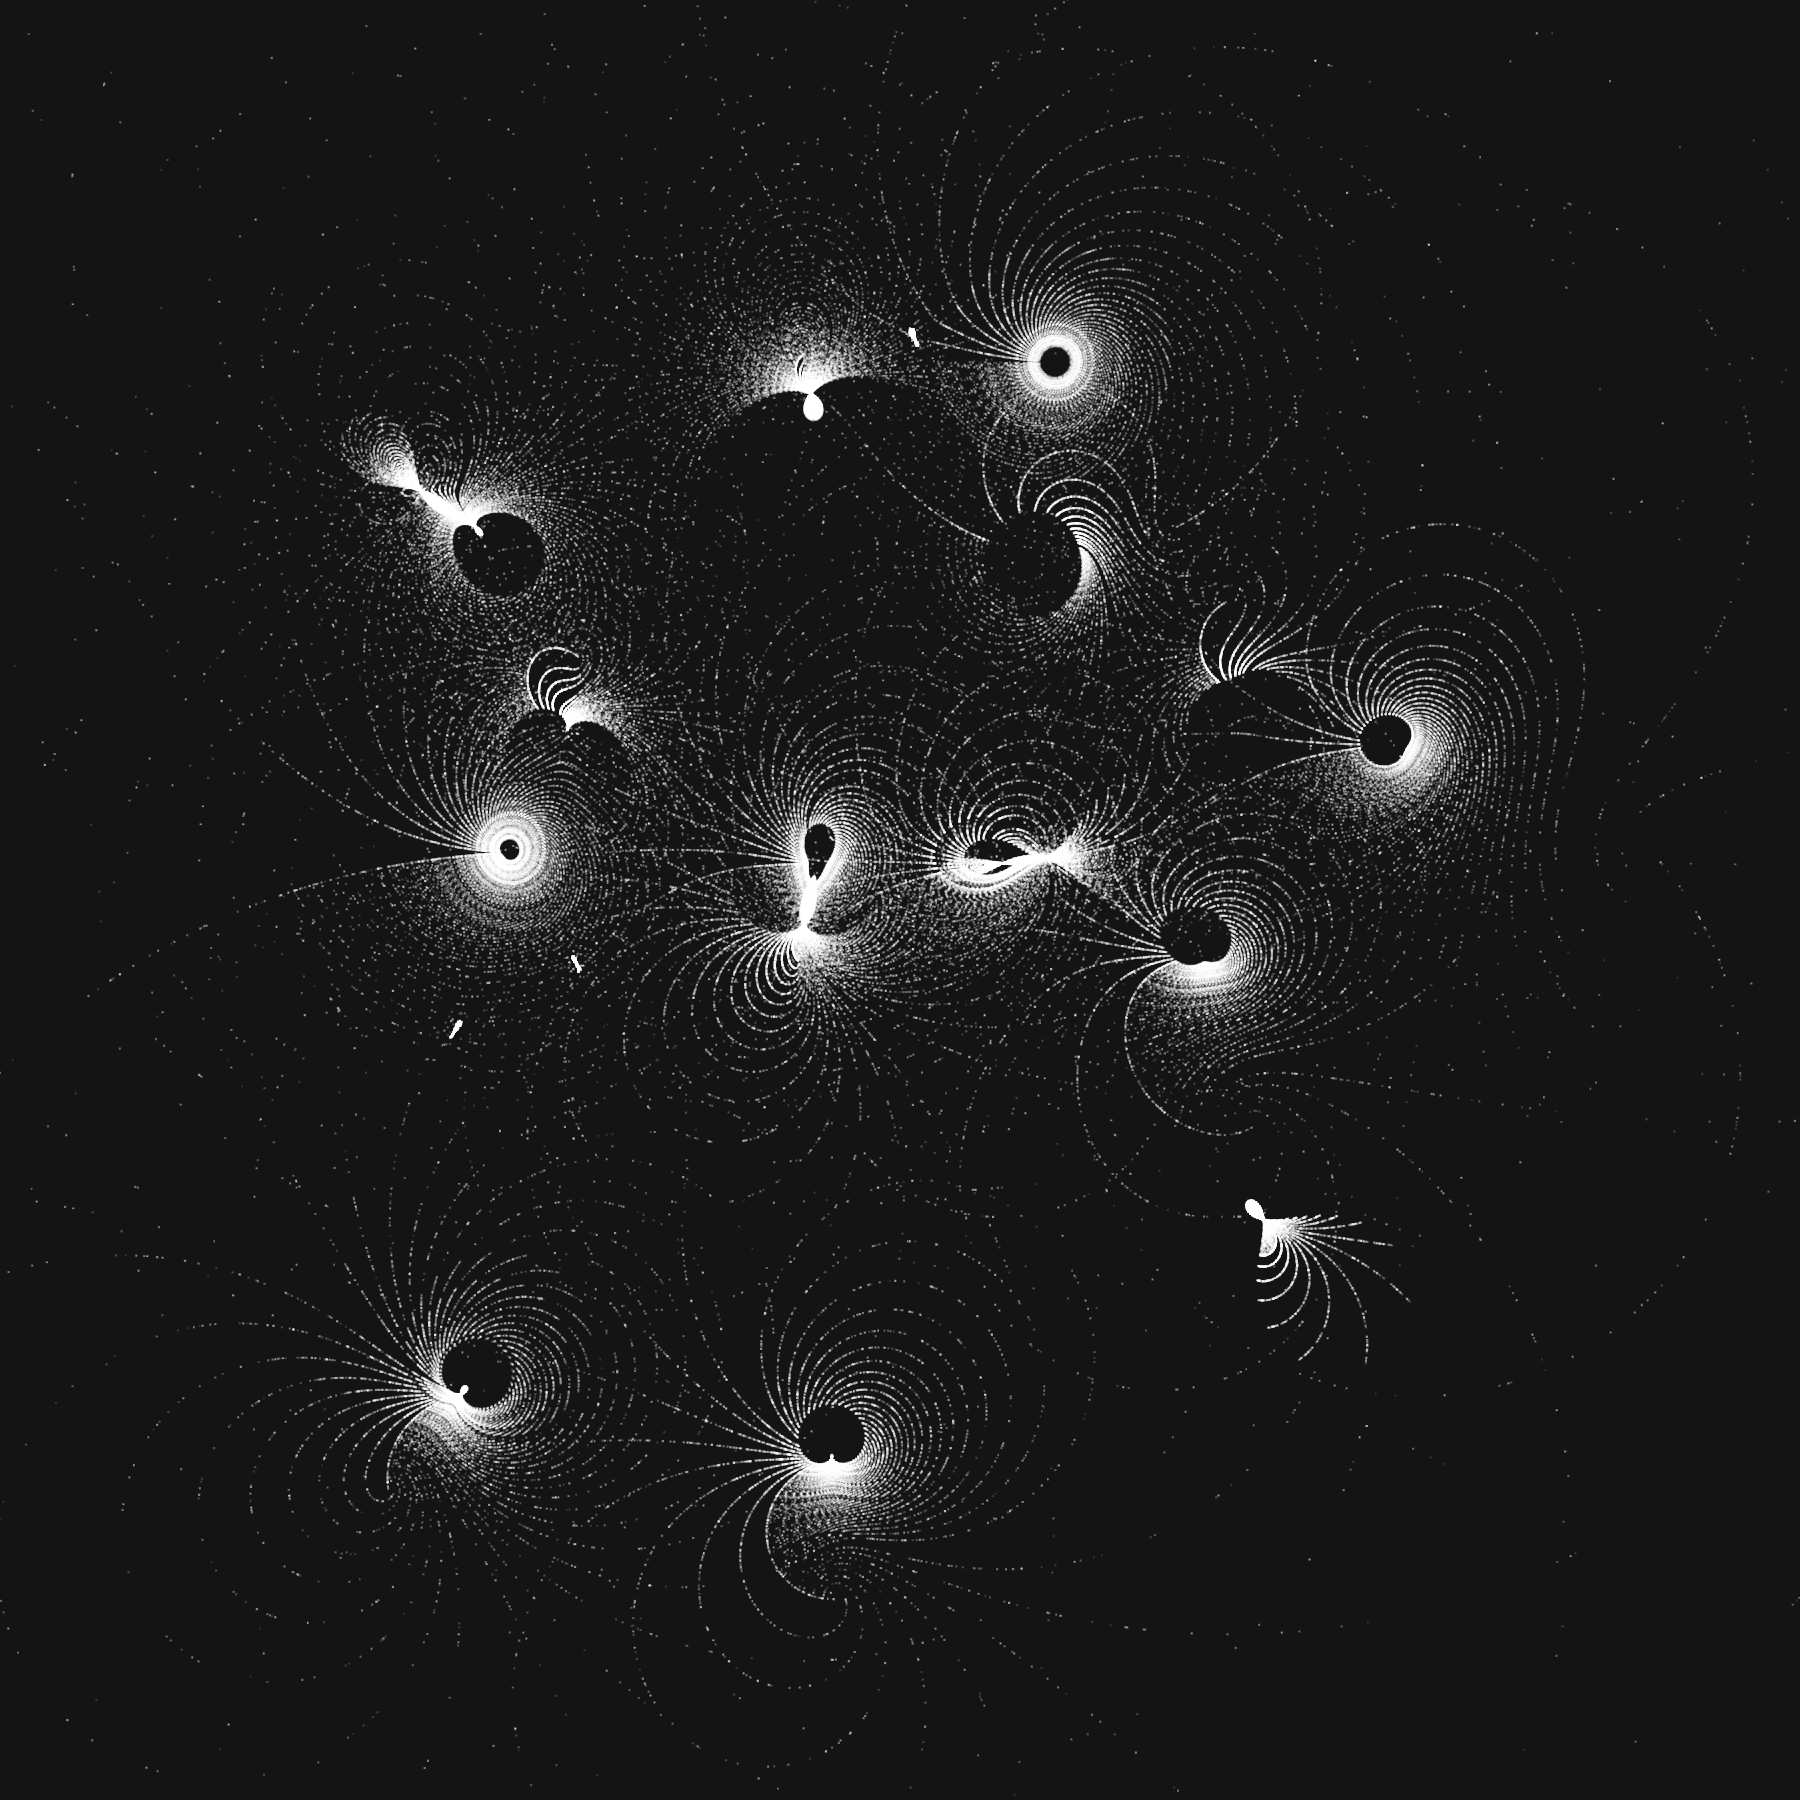
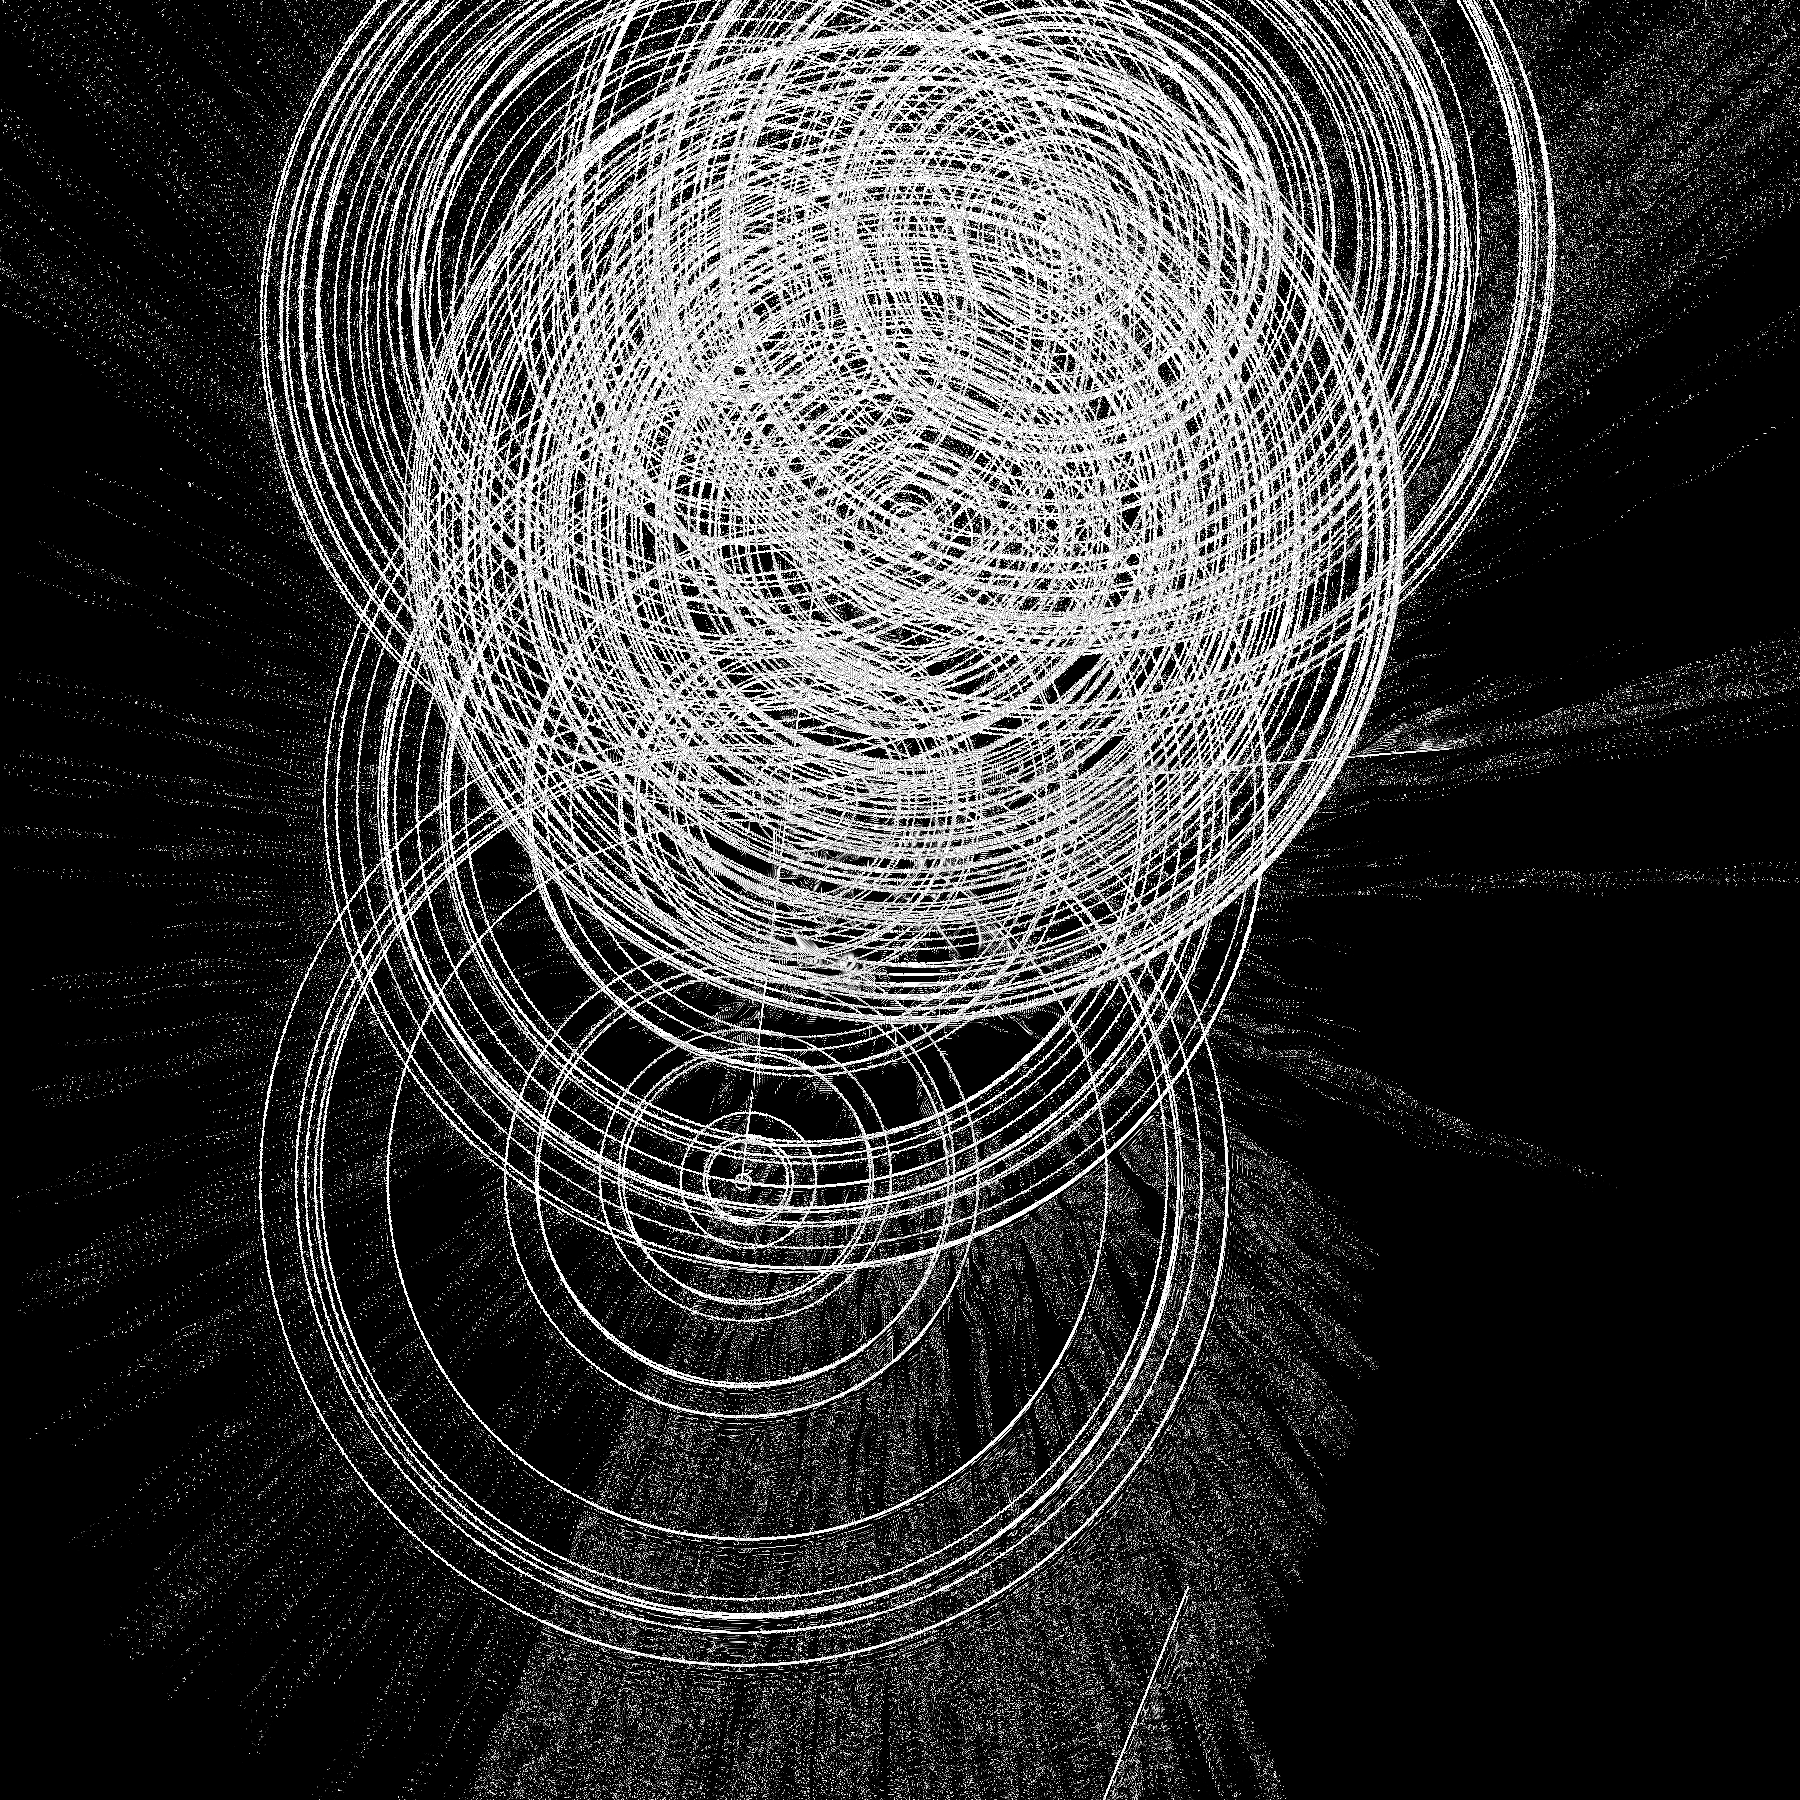
18. Definitely not a grid

This one was pretty straight forward and was basically an exercise in learning how to pass arrays of arbitrary data to a shader (in this case a collection of points with a scale factor from 0.1-1.0 assigned to them). We have ~20 points passed to the shader which handles all of the drawing and the points jitter and move around randomly every frame.
For every pixel, the shader finds the distance between each point and the current pixel, multiplies that distance by the point's scale factor, and then finds the smallest scaled distance. We take that distance and feed it into some trig functions to get some rings, and then there's a little bit of feedback shader magic happening to give us more texture and to make it feel like the rings are being drawn over the previous frame's rings.
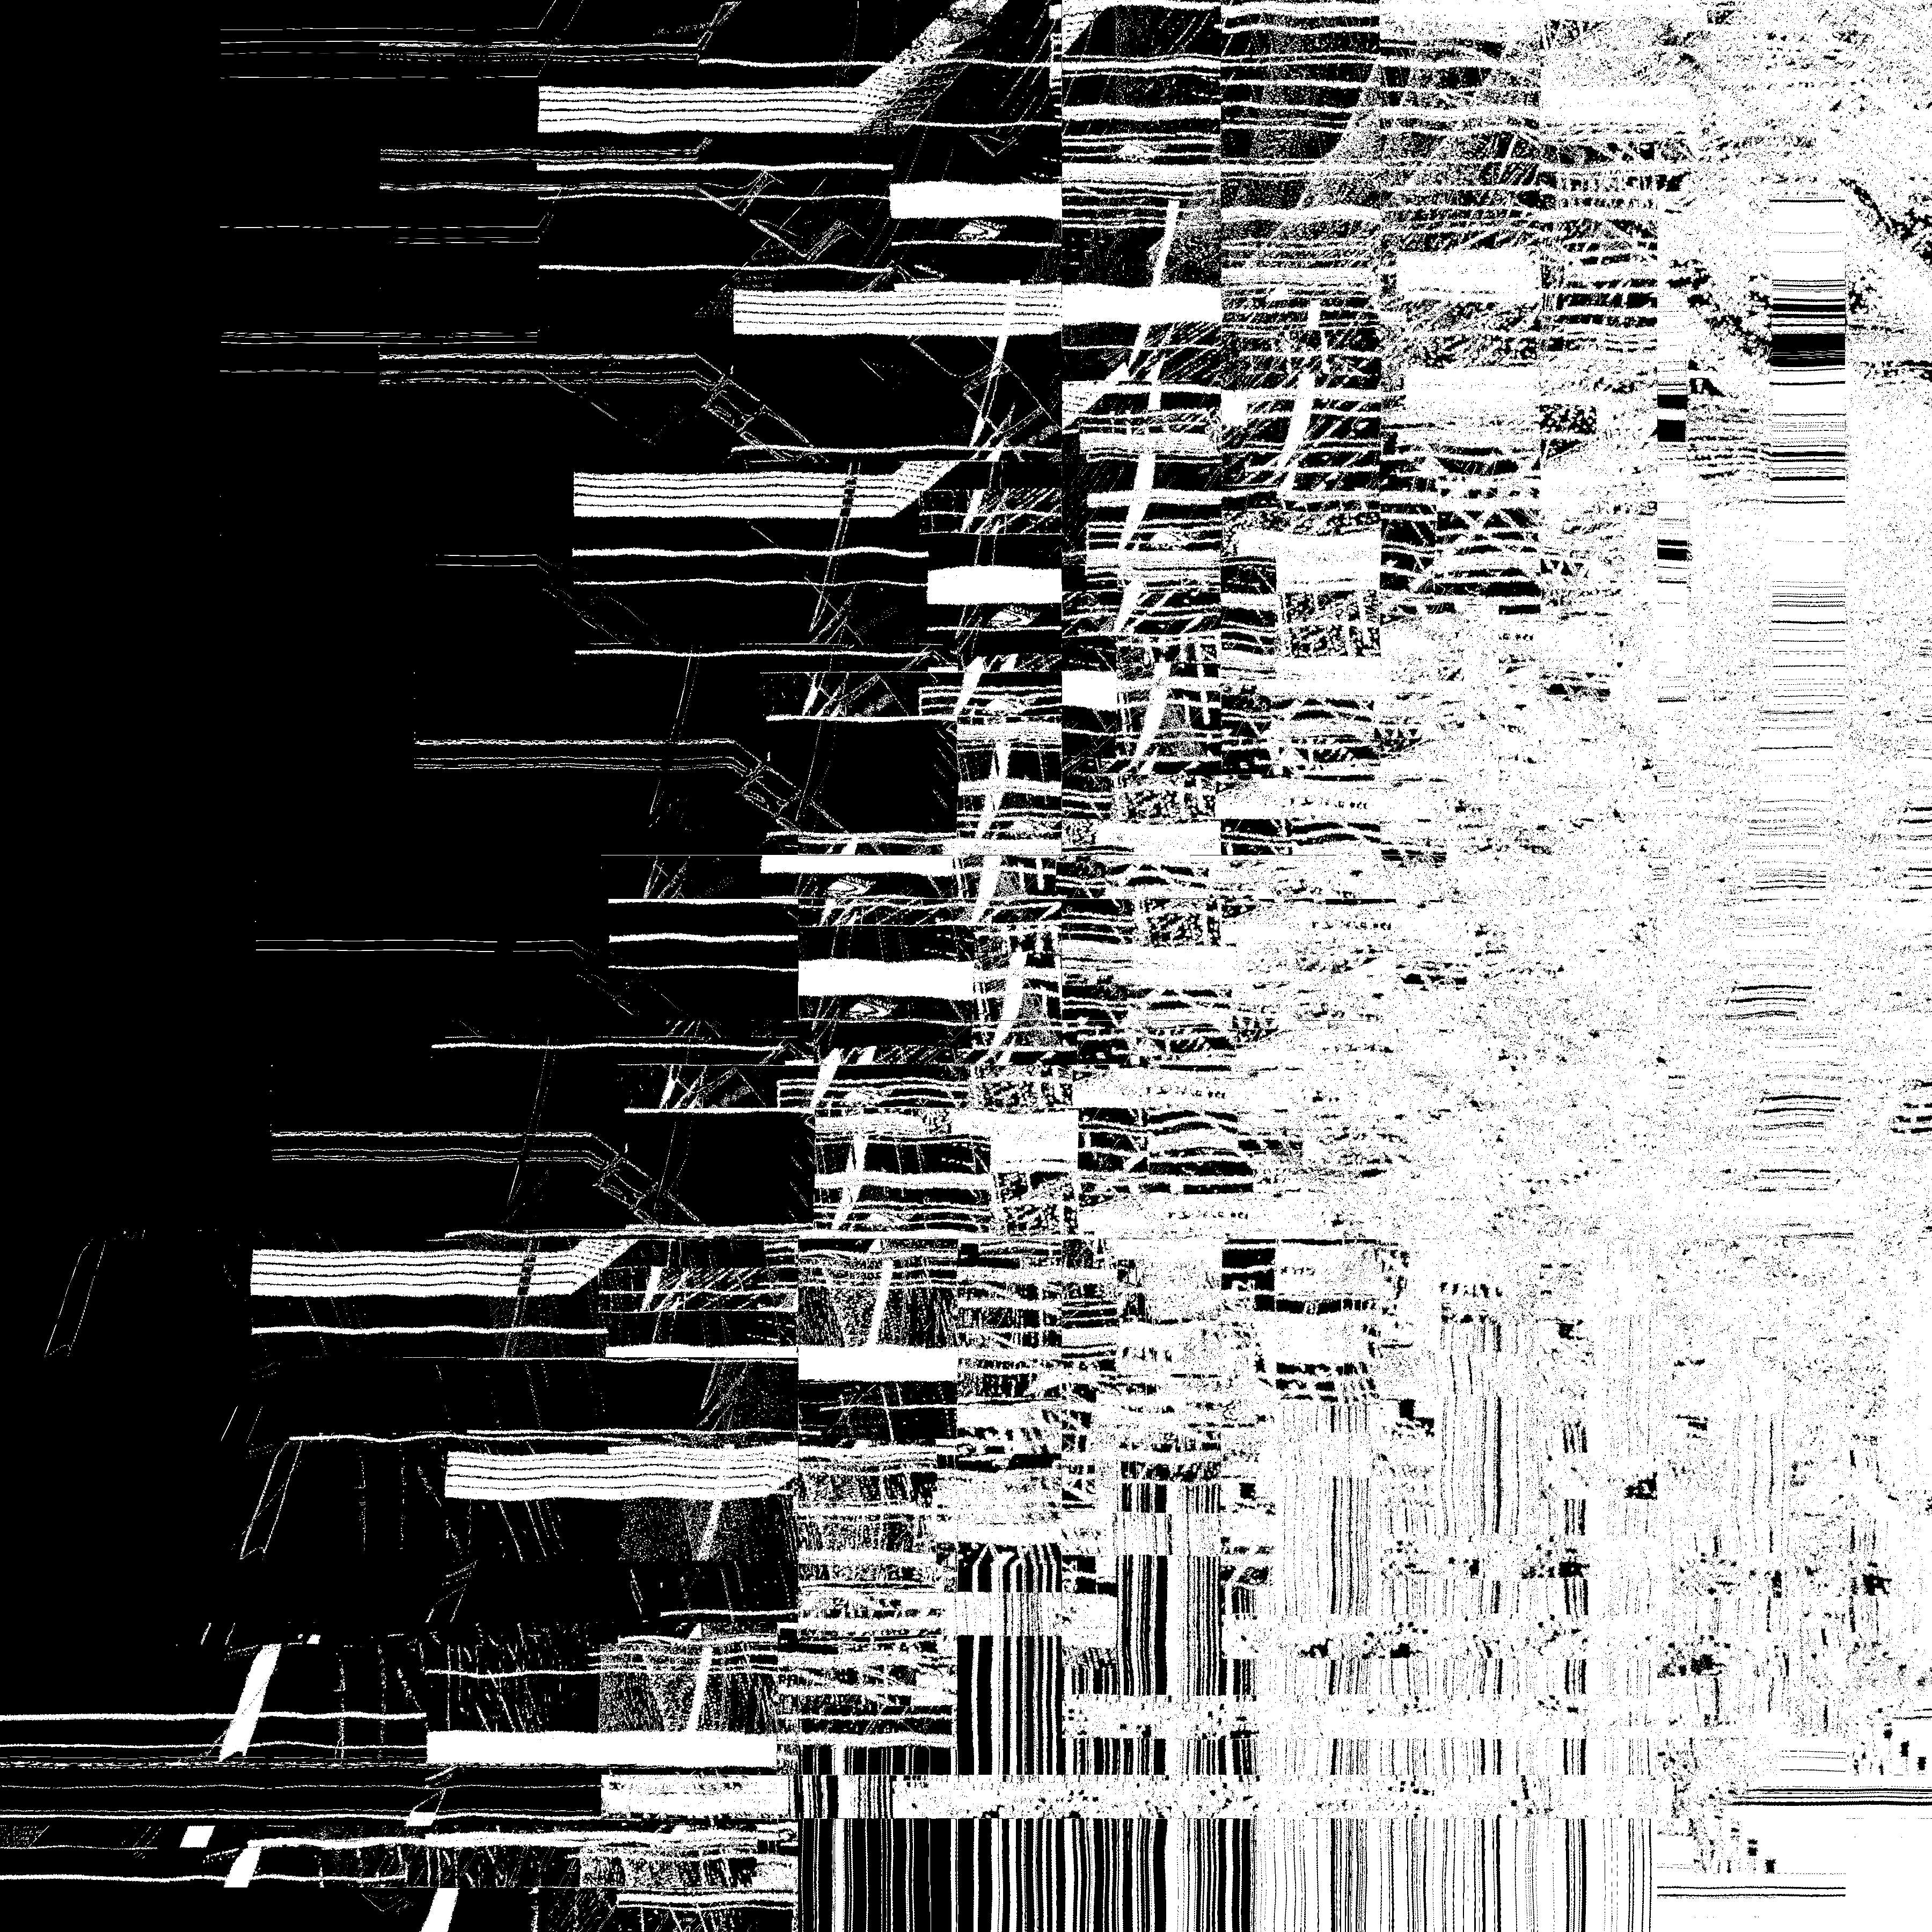
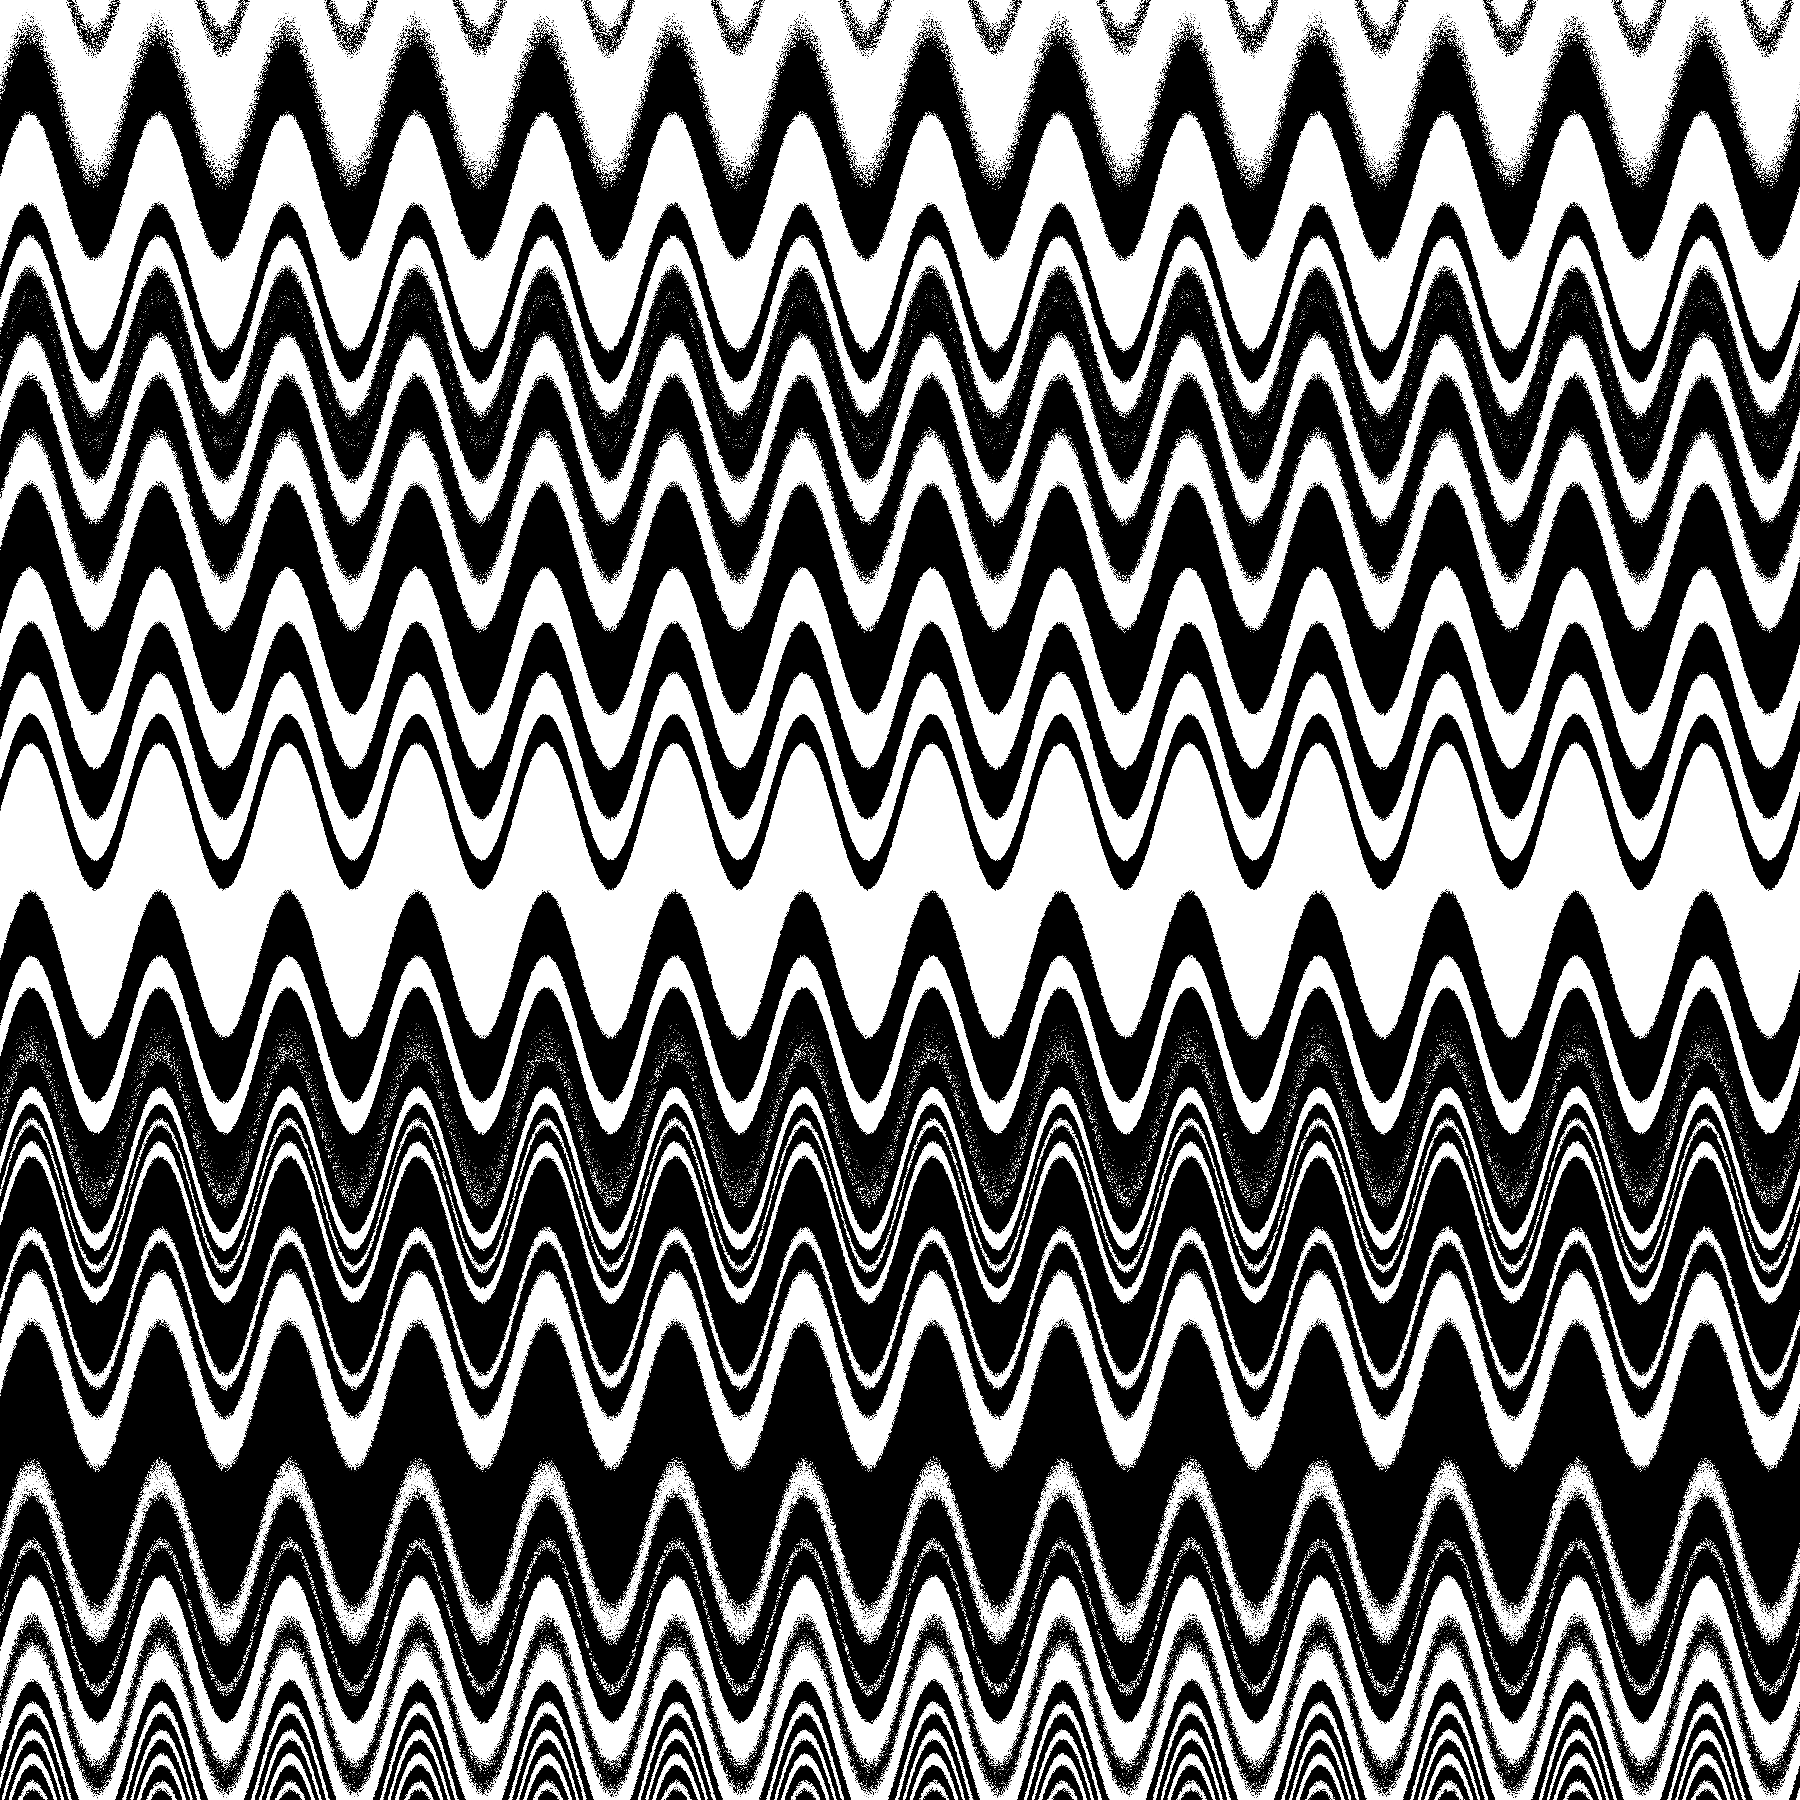
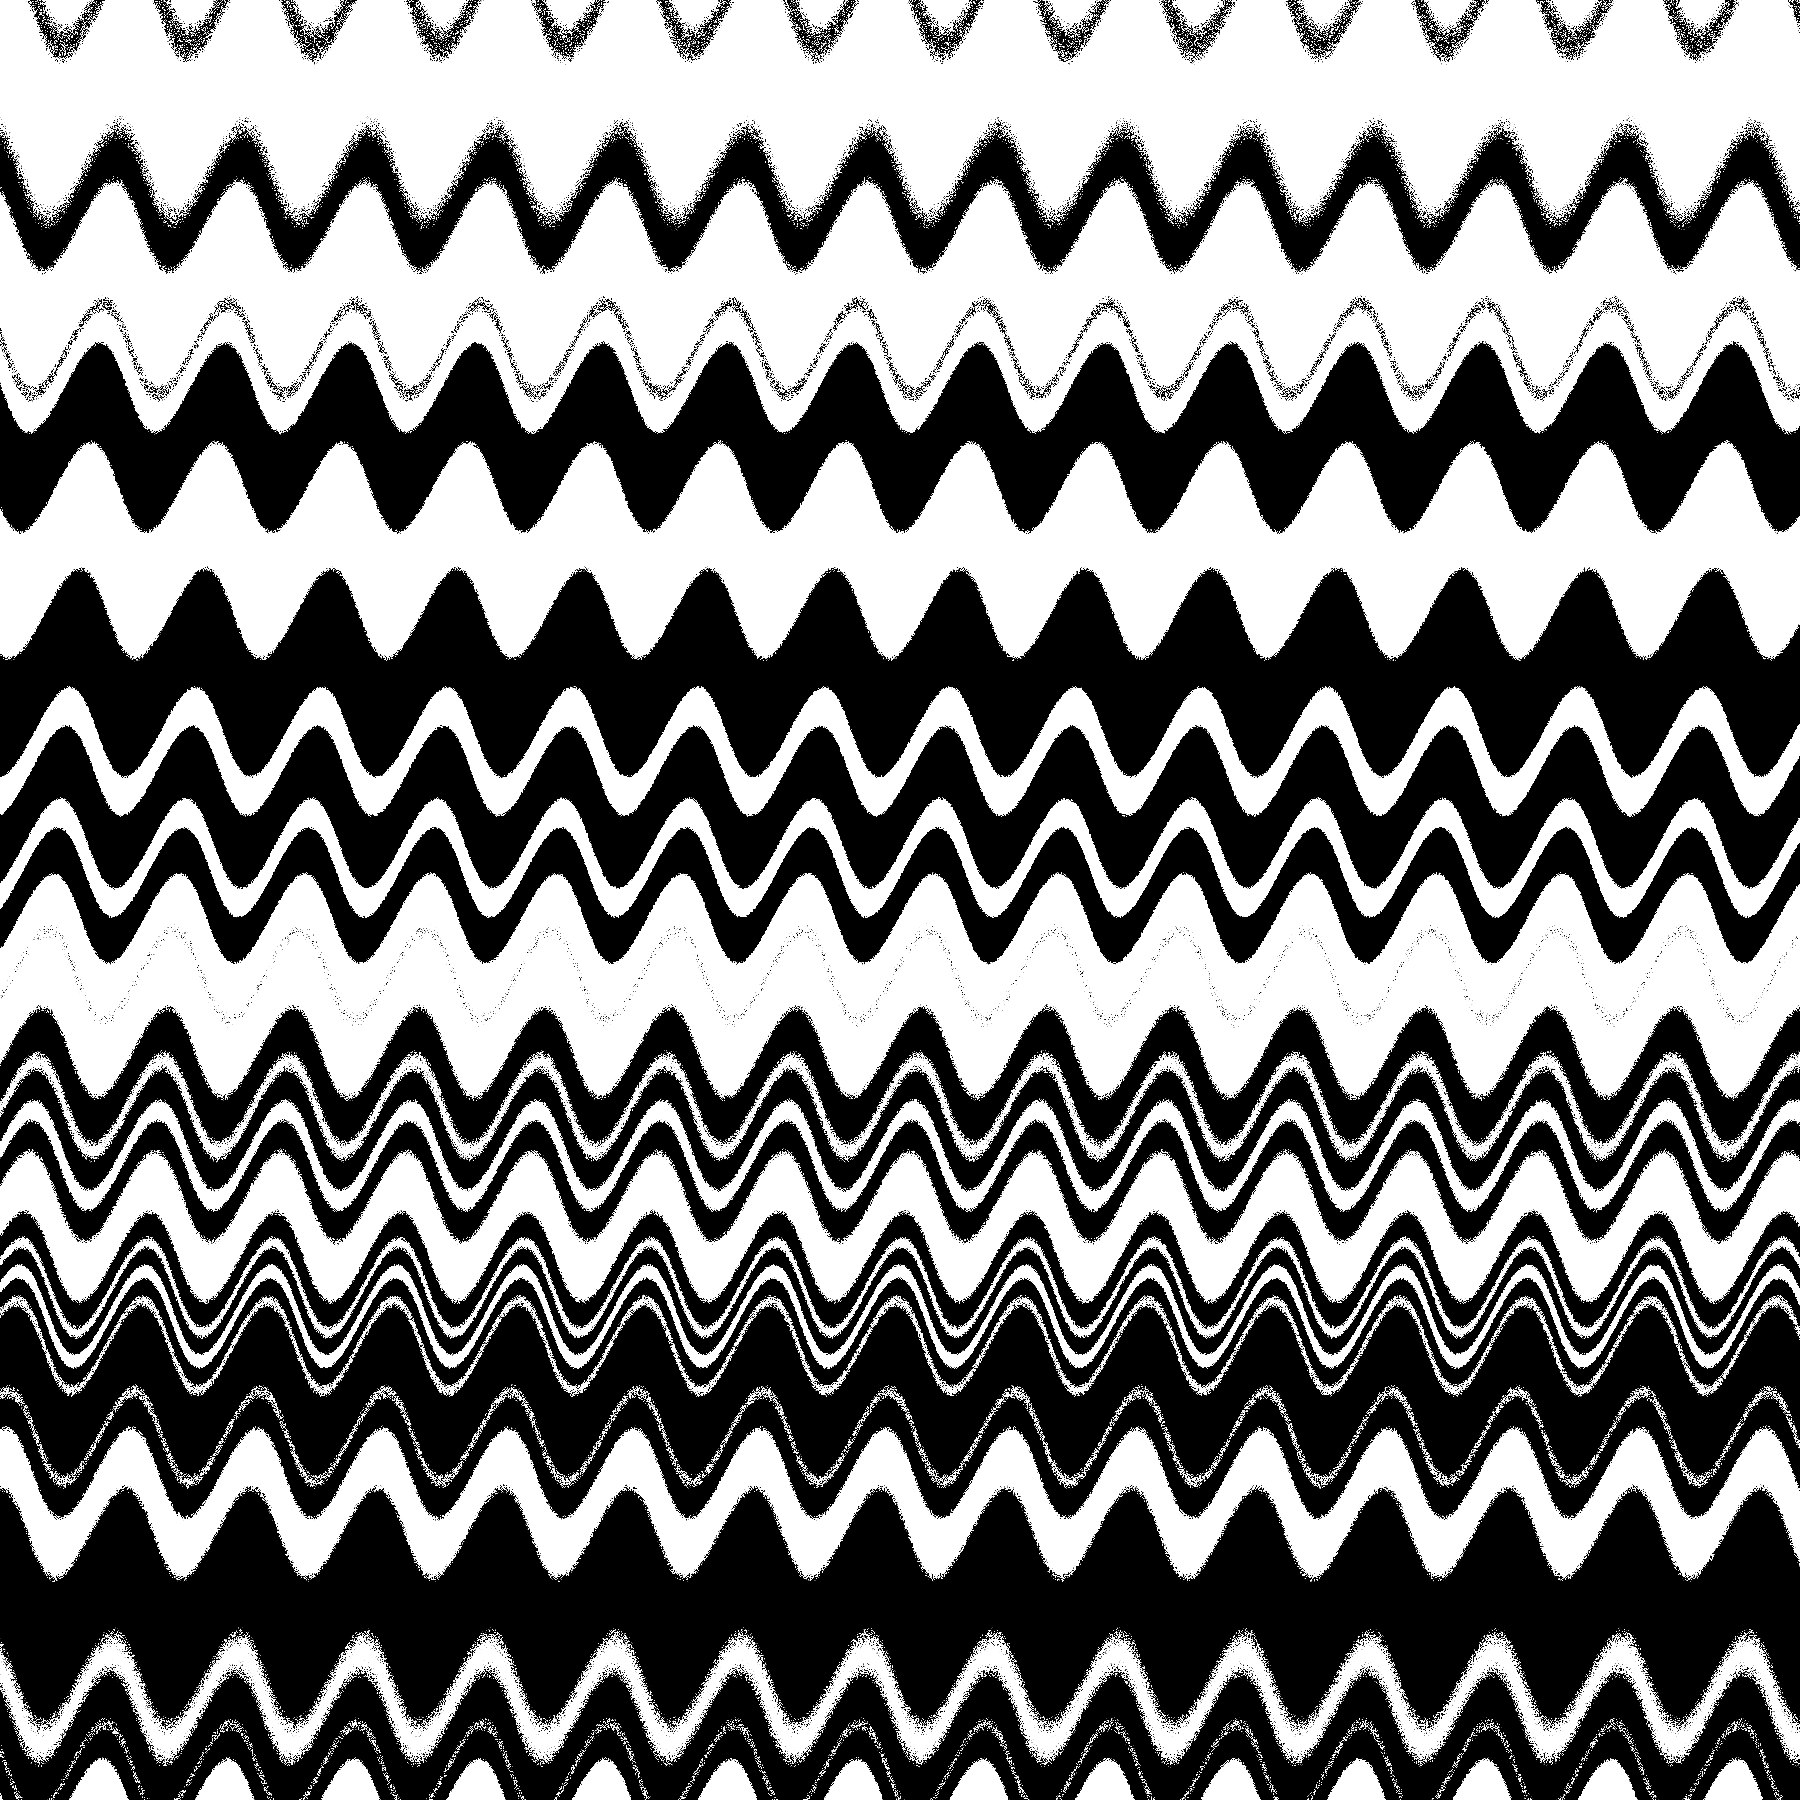
19. Black and white
This prompt could fit almost all of my work so I decided to just play around with shaders a bit. This is a feedback shader again (big surprise!) where we are getting the slope of the current pixel by comparing neighboring pixels, and then offsetting pixels in that direction. We also add a little noise to the offset position, and run the pixel values through some trig functions to create the rings I am so fond of.
The other key piece to this is that, because we aren't feeding anything in from p5js at all, when the very first frame renders we draw some noise instead of doing the feedback stuff. If we didn't do that we wouldn't have anything to apply the feedback to!
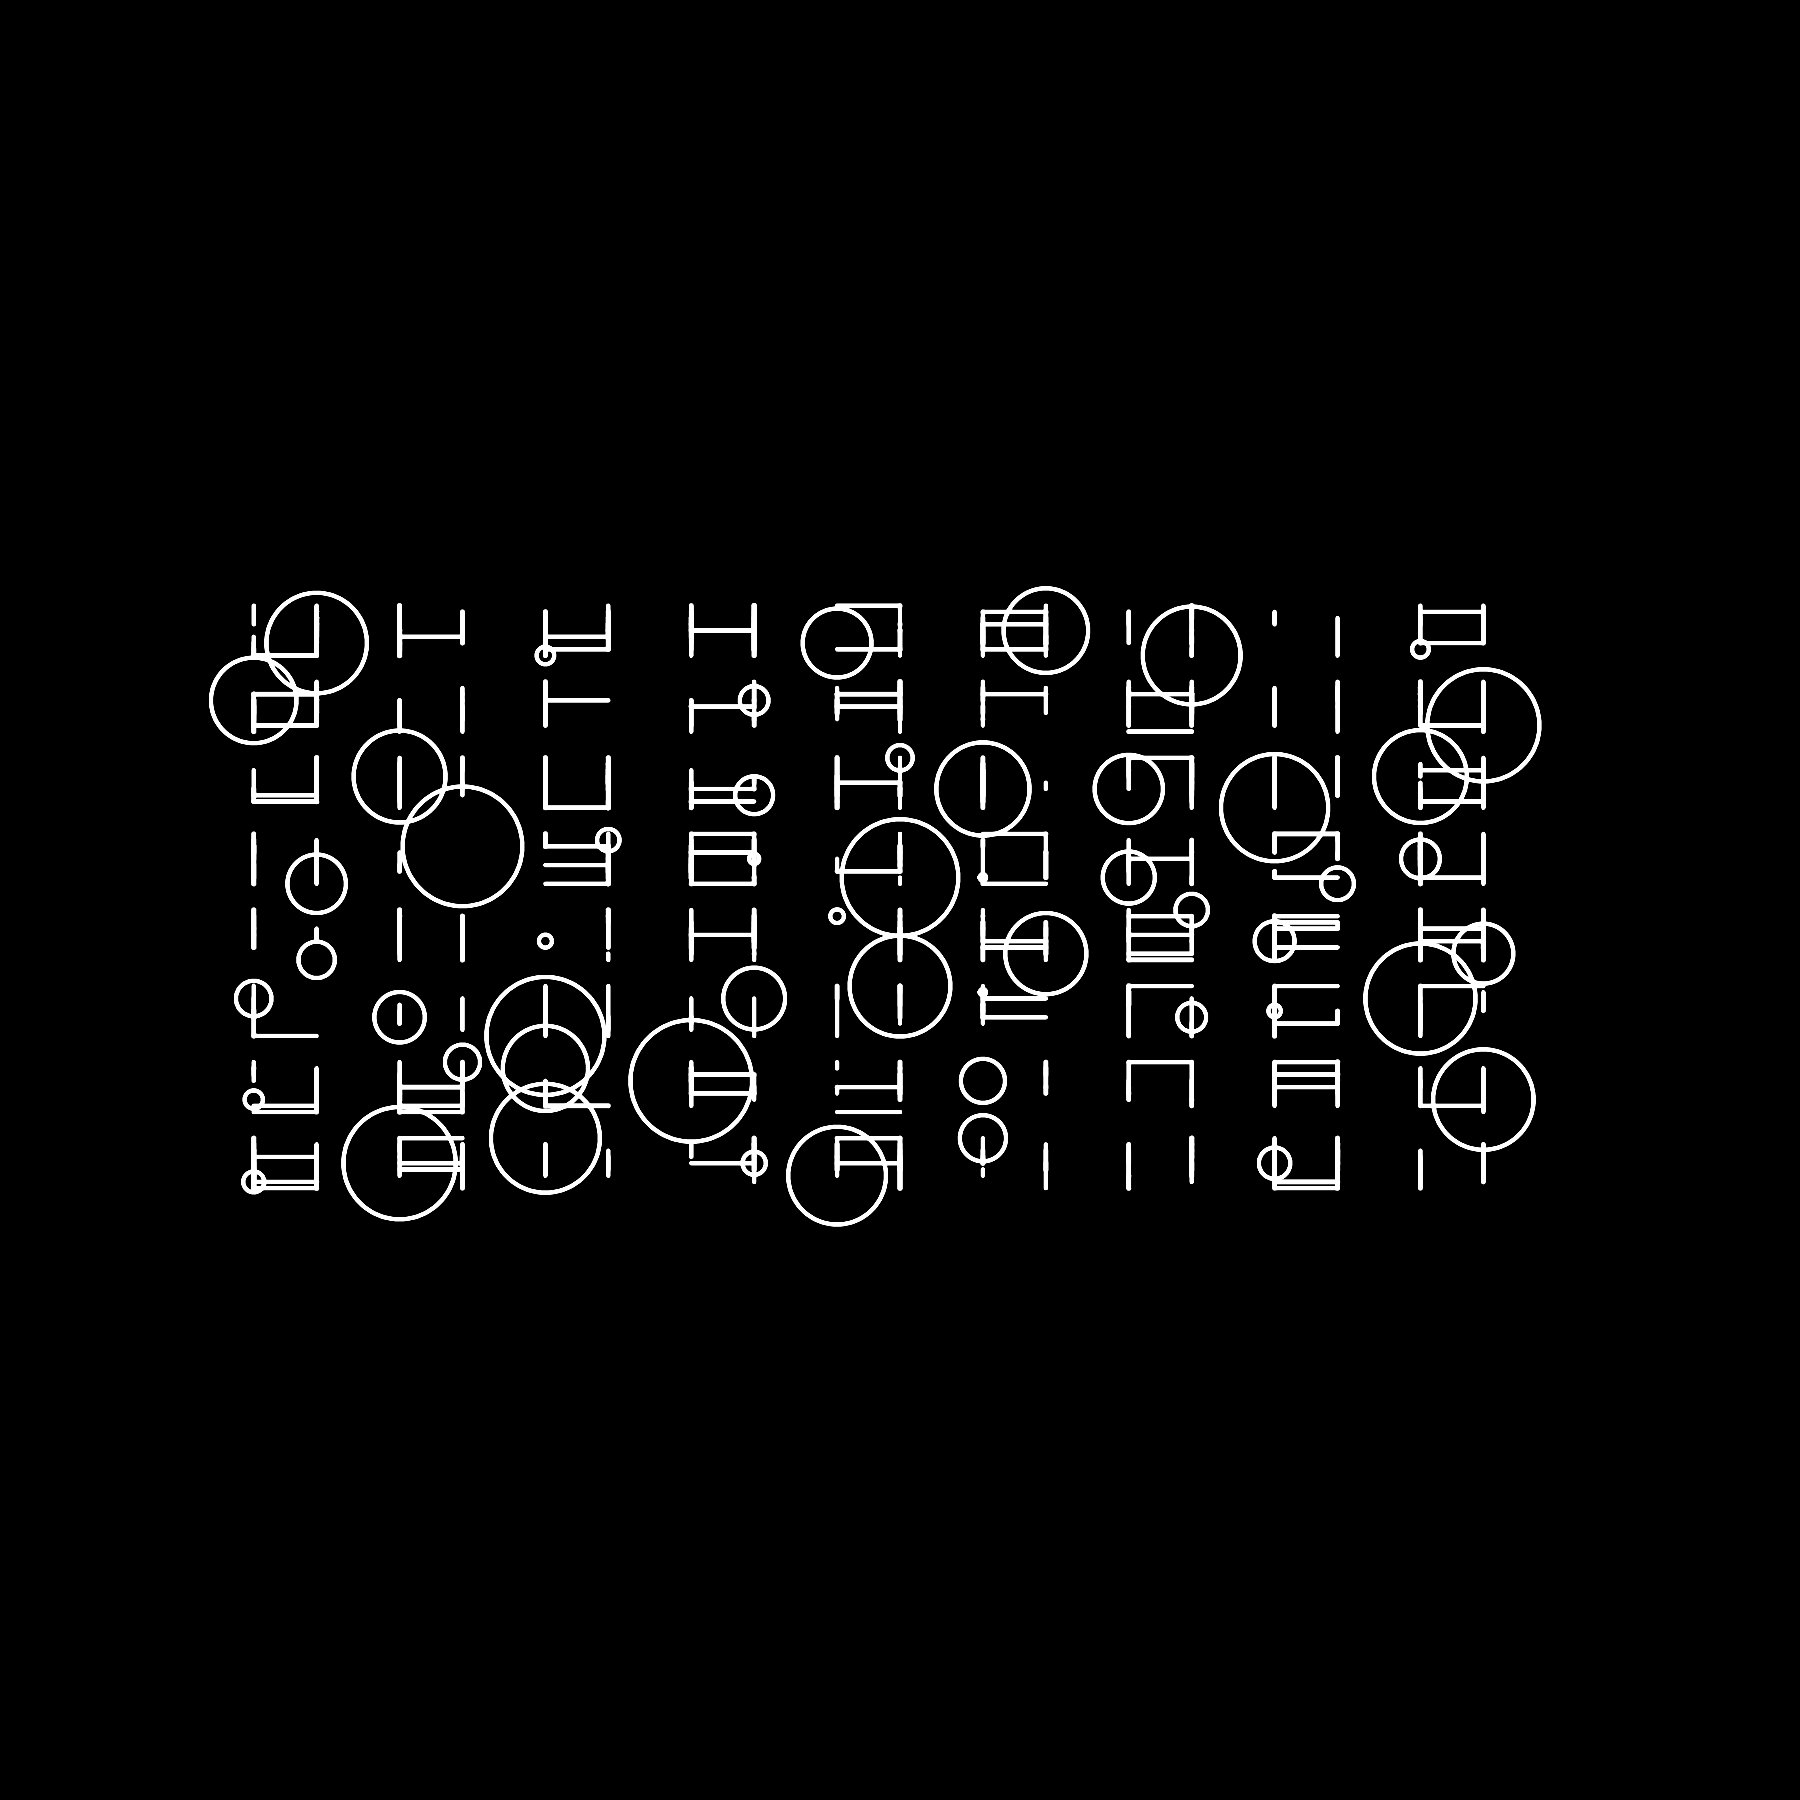
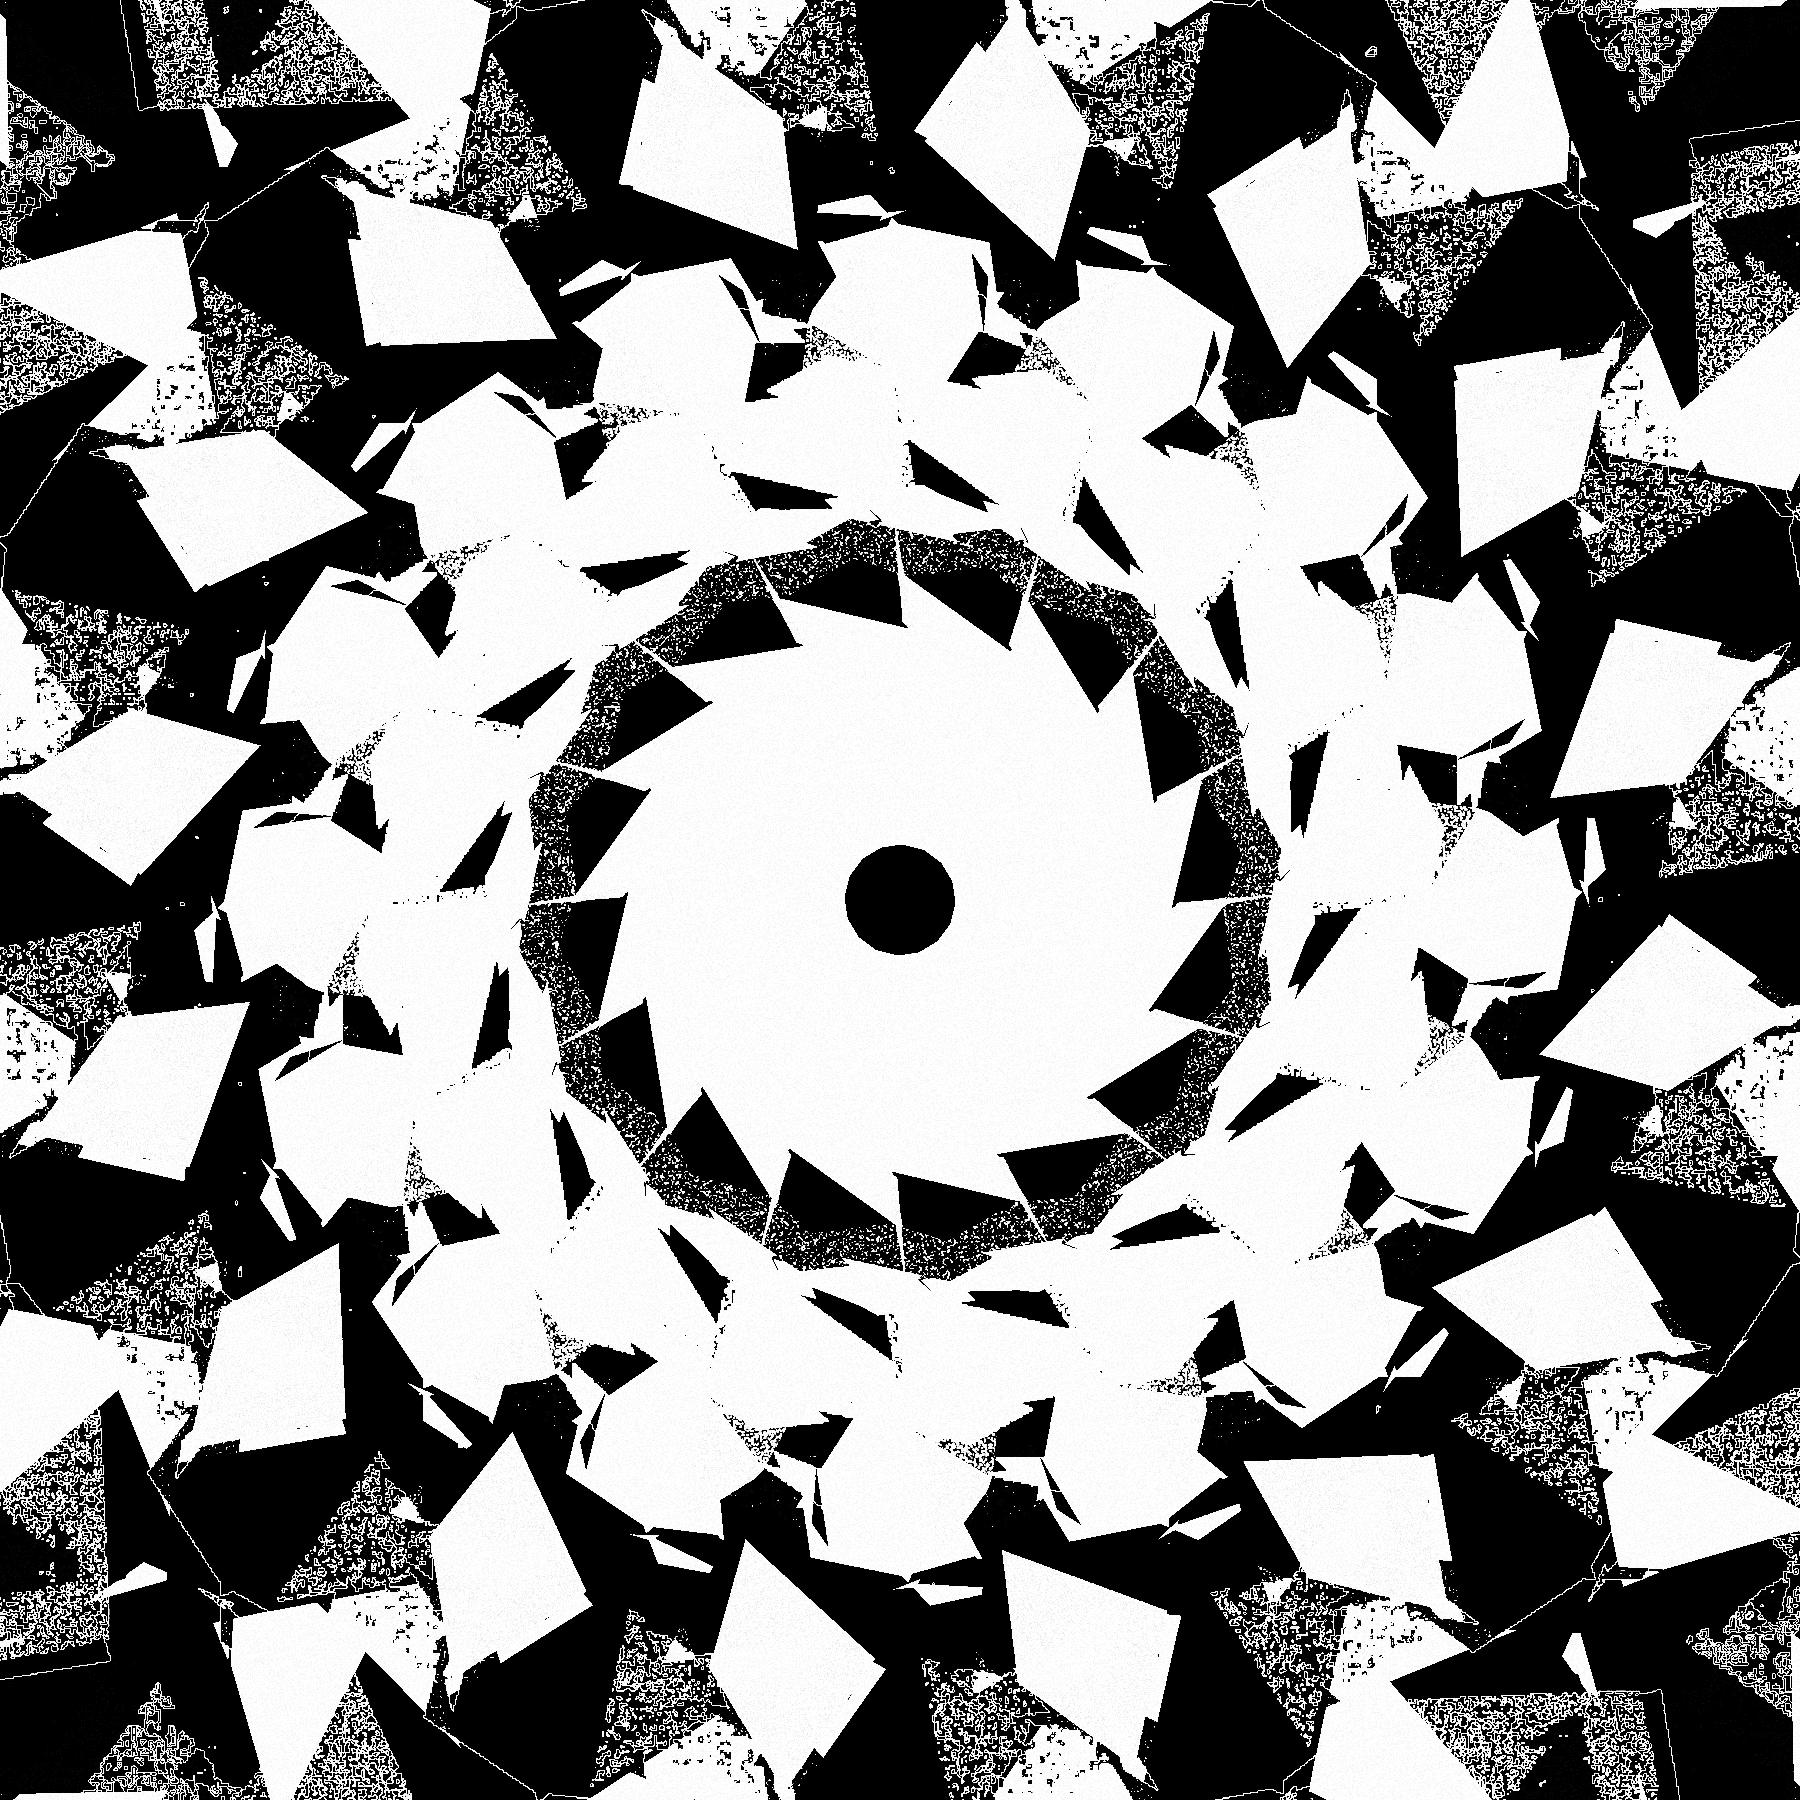
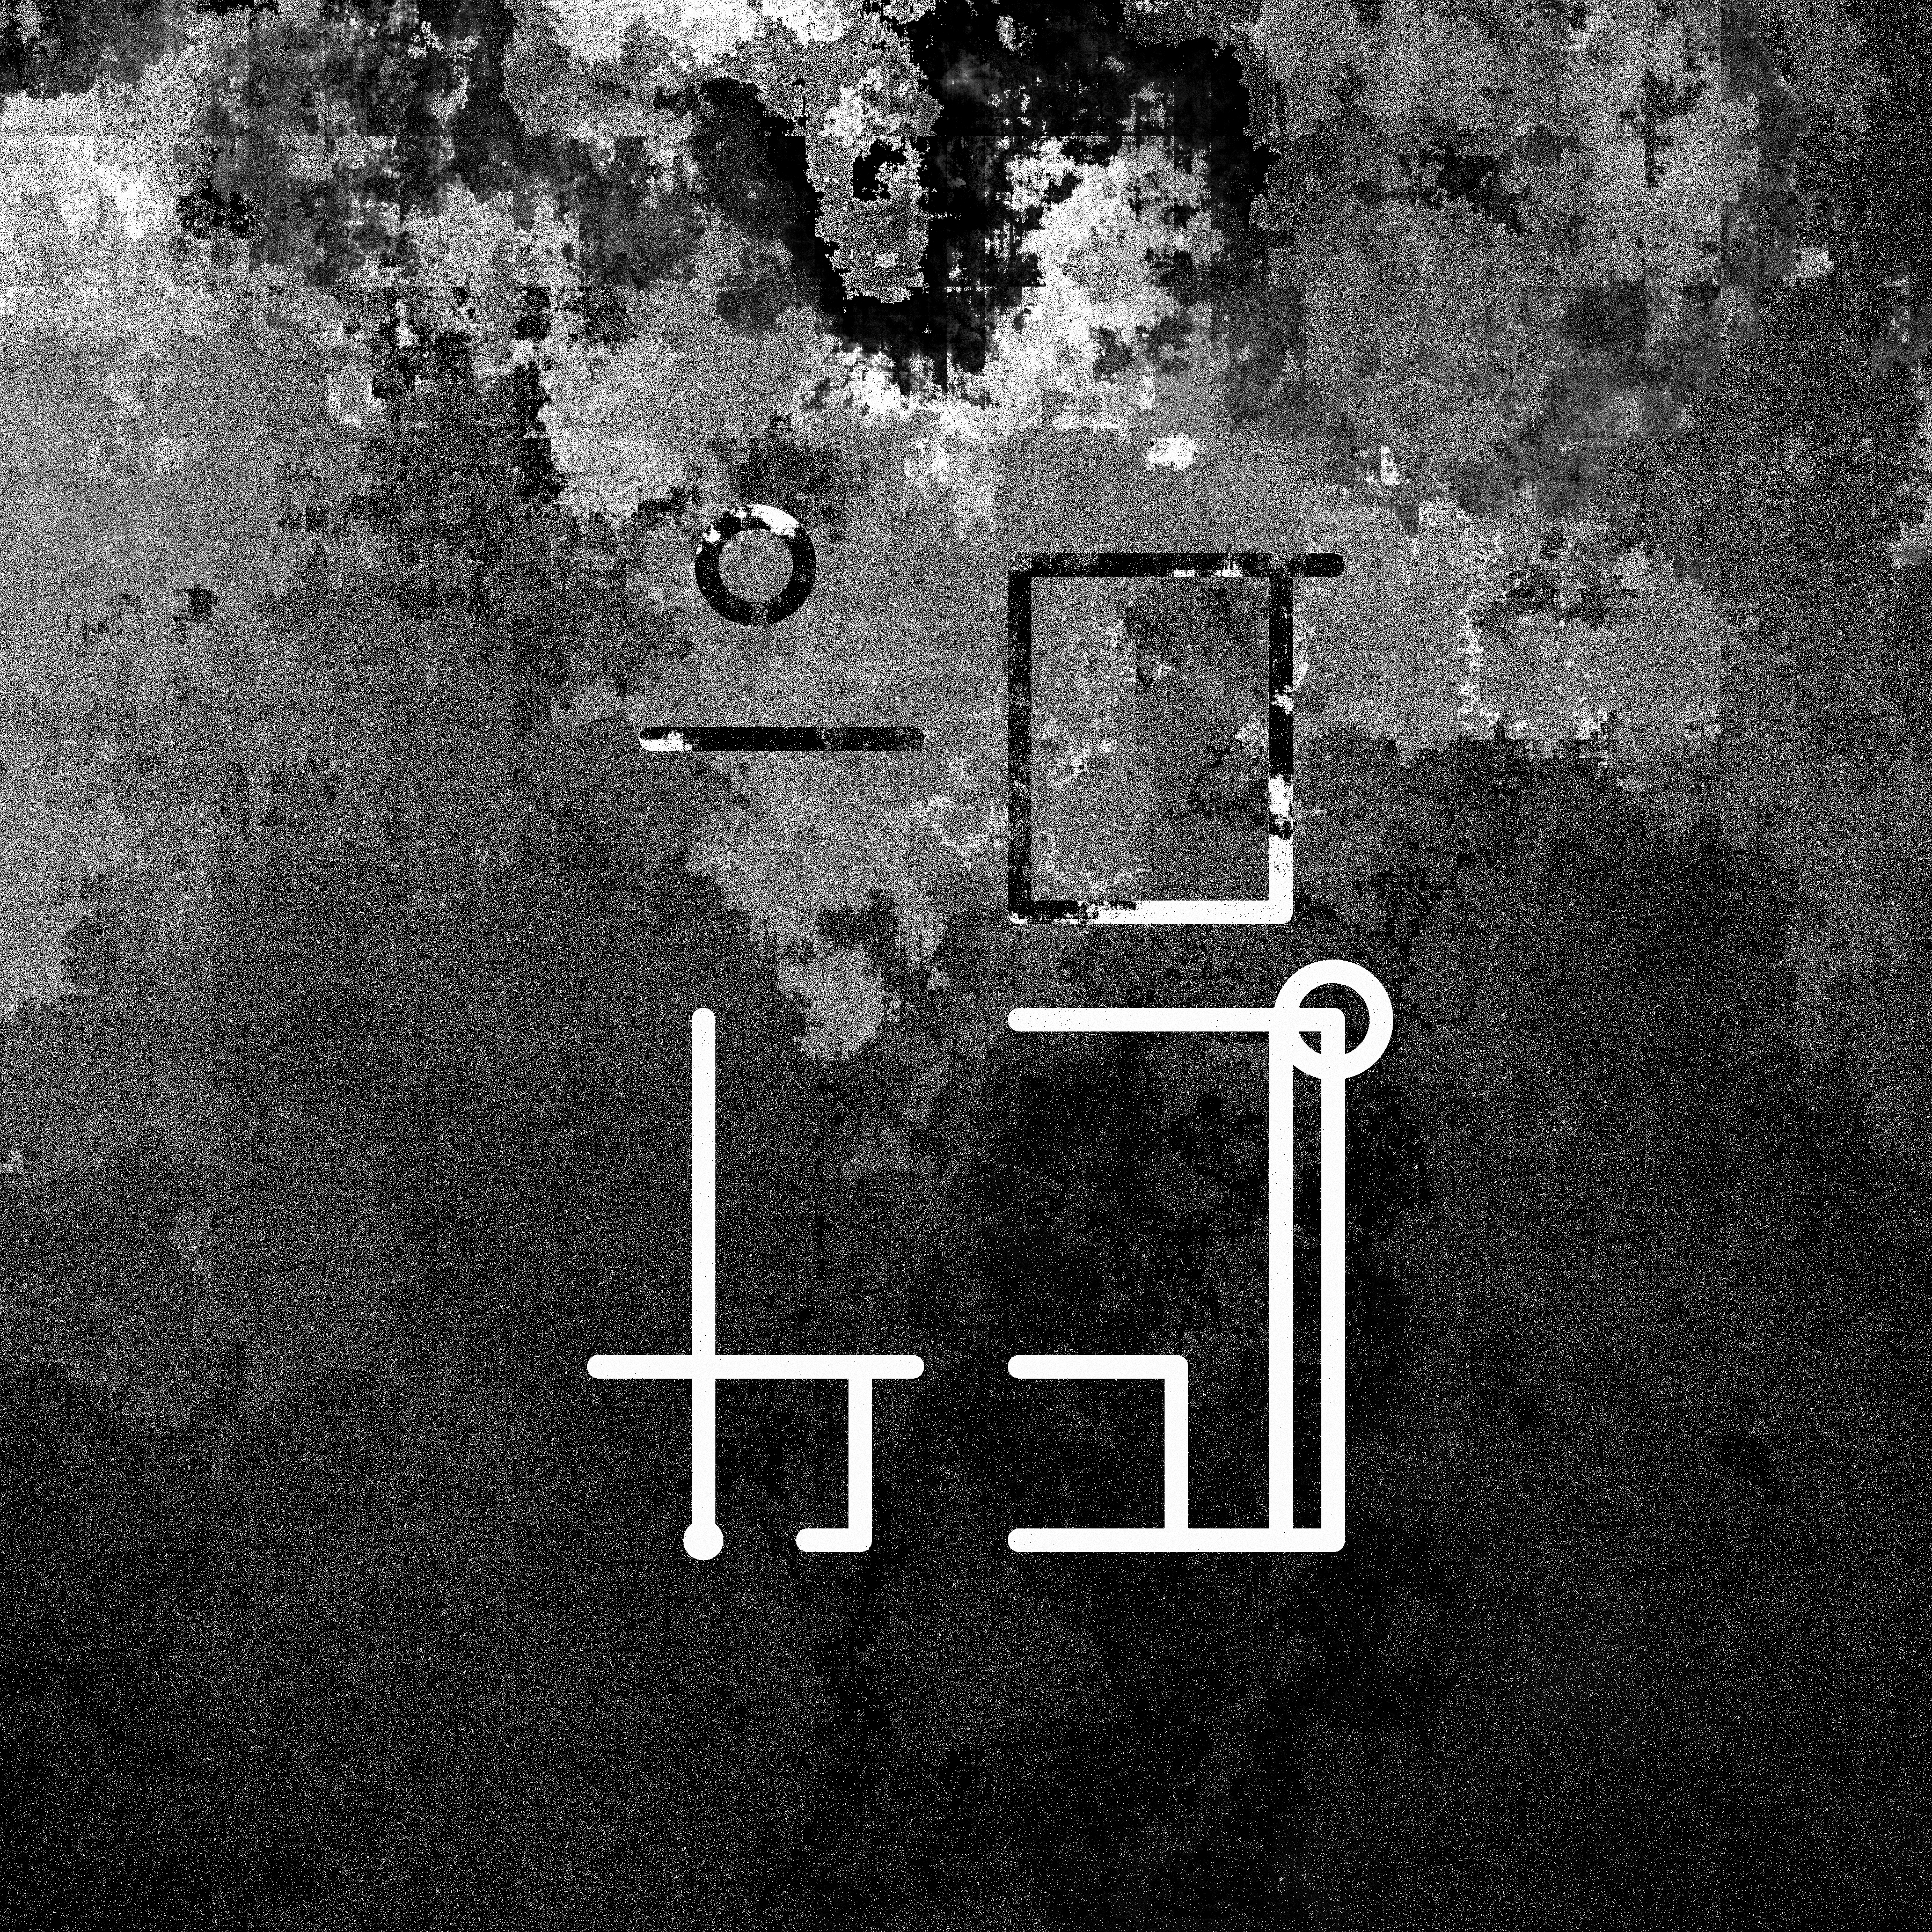
20. Art Deco
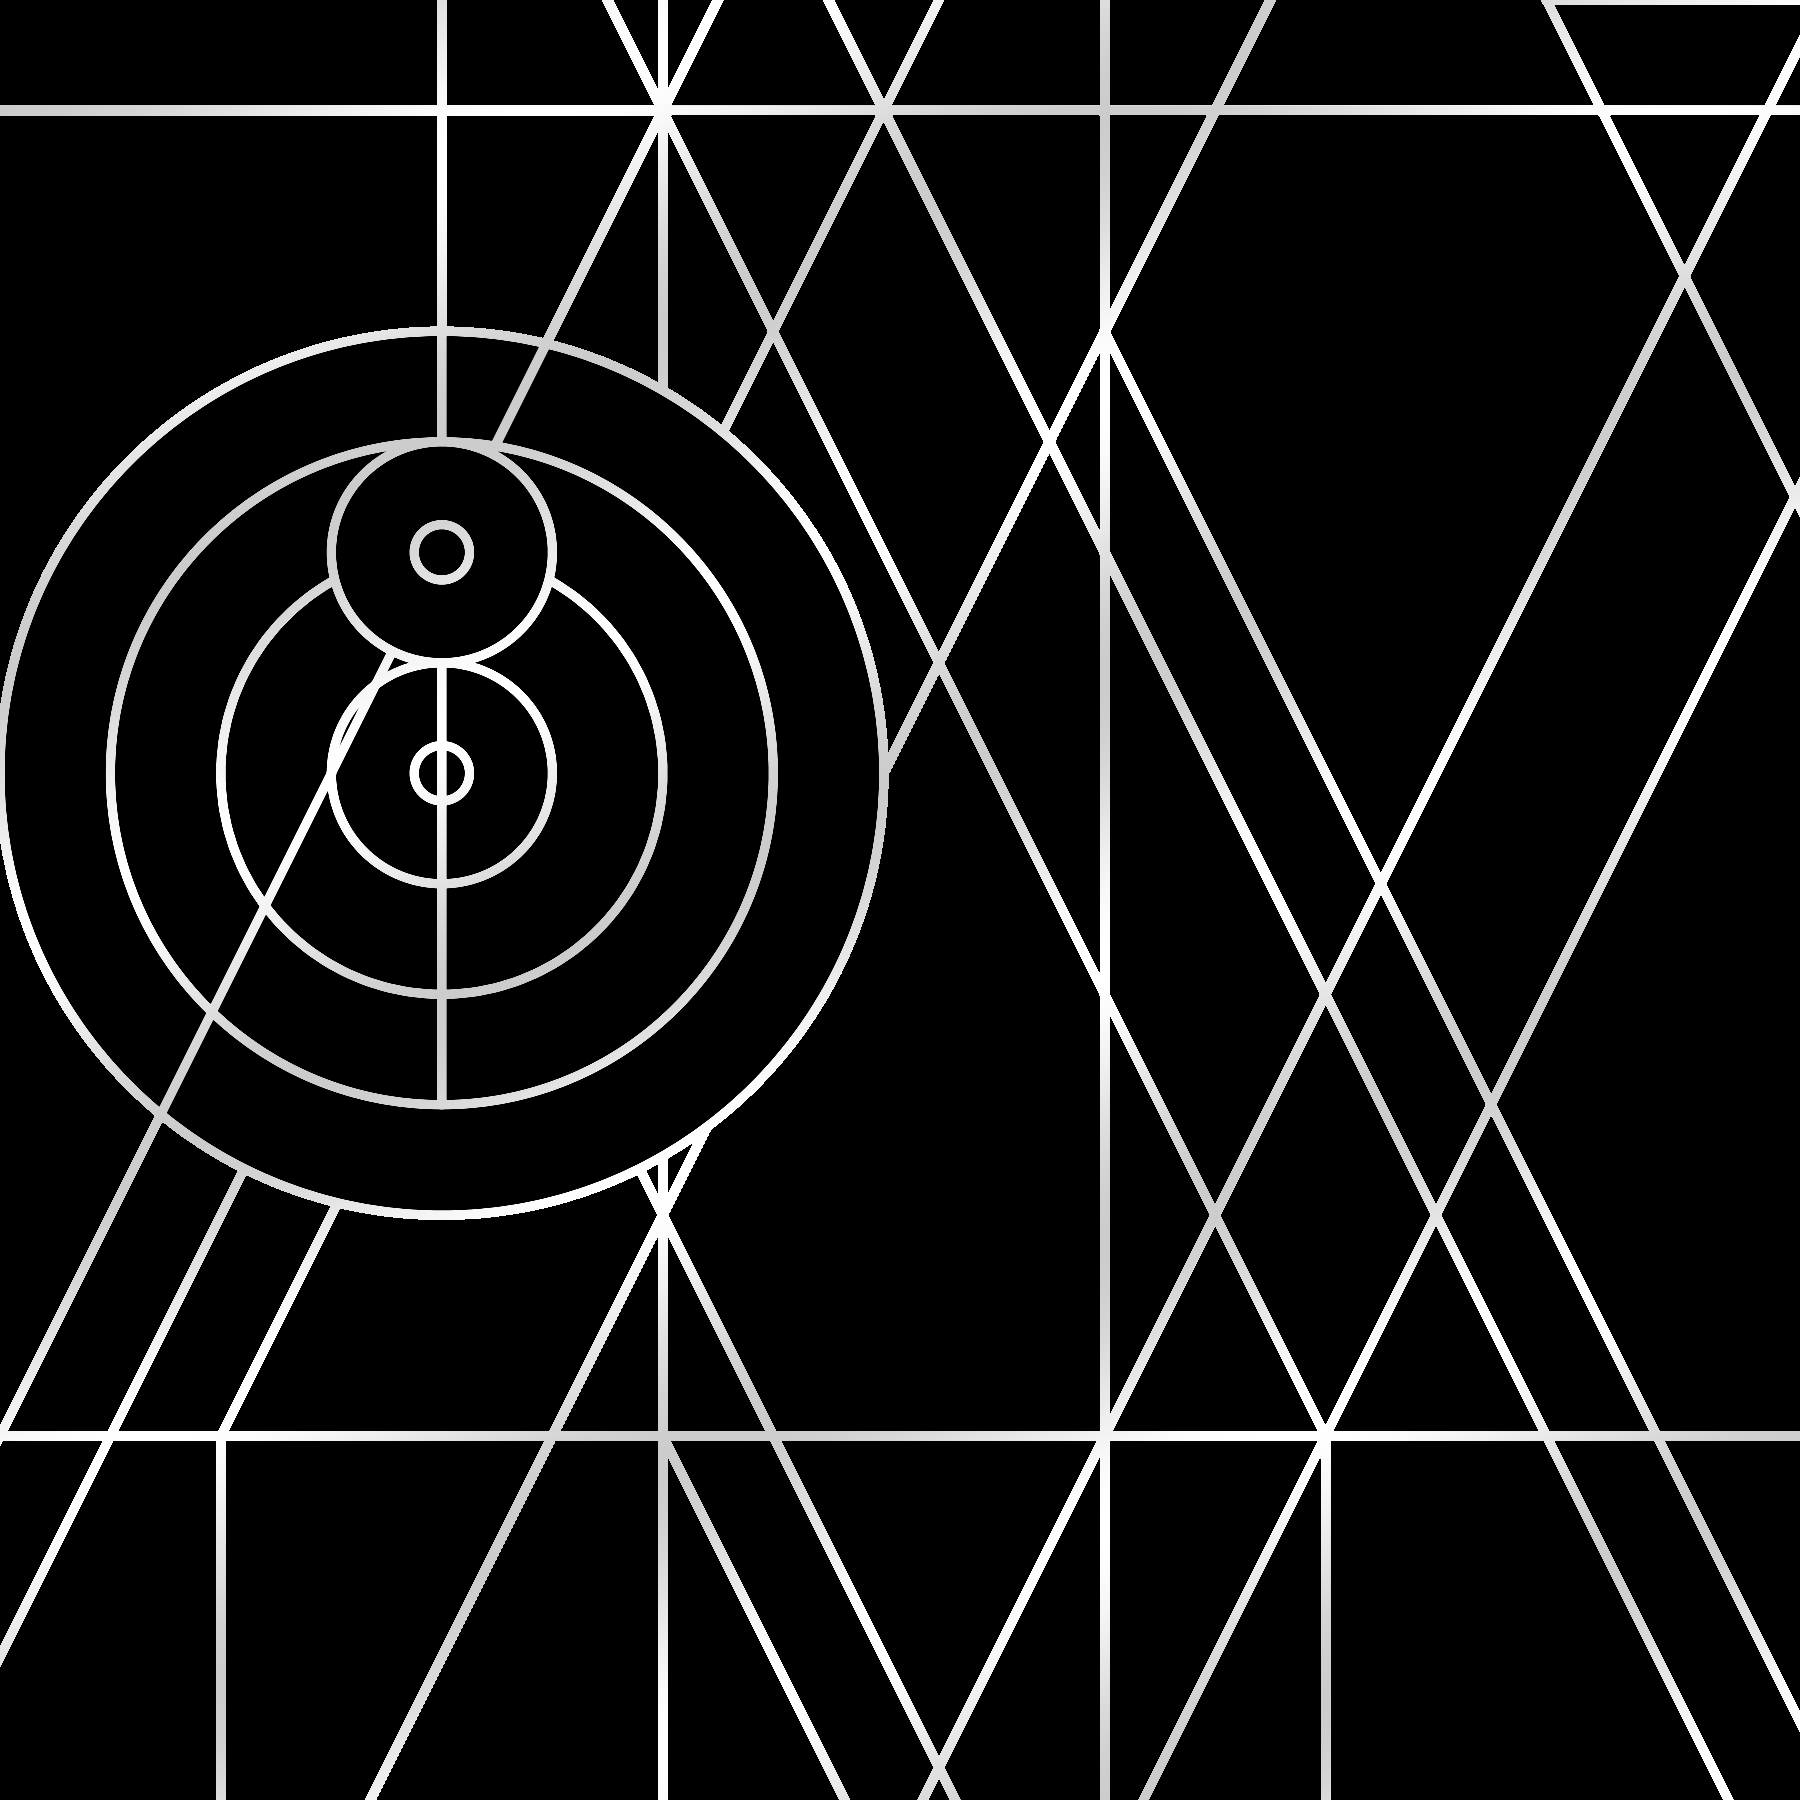
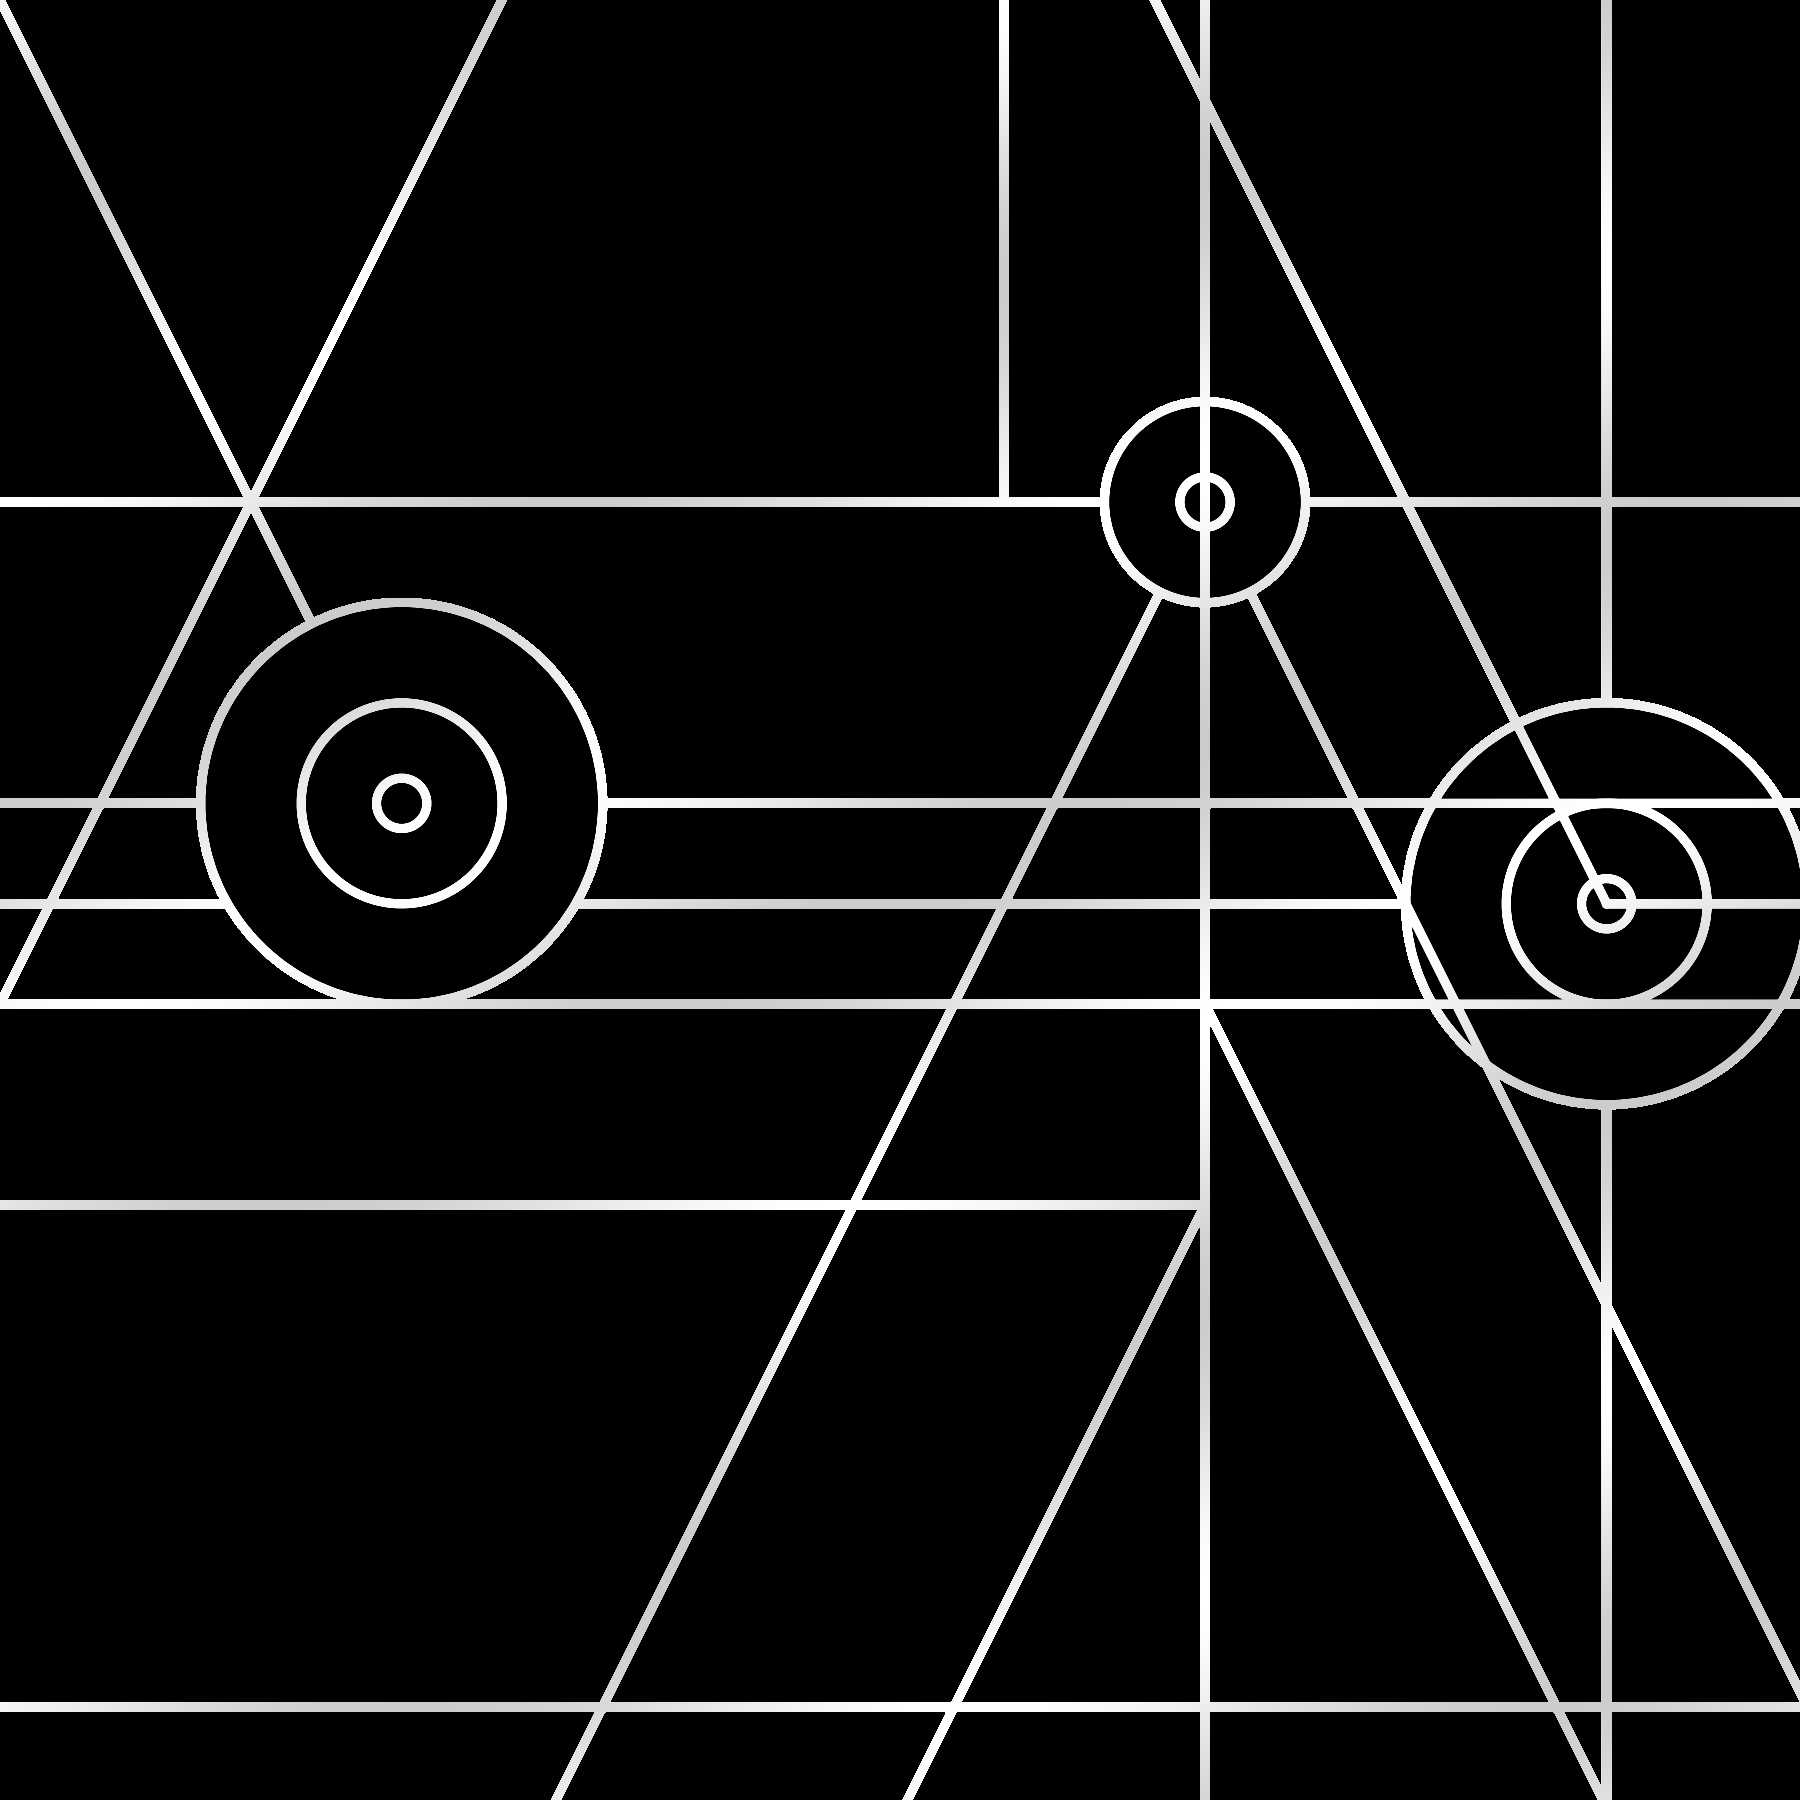
This one was kind of fun. We've got a grid of points and then we draw a bunch of lines on it. For each line we pick a random starting point and a direction. Initially the direction is either -1 or 1 in along the x or y axis. We also have a random chance (determined per image) of drawing a diagonal line, in which case we set the x direction to -1 or 1 and the y direction to -2 or 2. Once we've chosen a direction we also determine a random line length and then draw a line.
After drawing each line there's a small chance we draw a set of circles too, which we draw from the outside in with a black background so they cover any lines below them. The circle radii are matched up to the grid size as well until we draw the final circle in the center which is given a fixed radius that I thought looked nice.
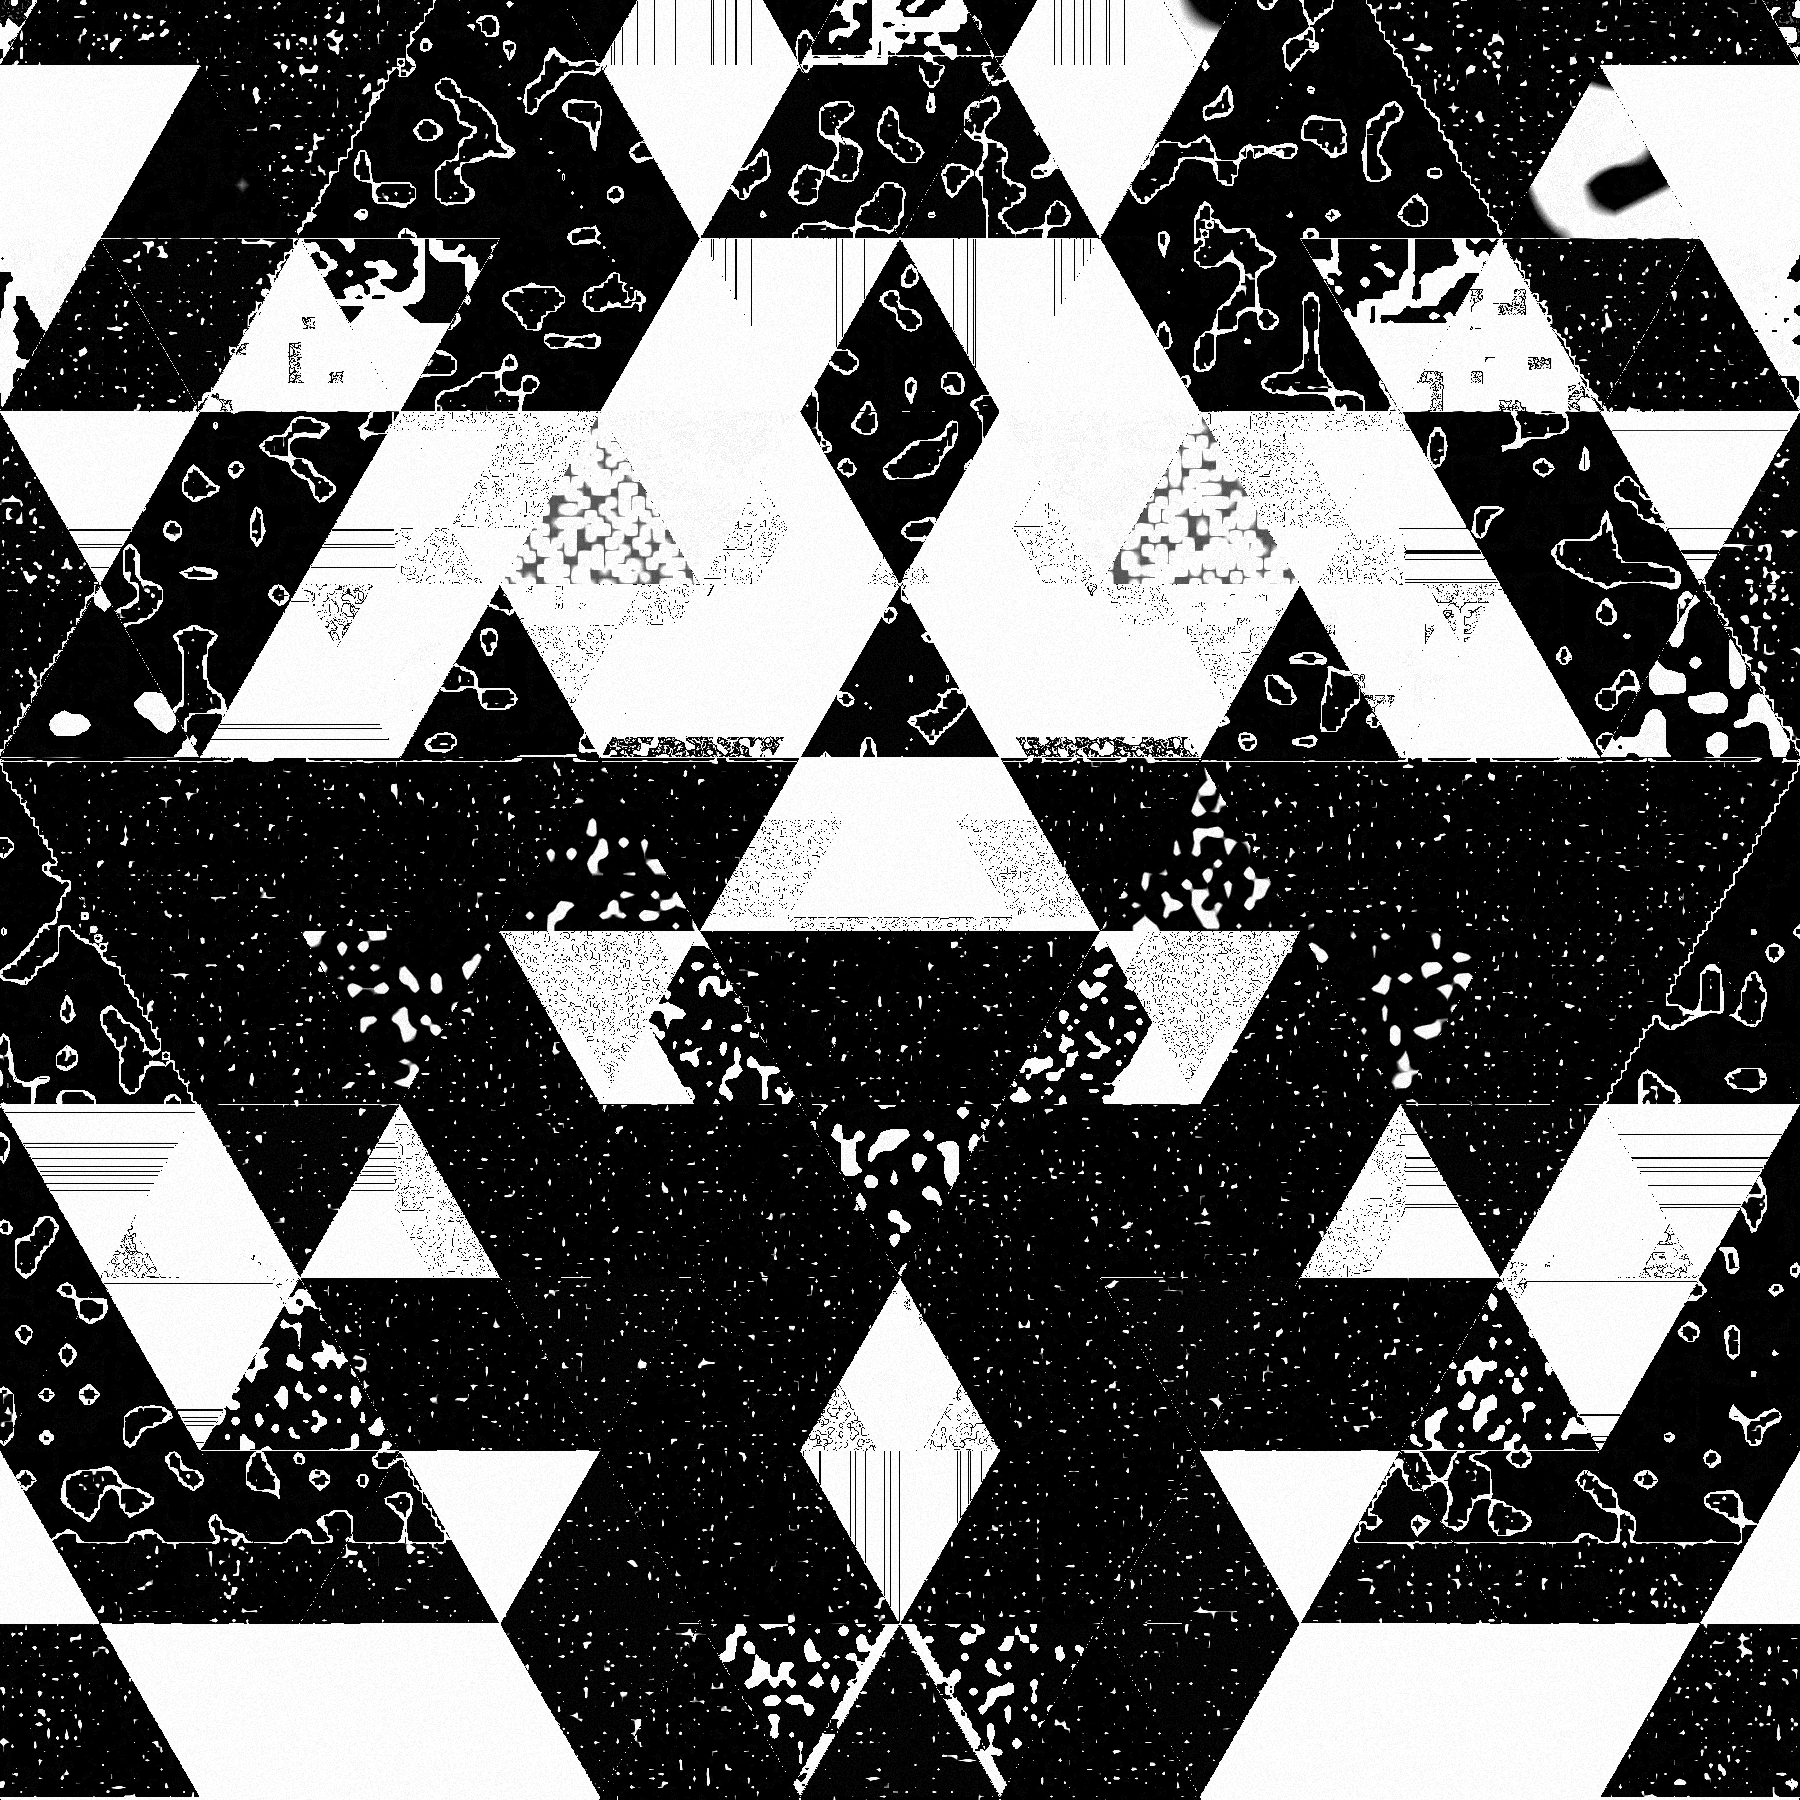
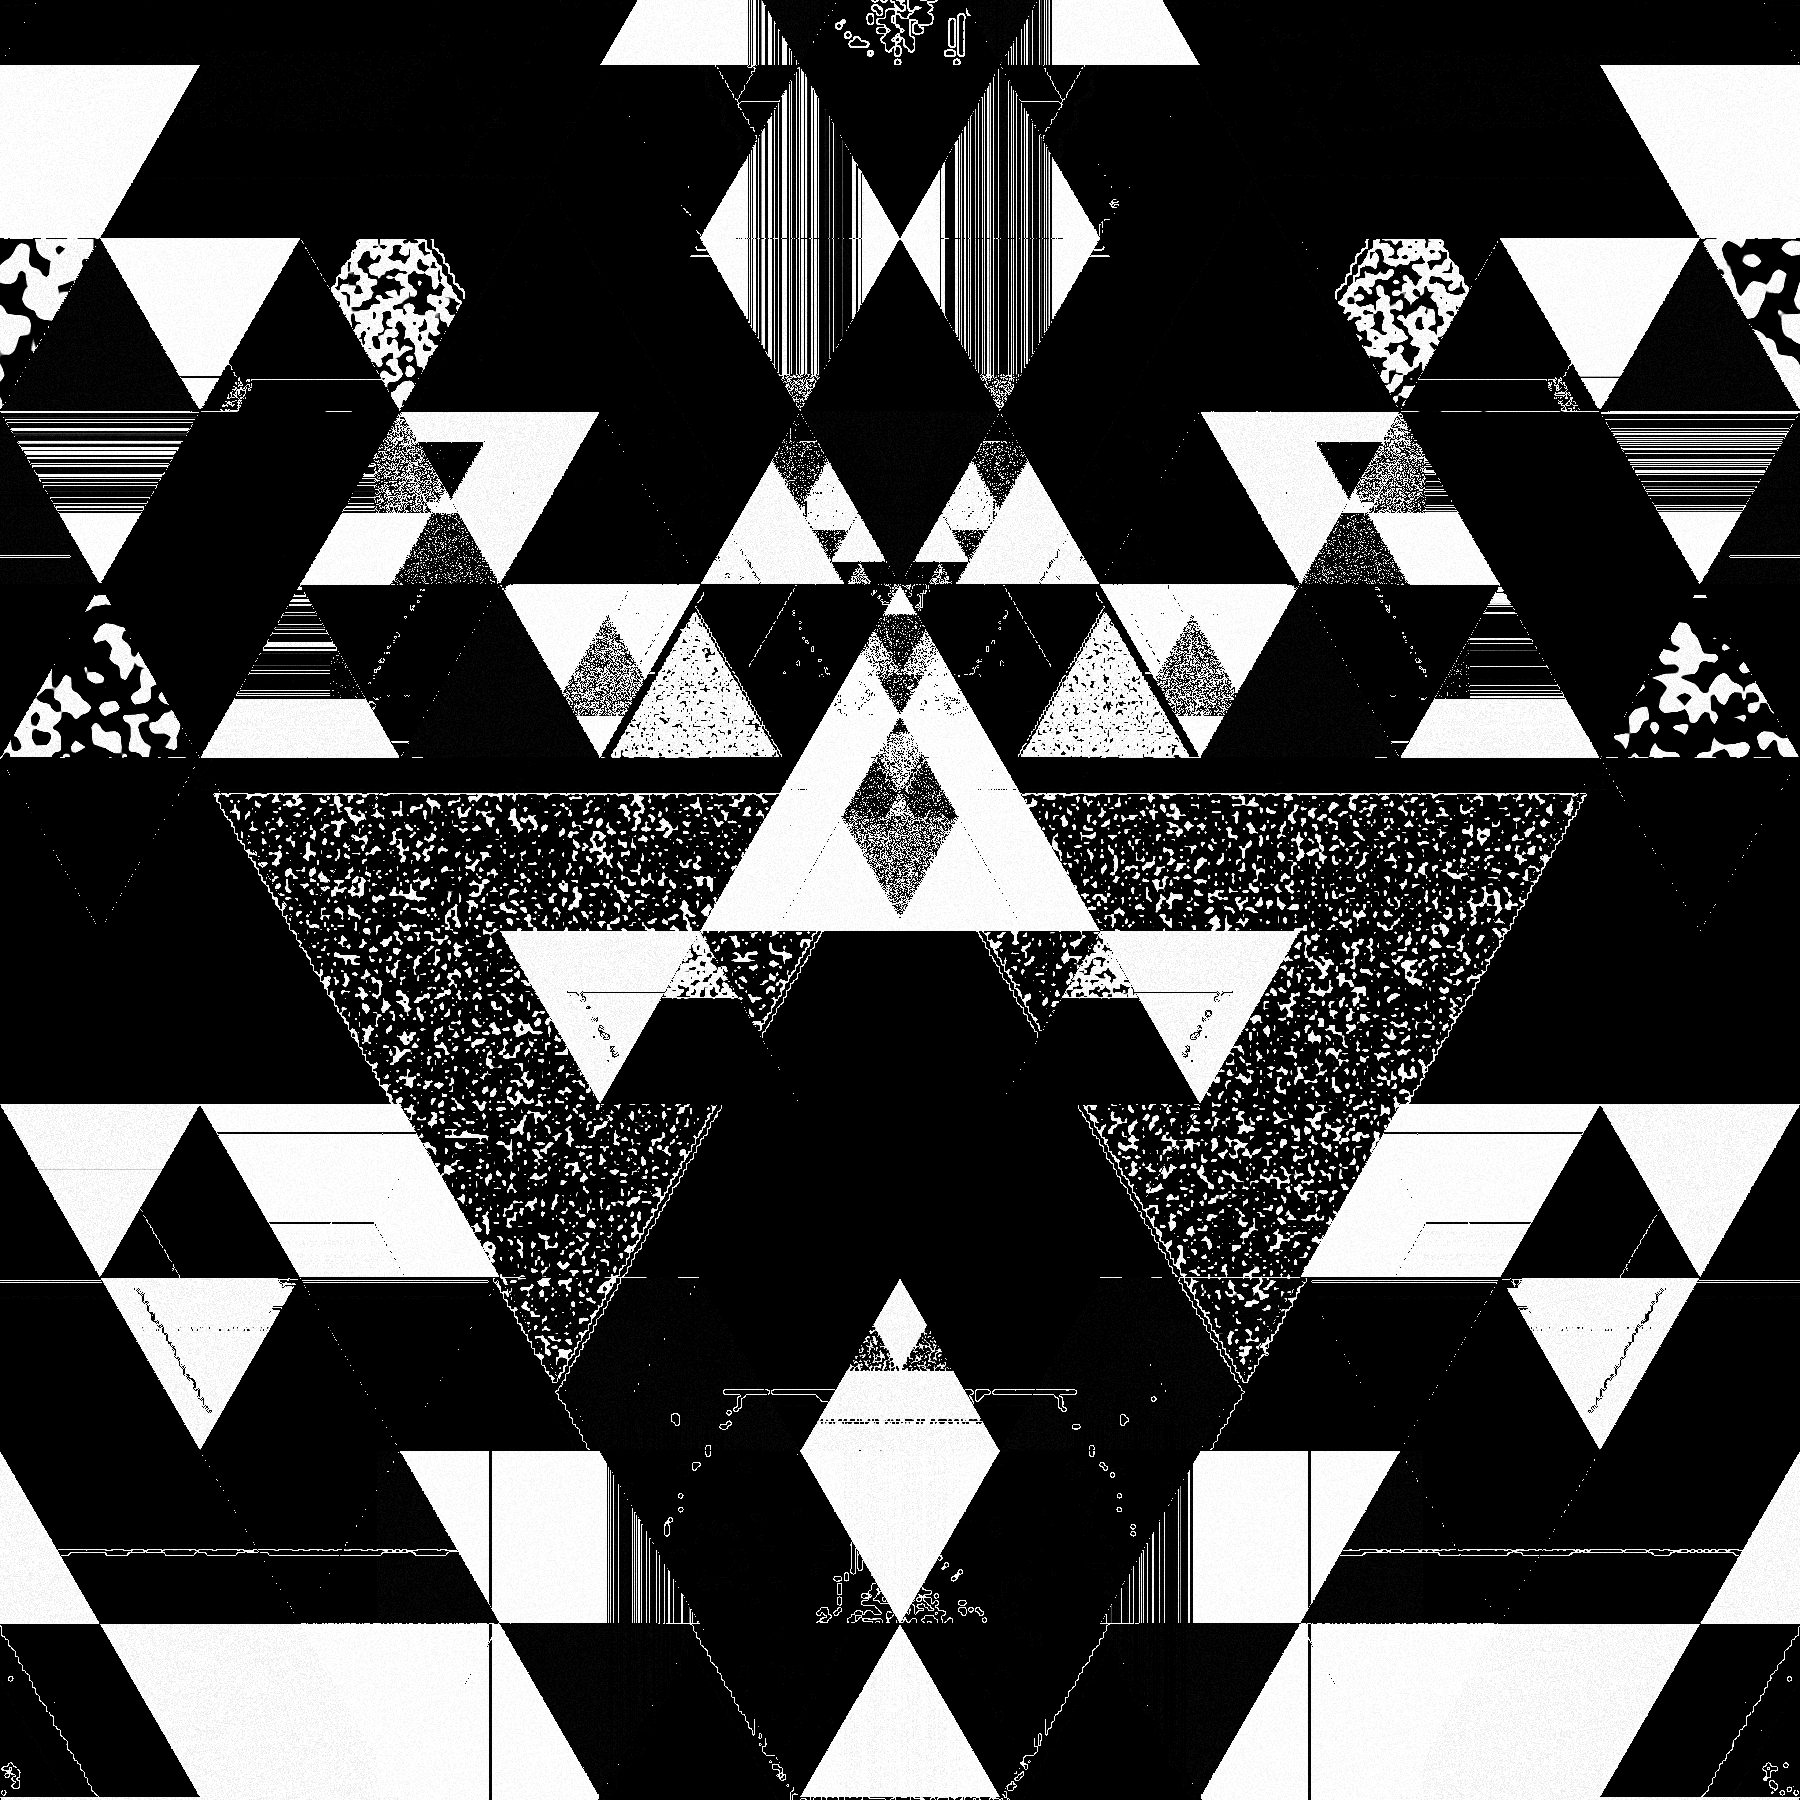
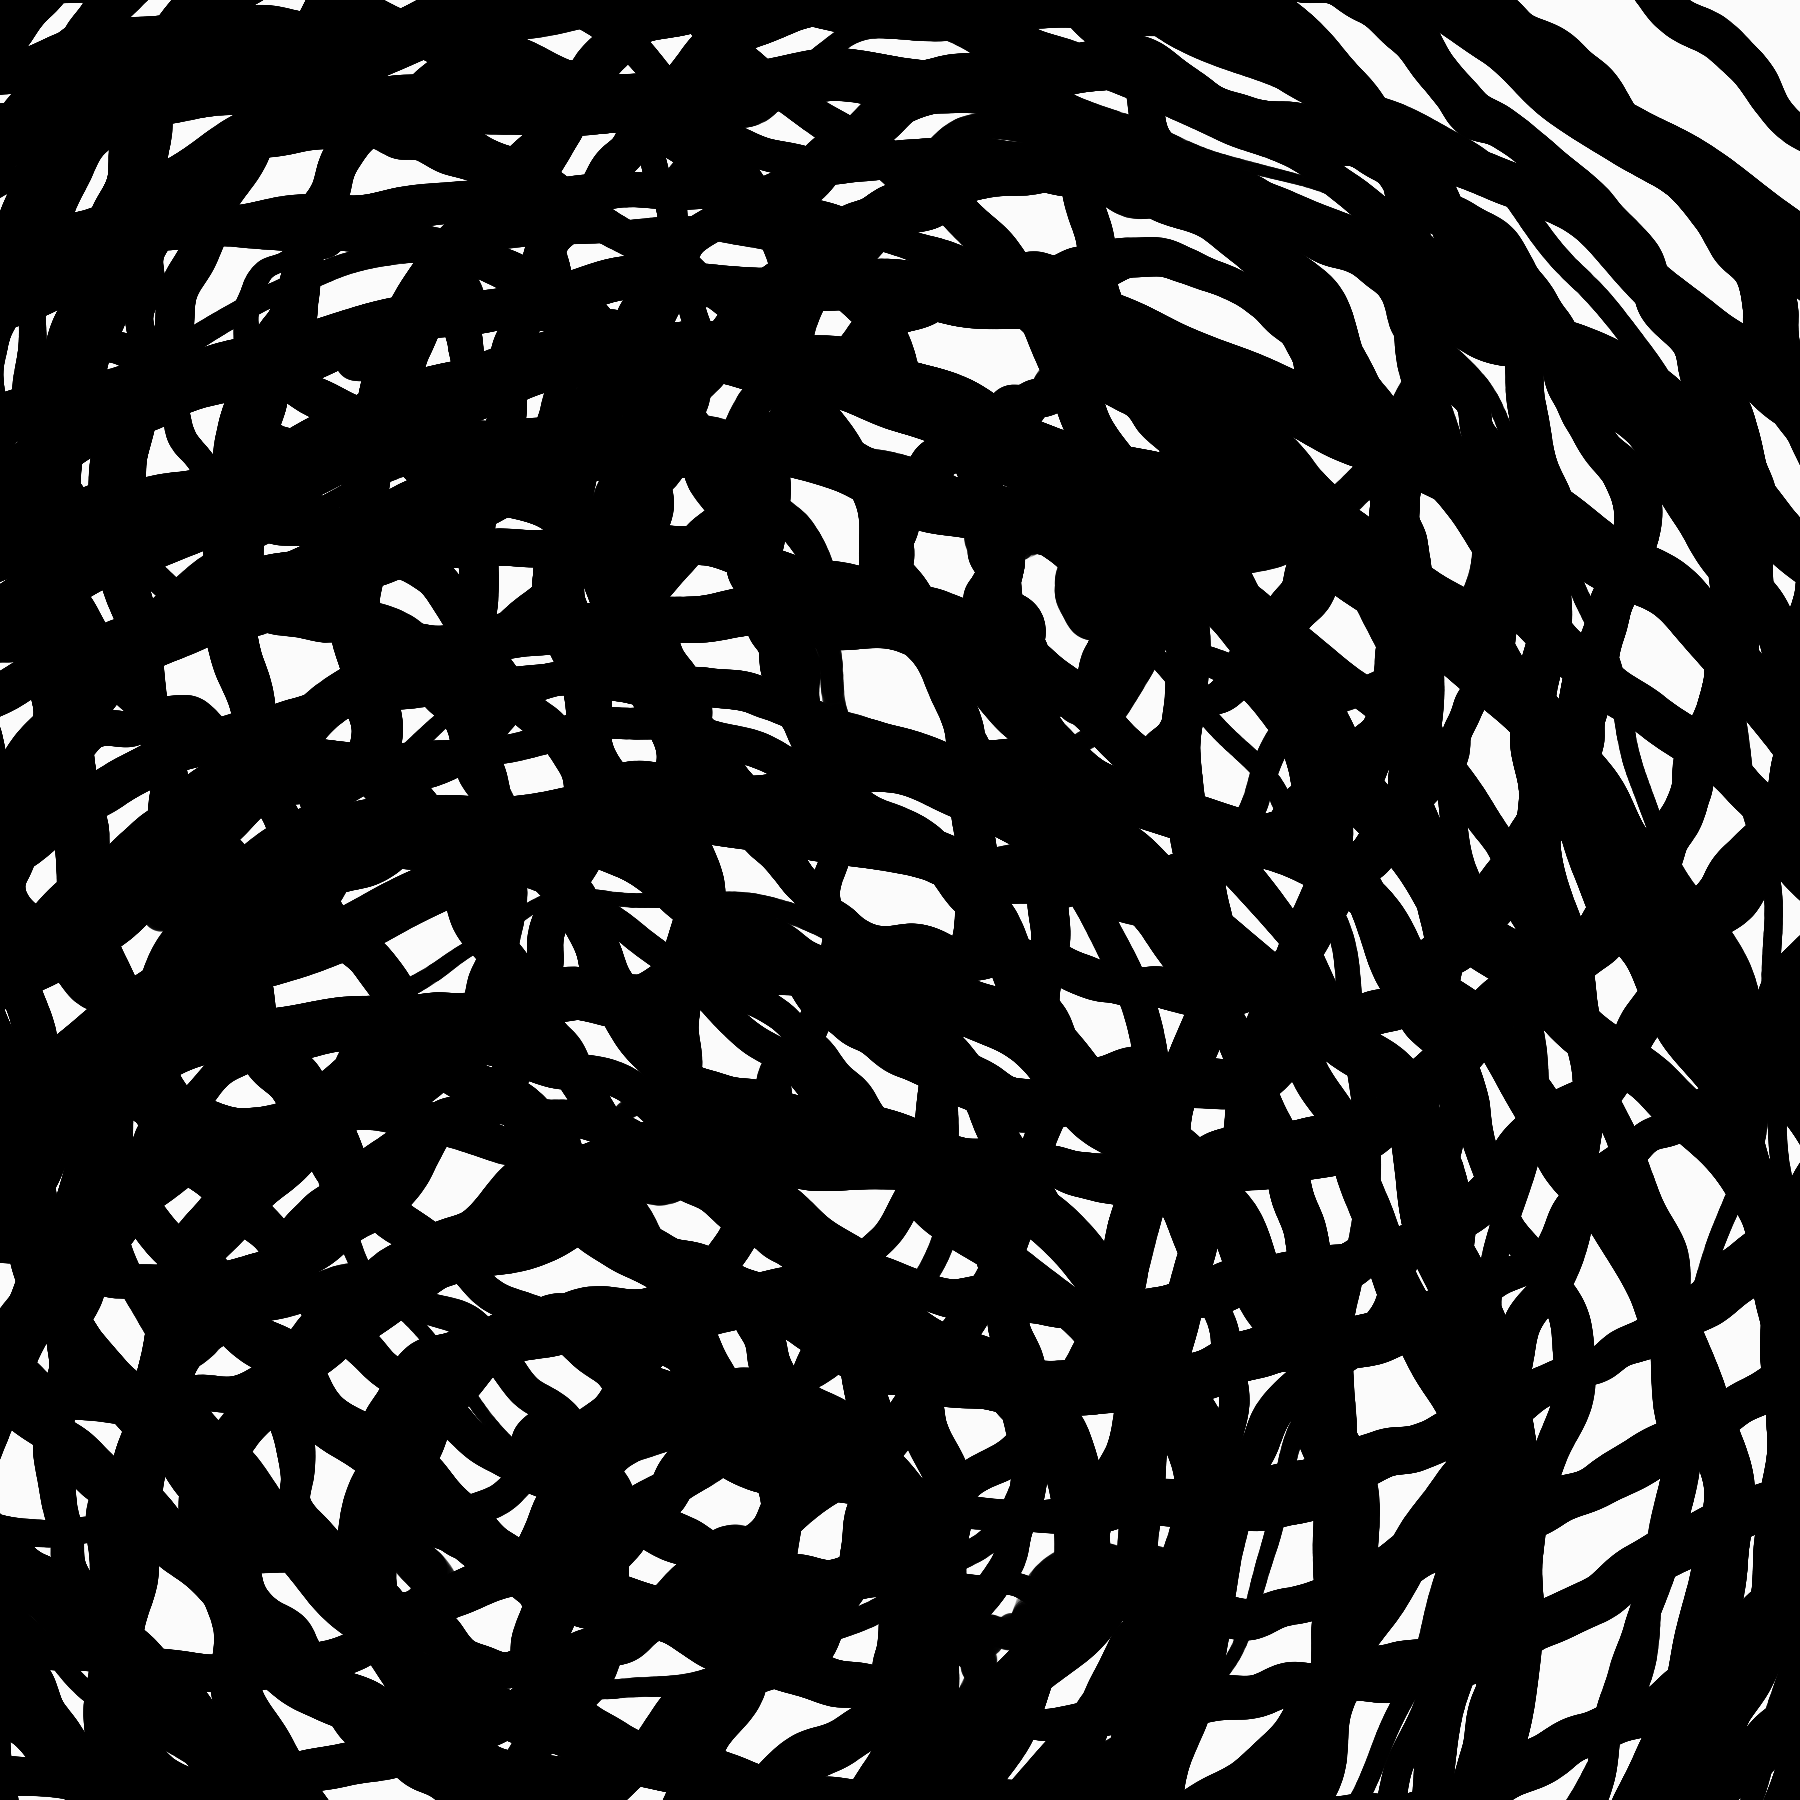
21. Persian Rug
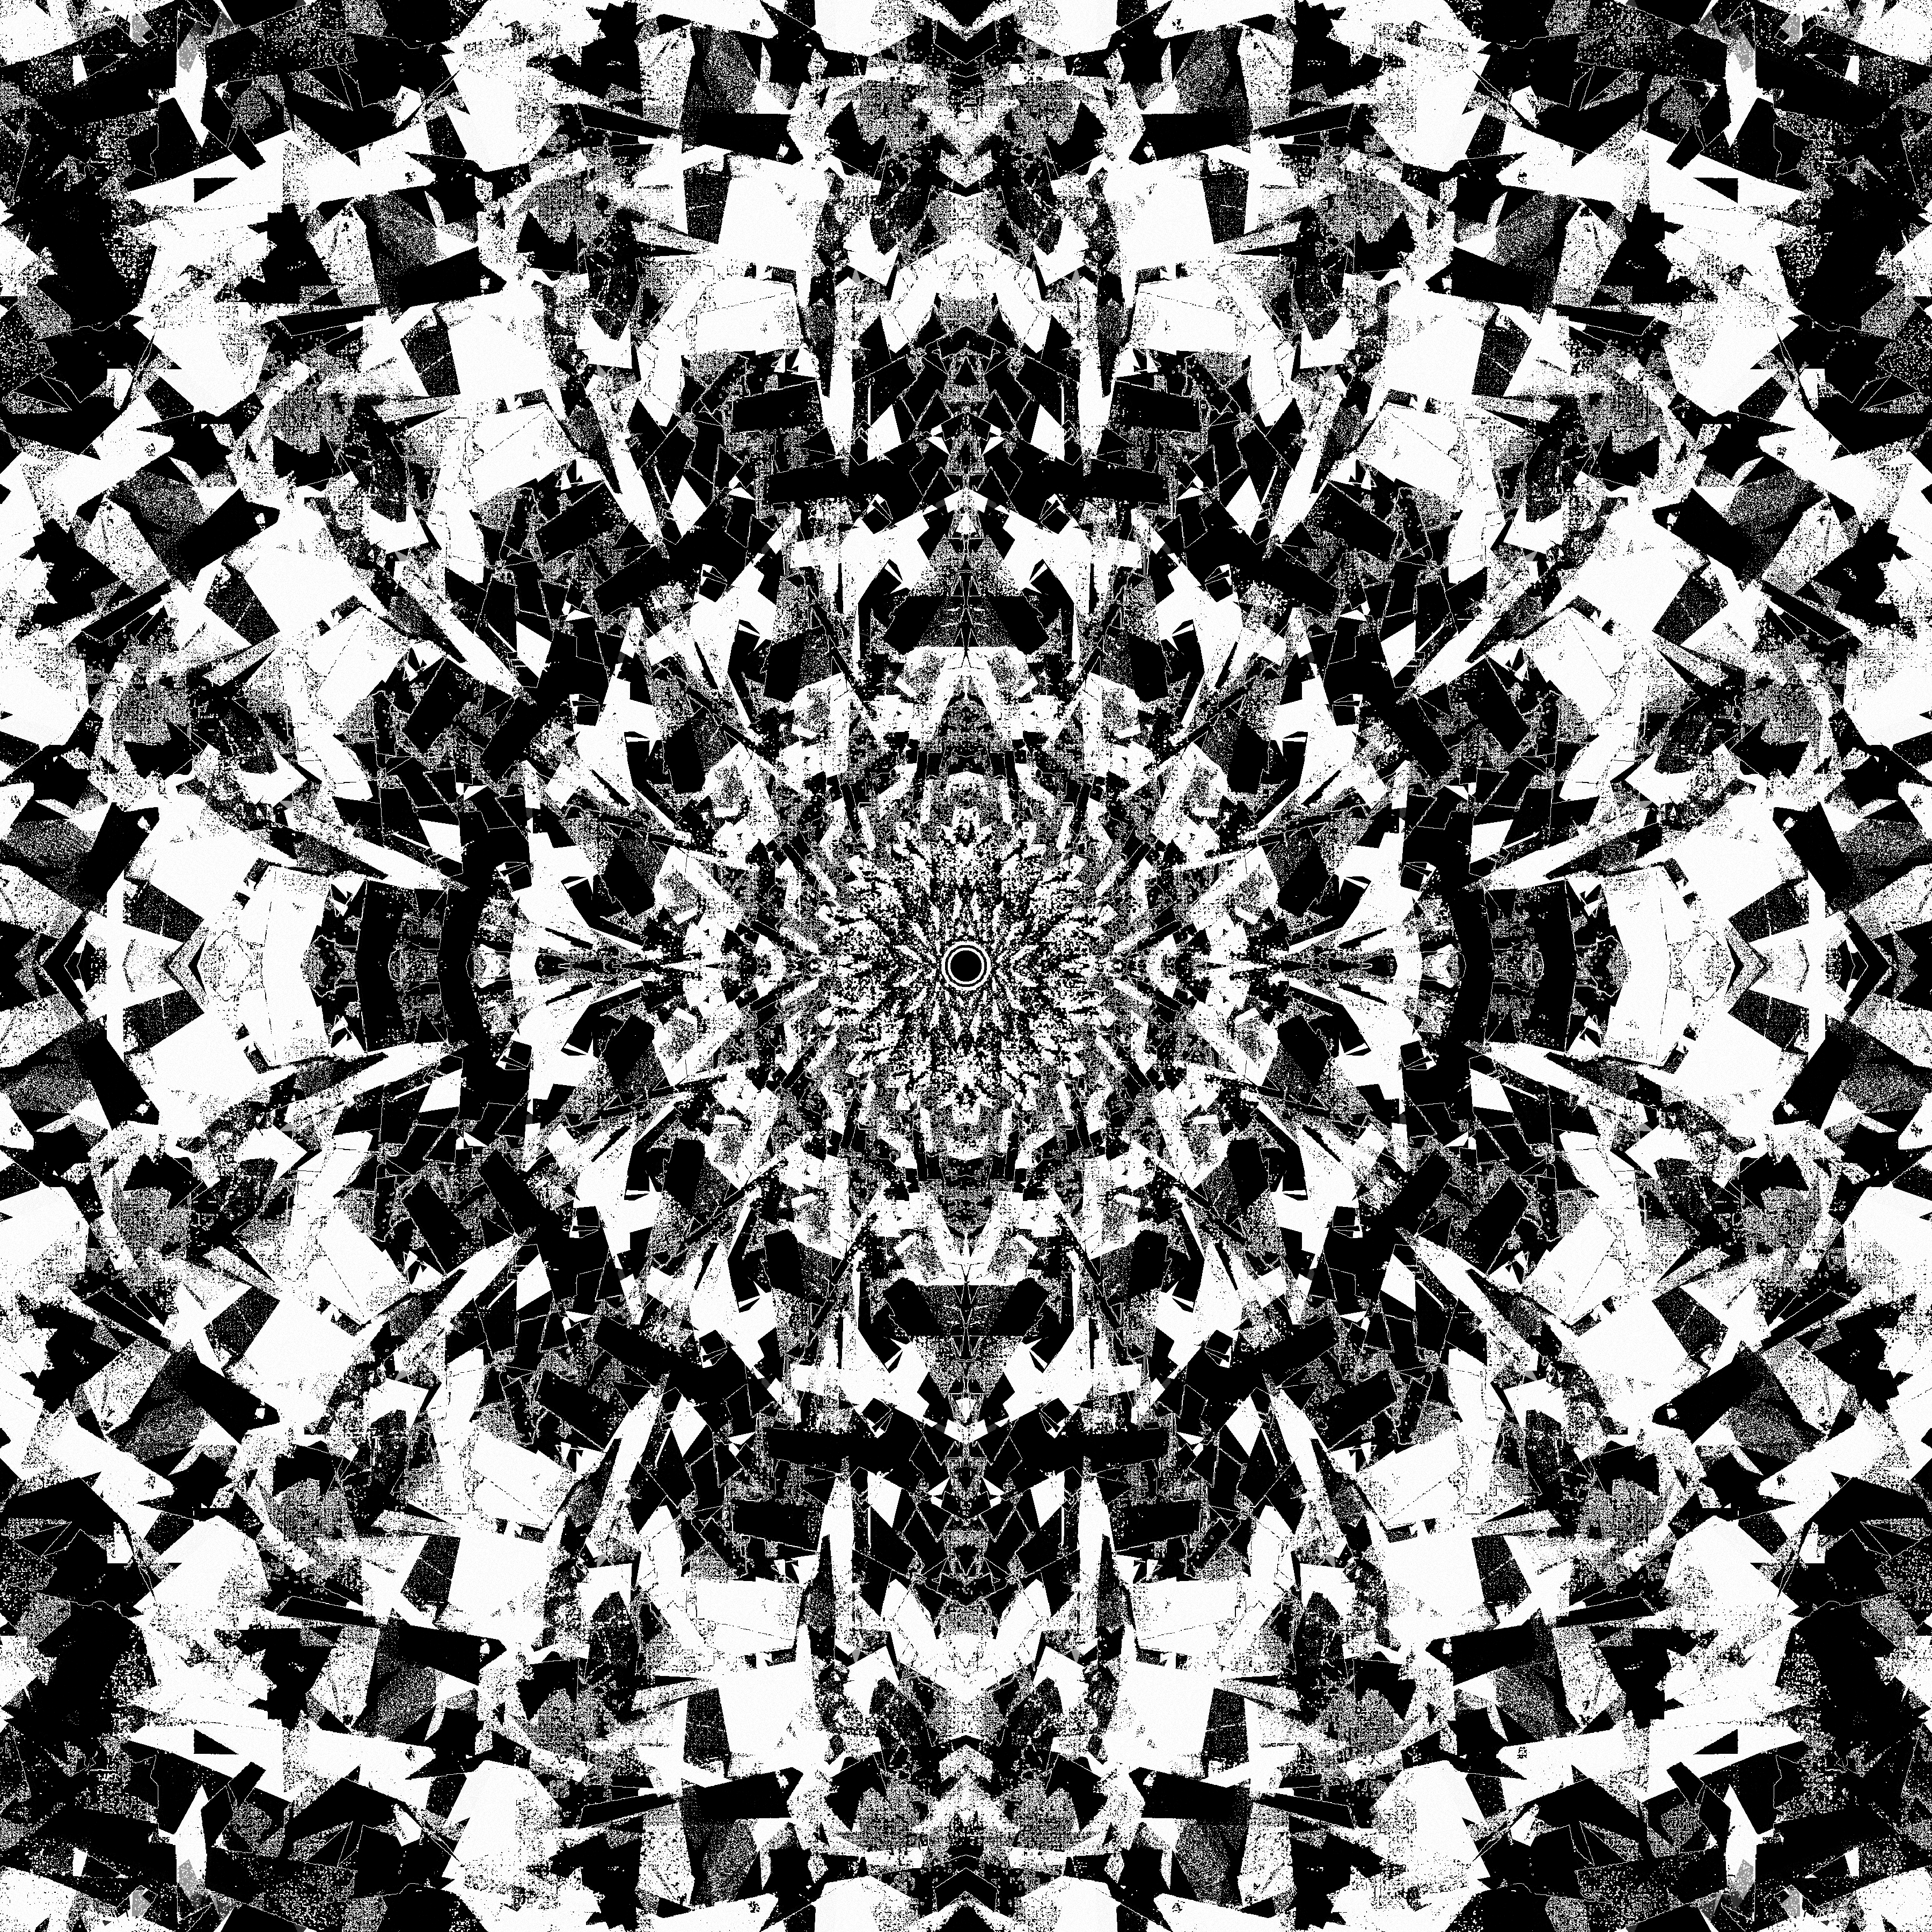
This one was pretty simple. I took the sketch from 16. Reflection of a reflection as a jumping off point, but introduced mirroring along the vertical and horizontal axes in the shader, made the shape division run more iterations, and made some small tweaks to the feedback shader to make the image more busy and dense.
22. Shadows
This one felt kind of uninspired and didn't quite go in the direction I had hoped it would. I tried to get the shadows to expand and do something interesting with a feedback shader but basically just kept getting amorphous blobs, so the end result is basically just a cleaner version of 13. Something you've always wanted to learn with some shadows drawn offset from the main shapes haha. Can't win 'em all.
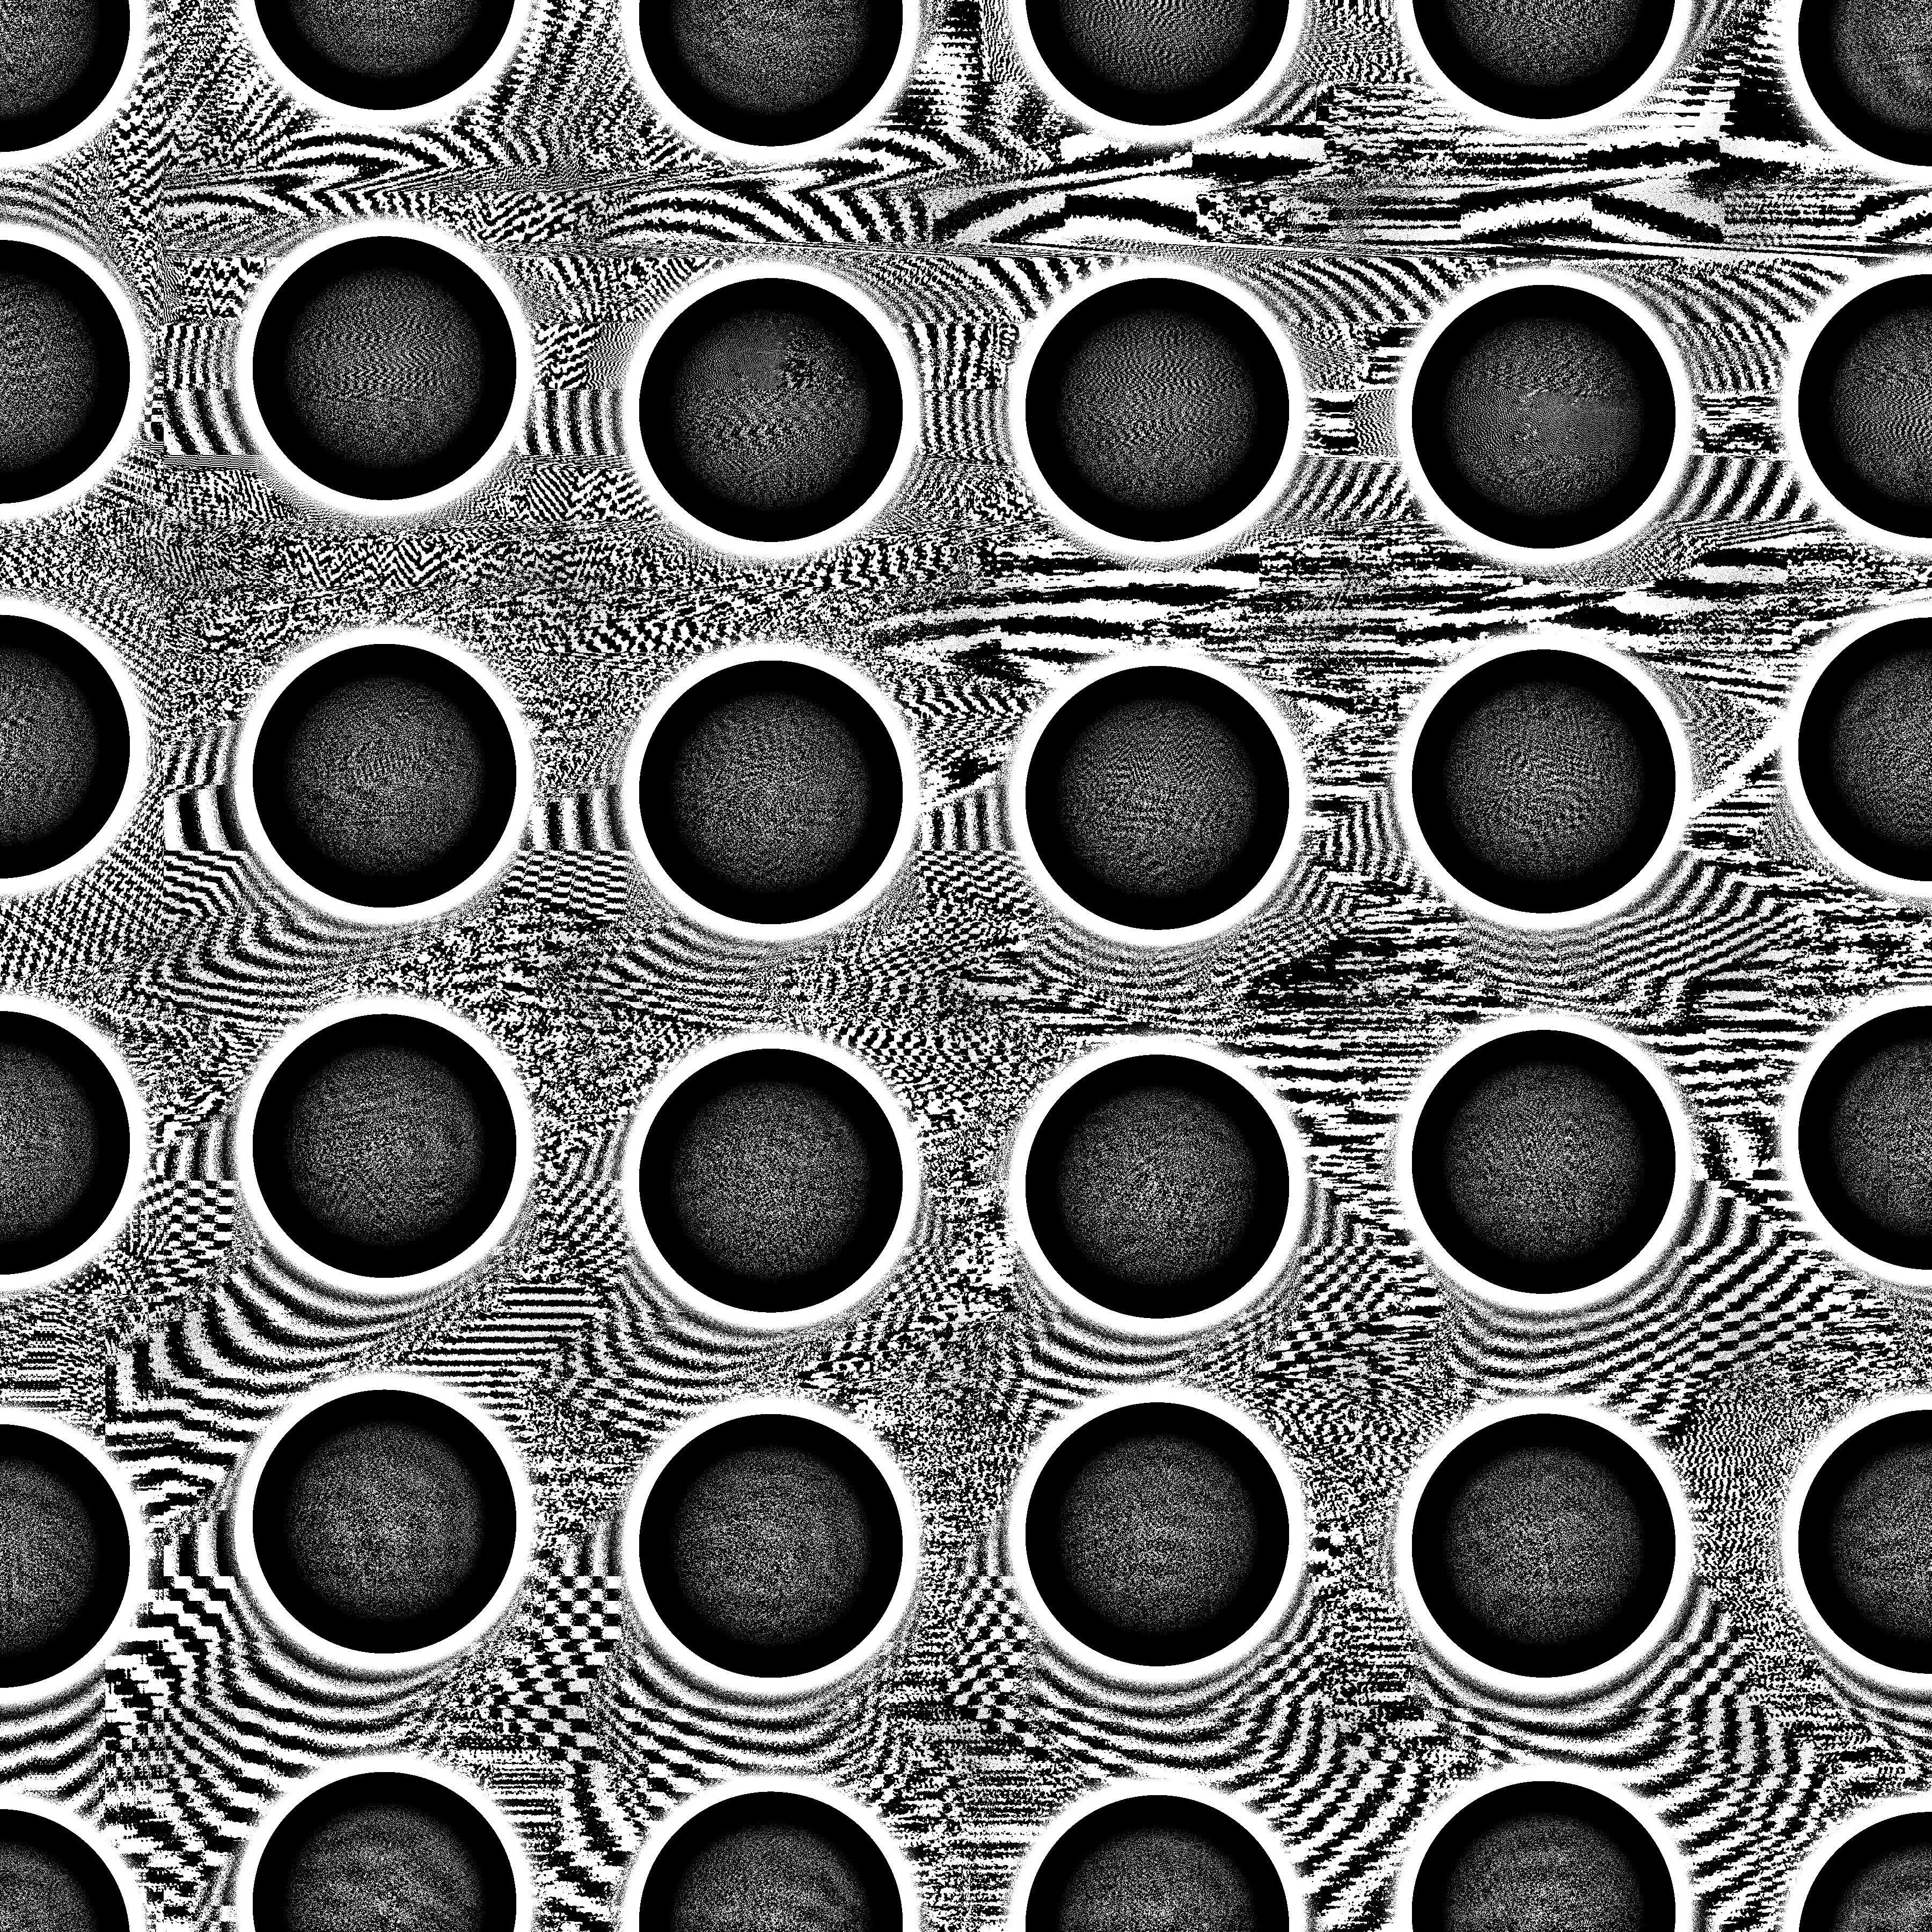
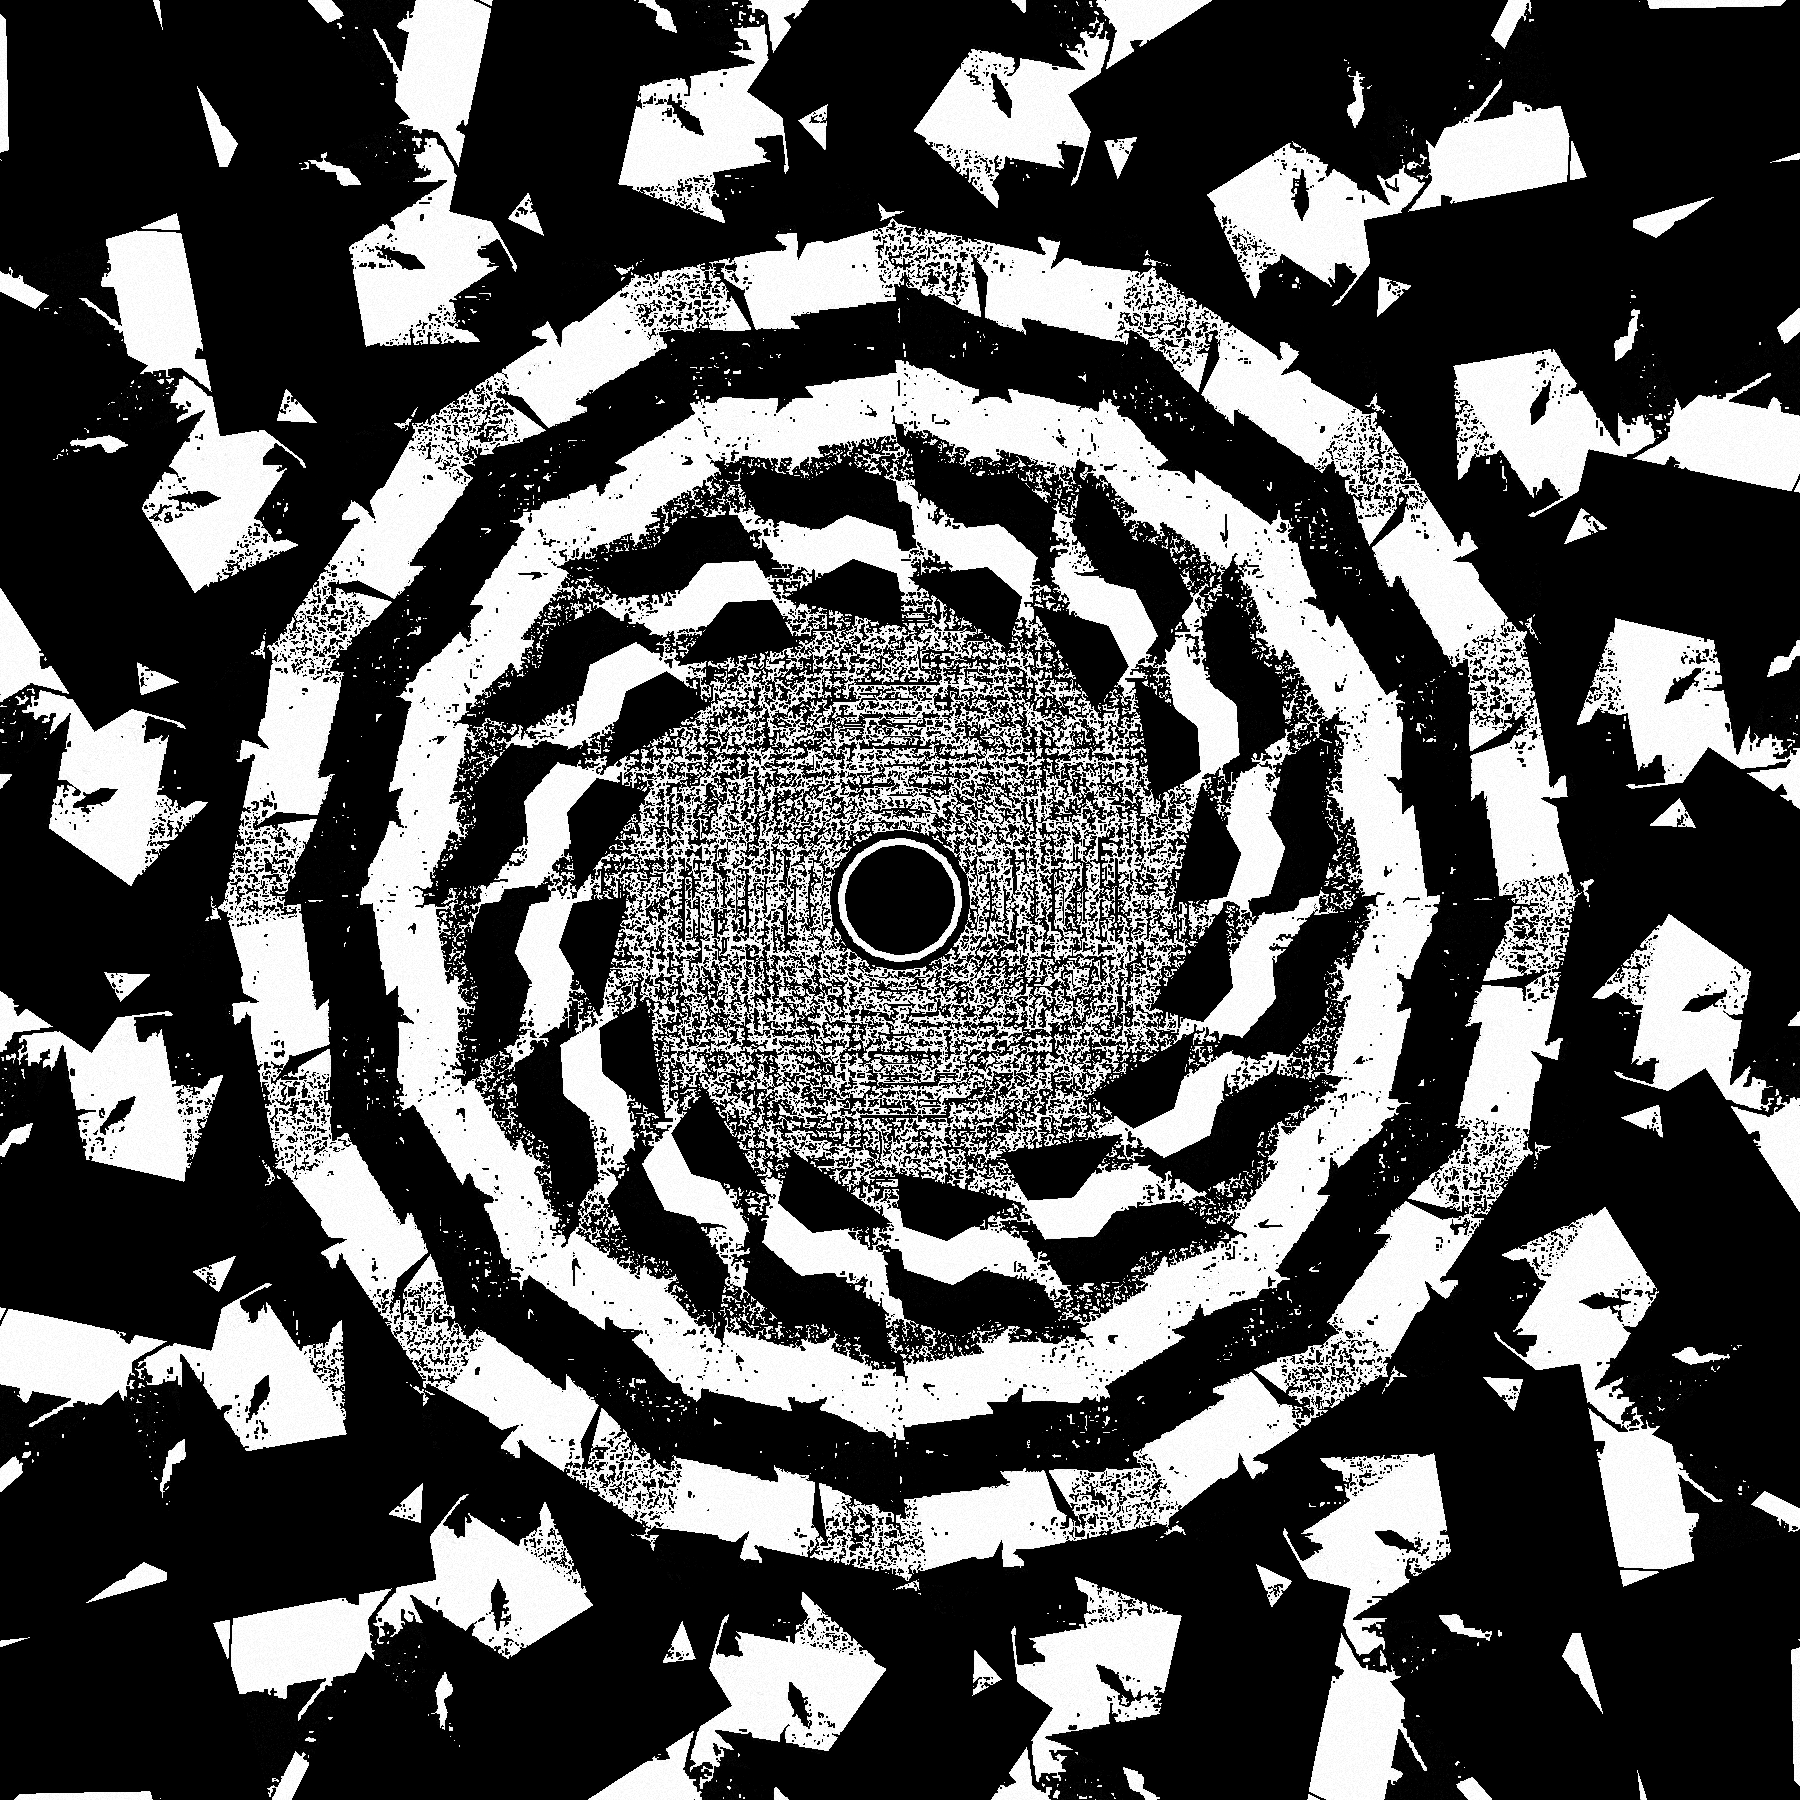
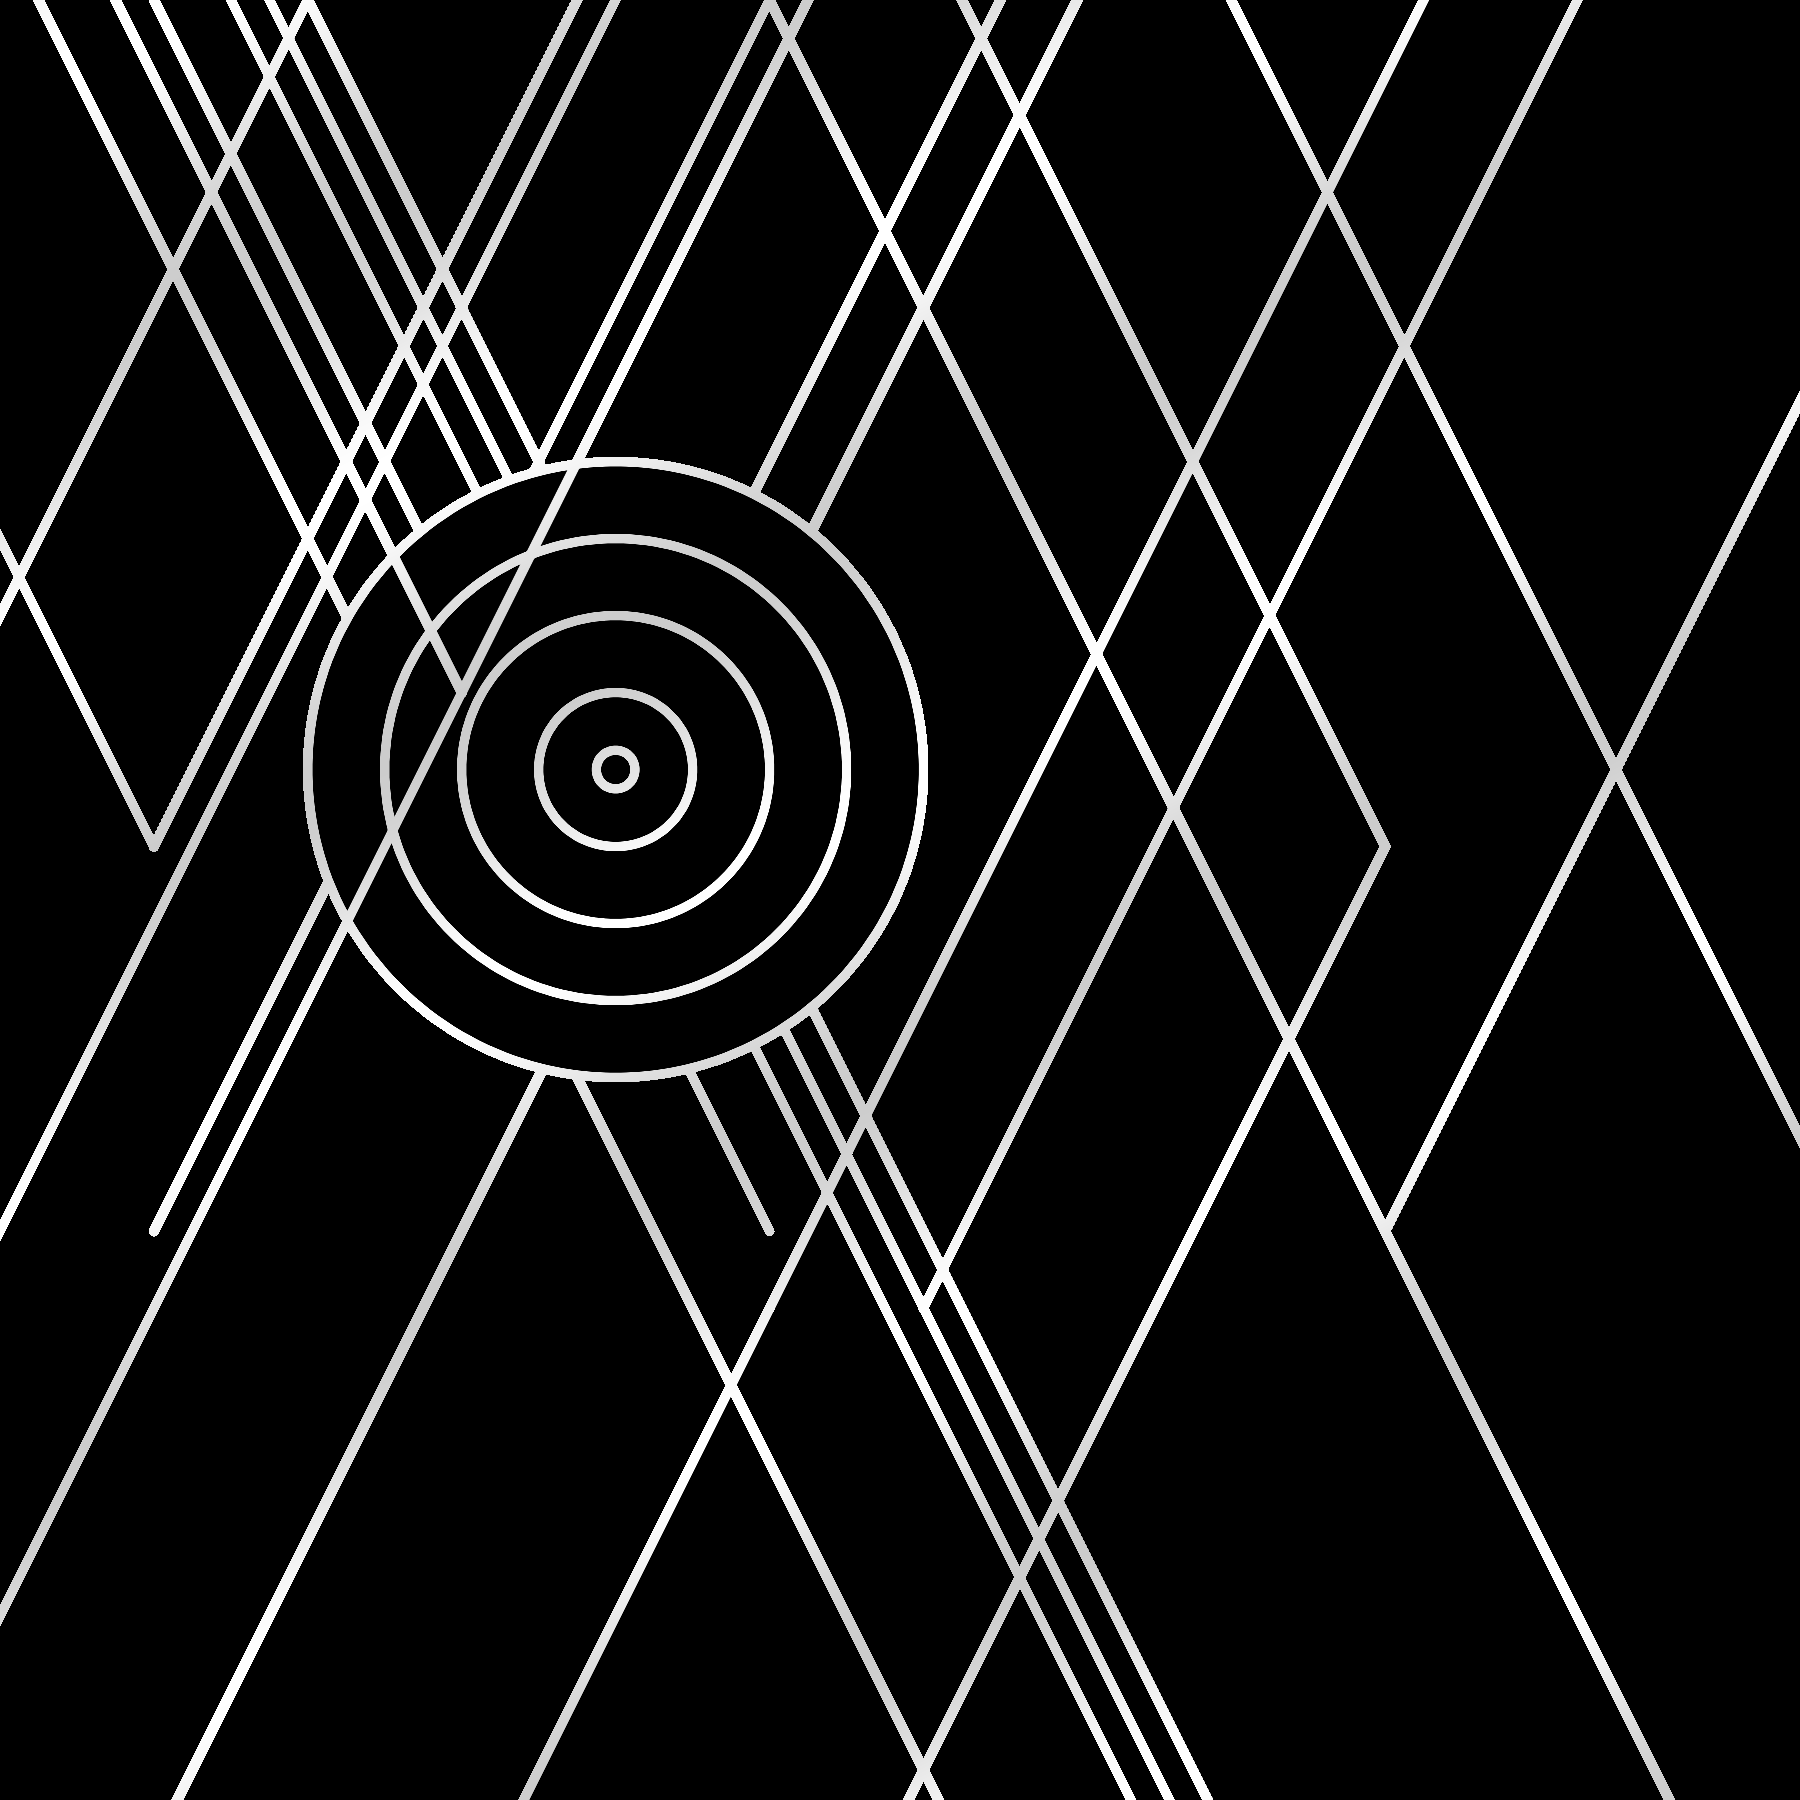
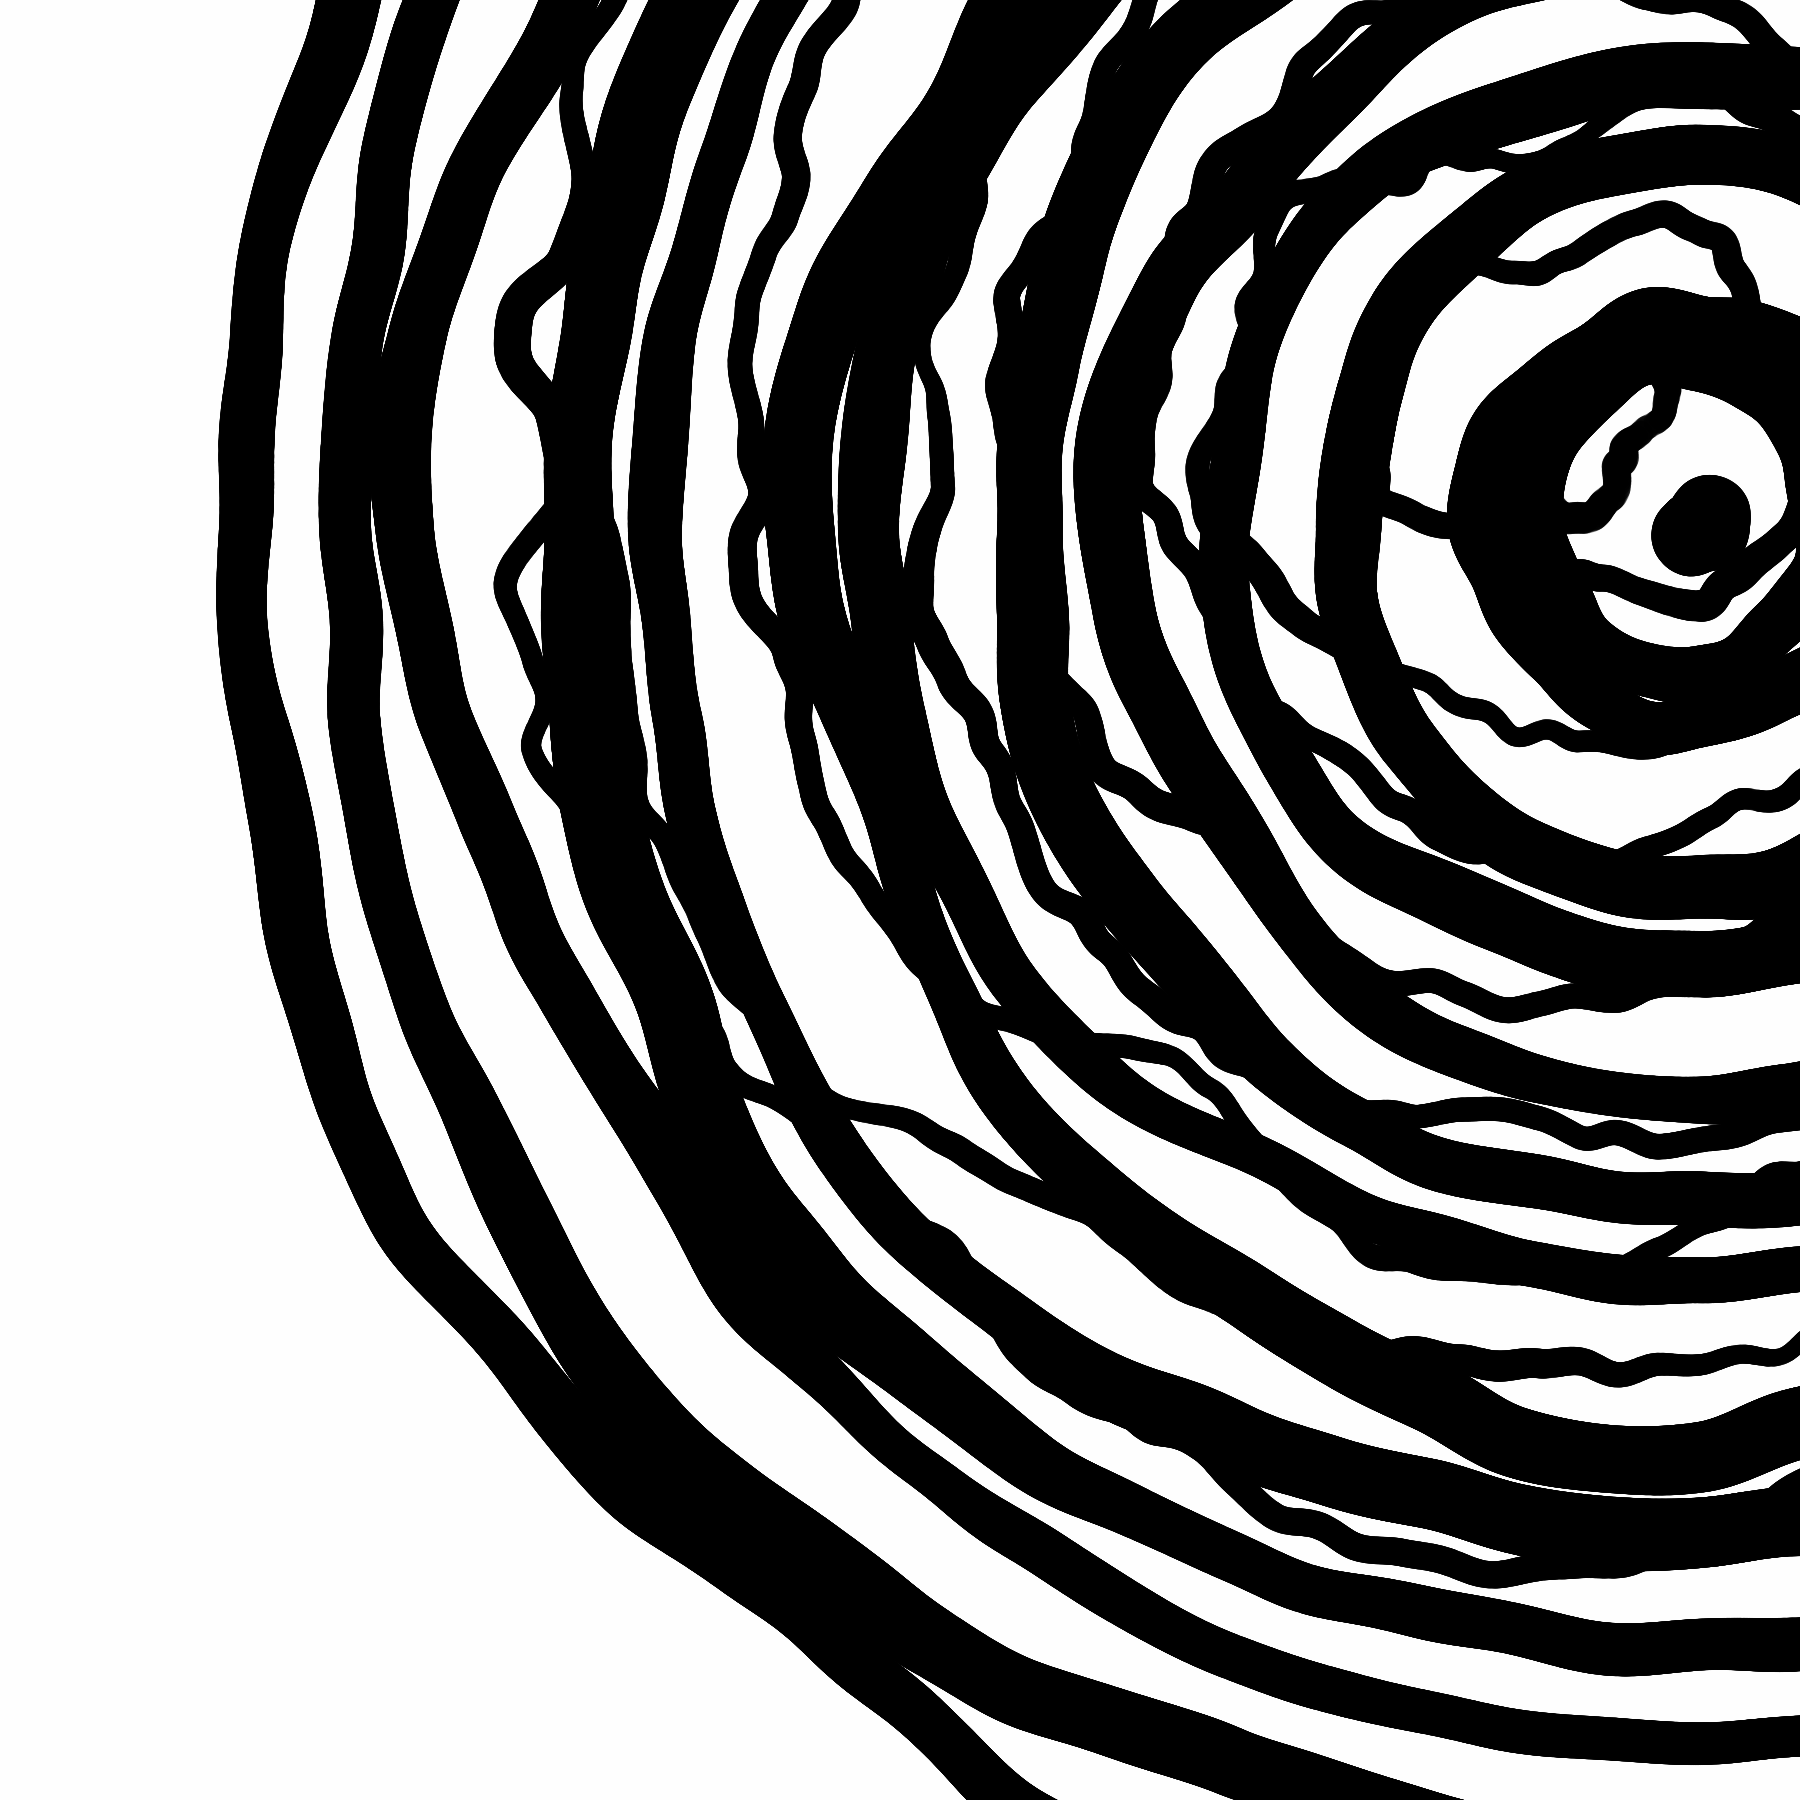
23. More Moiré
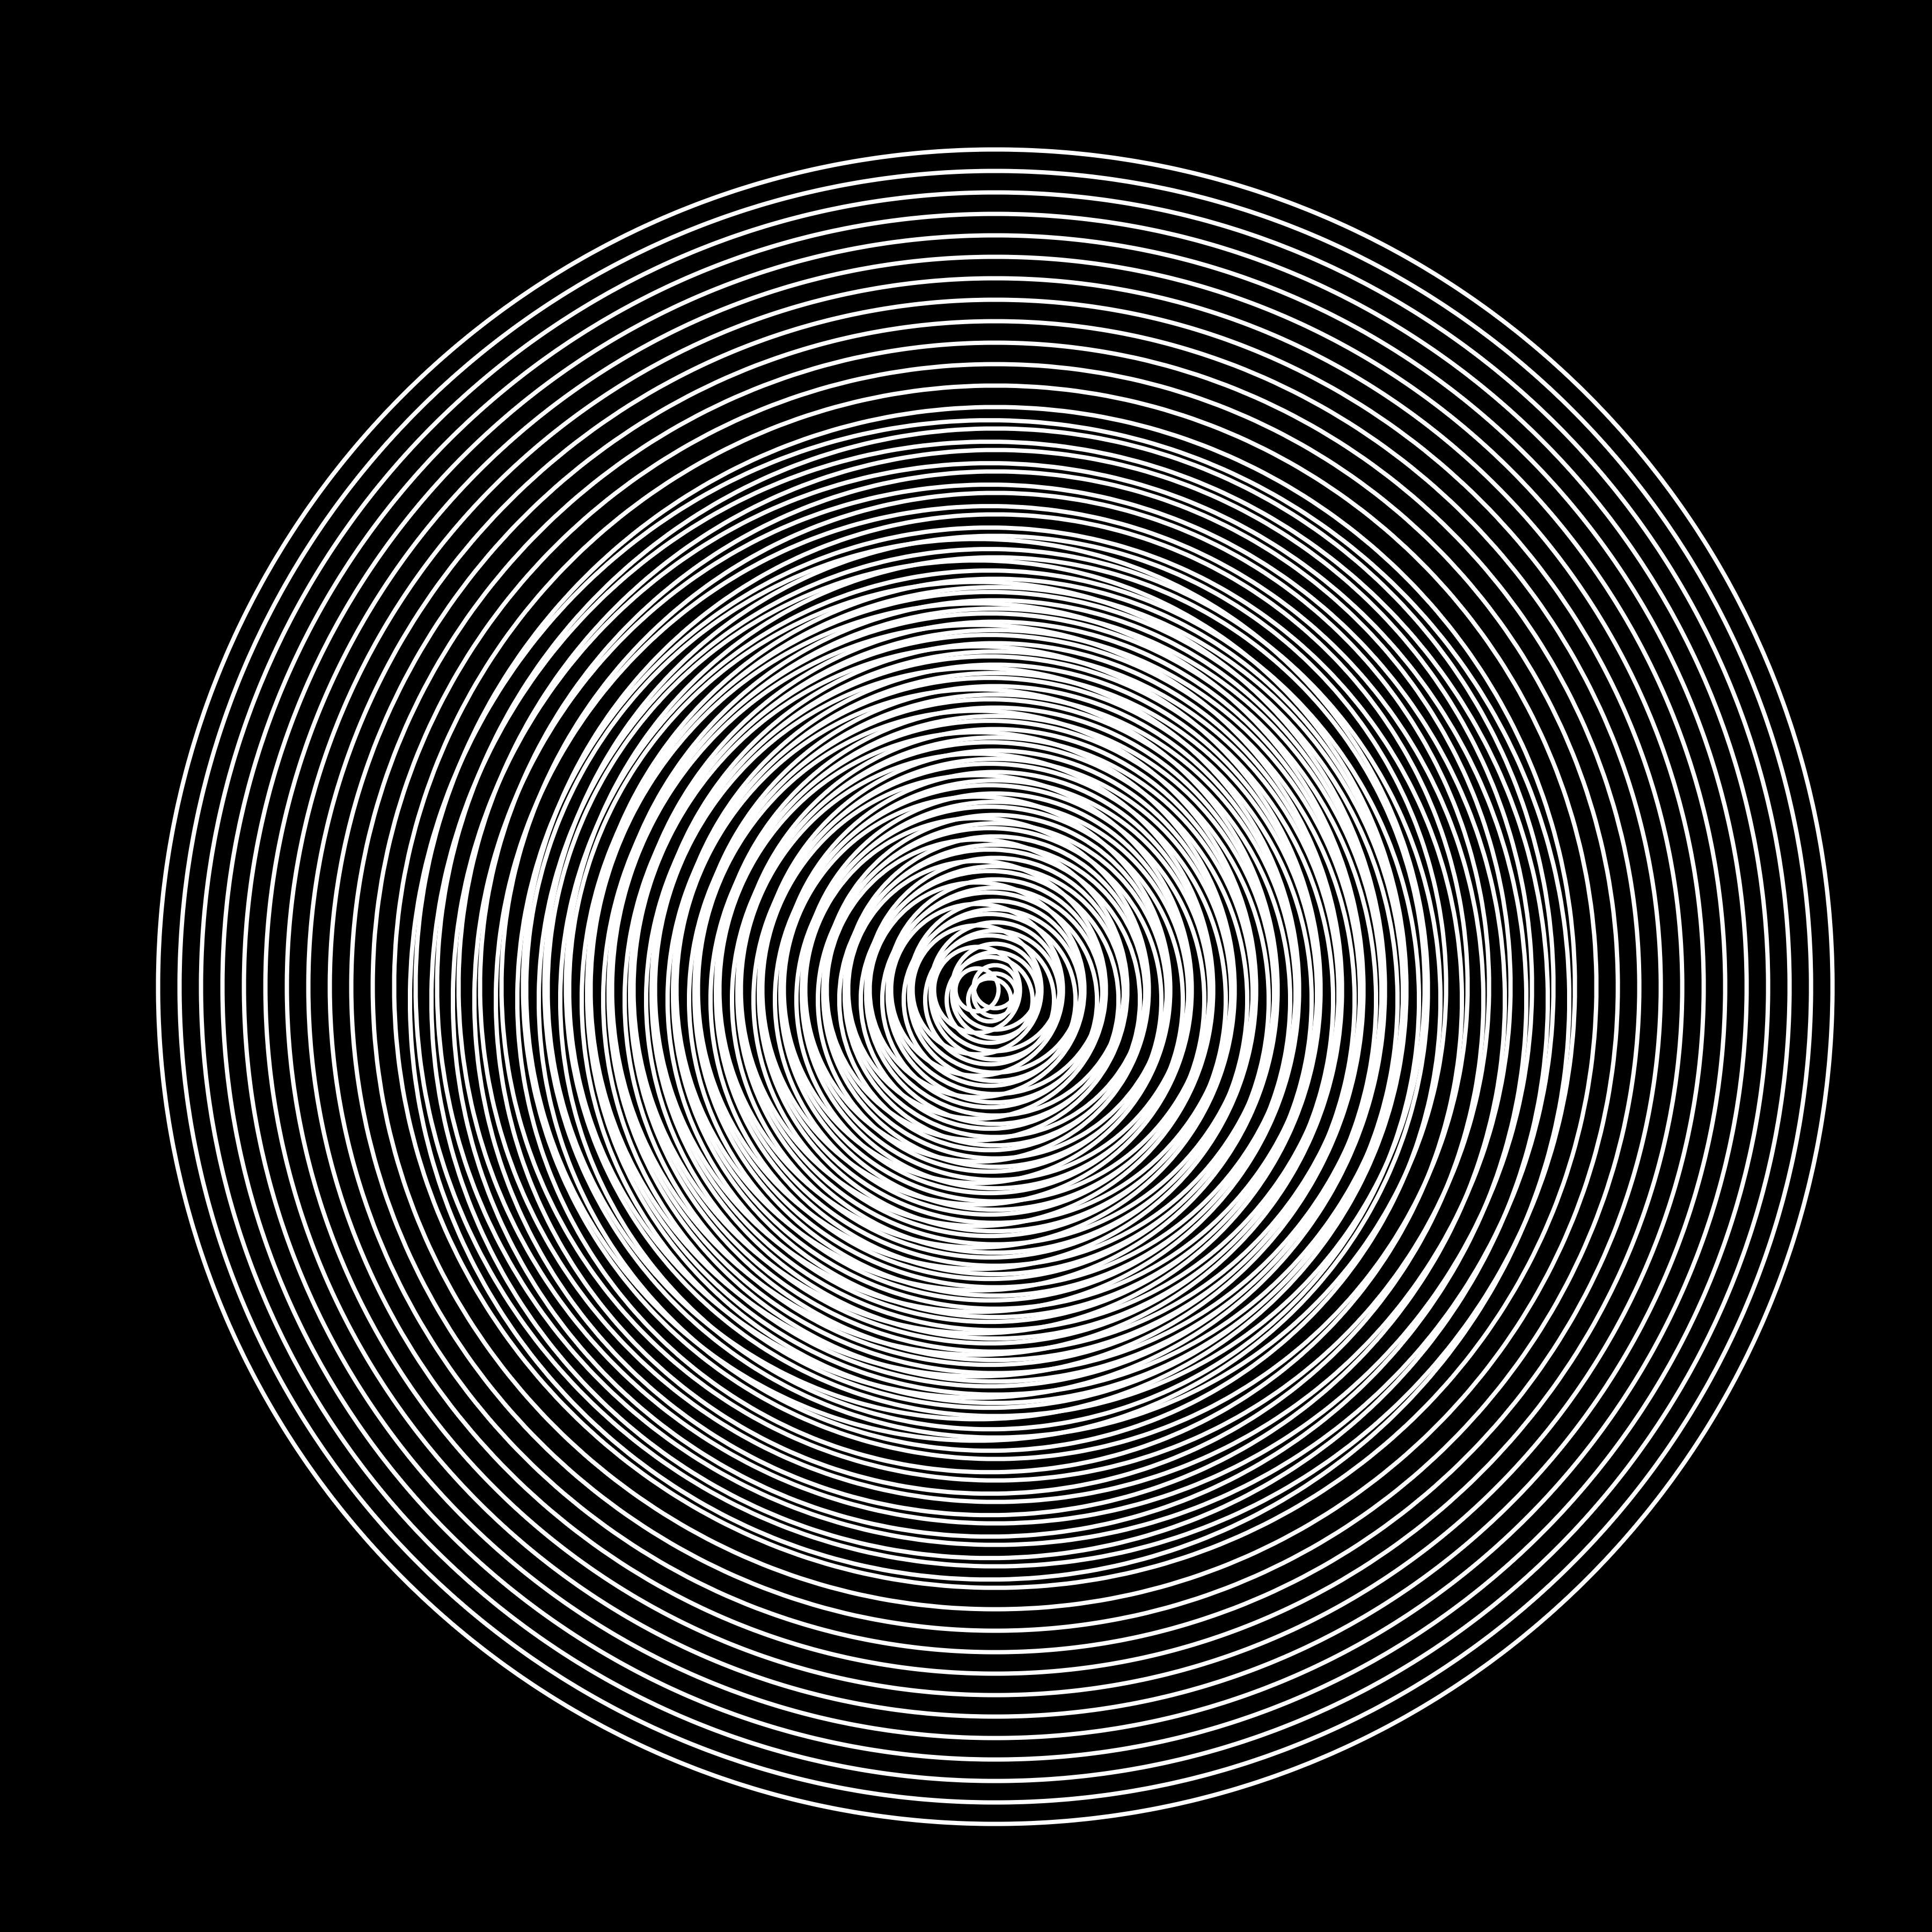
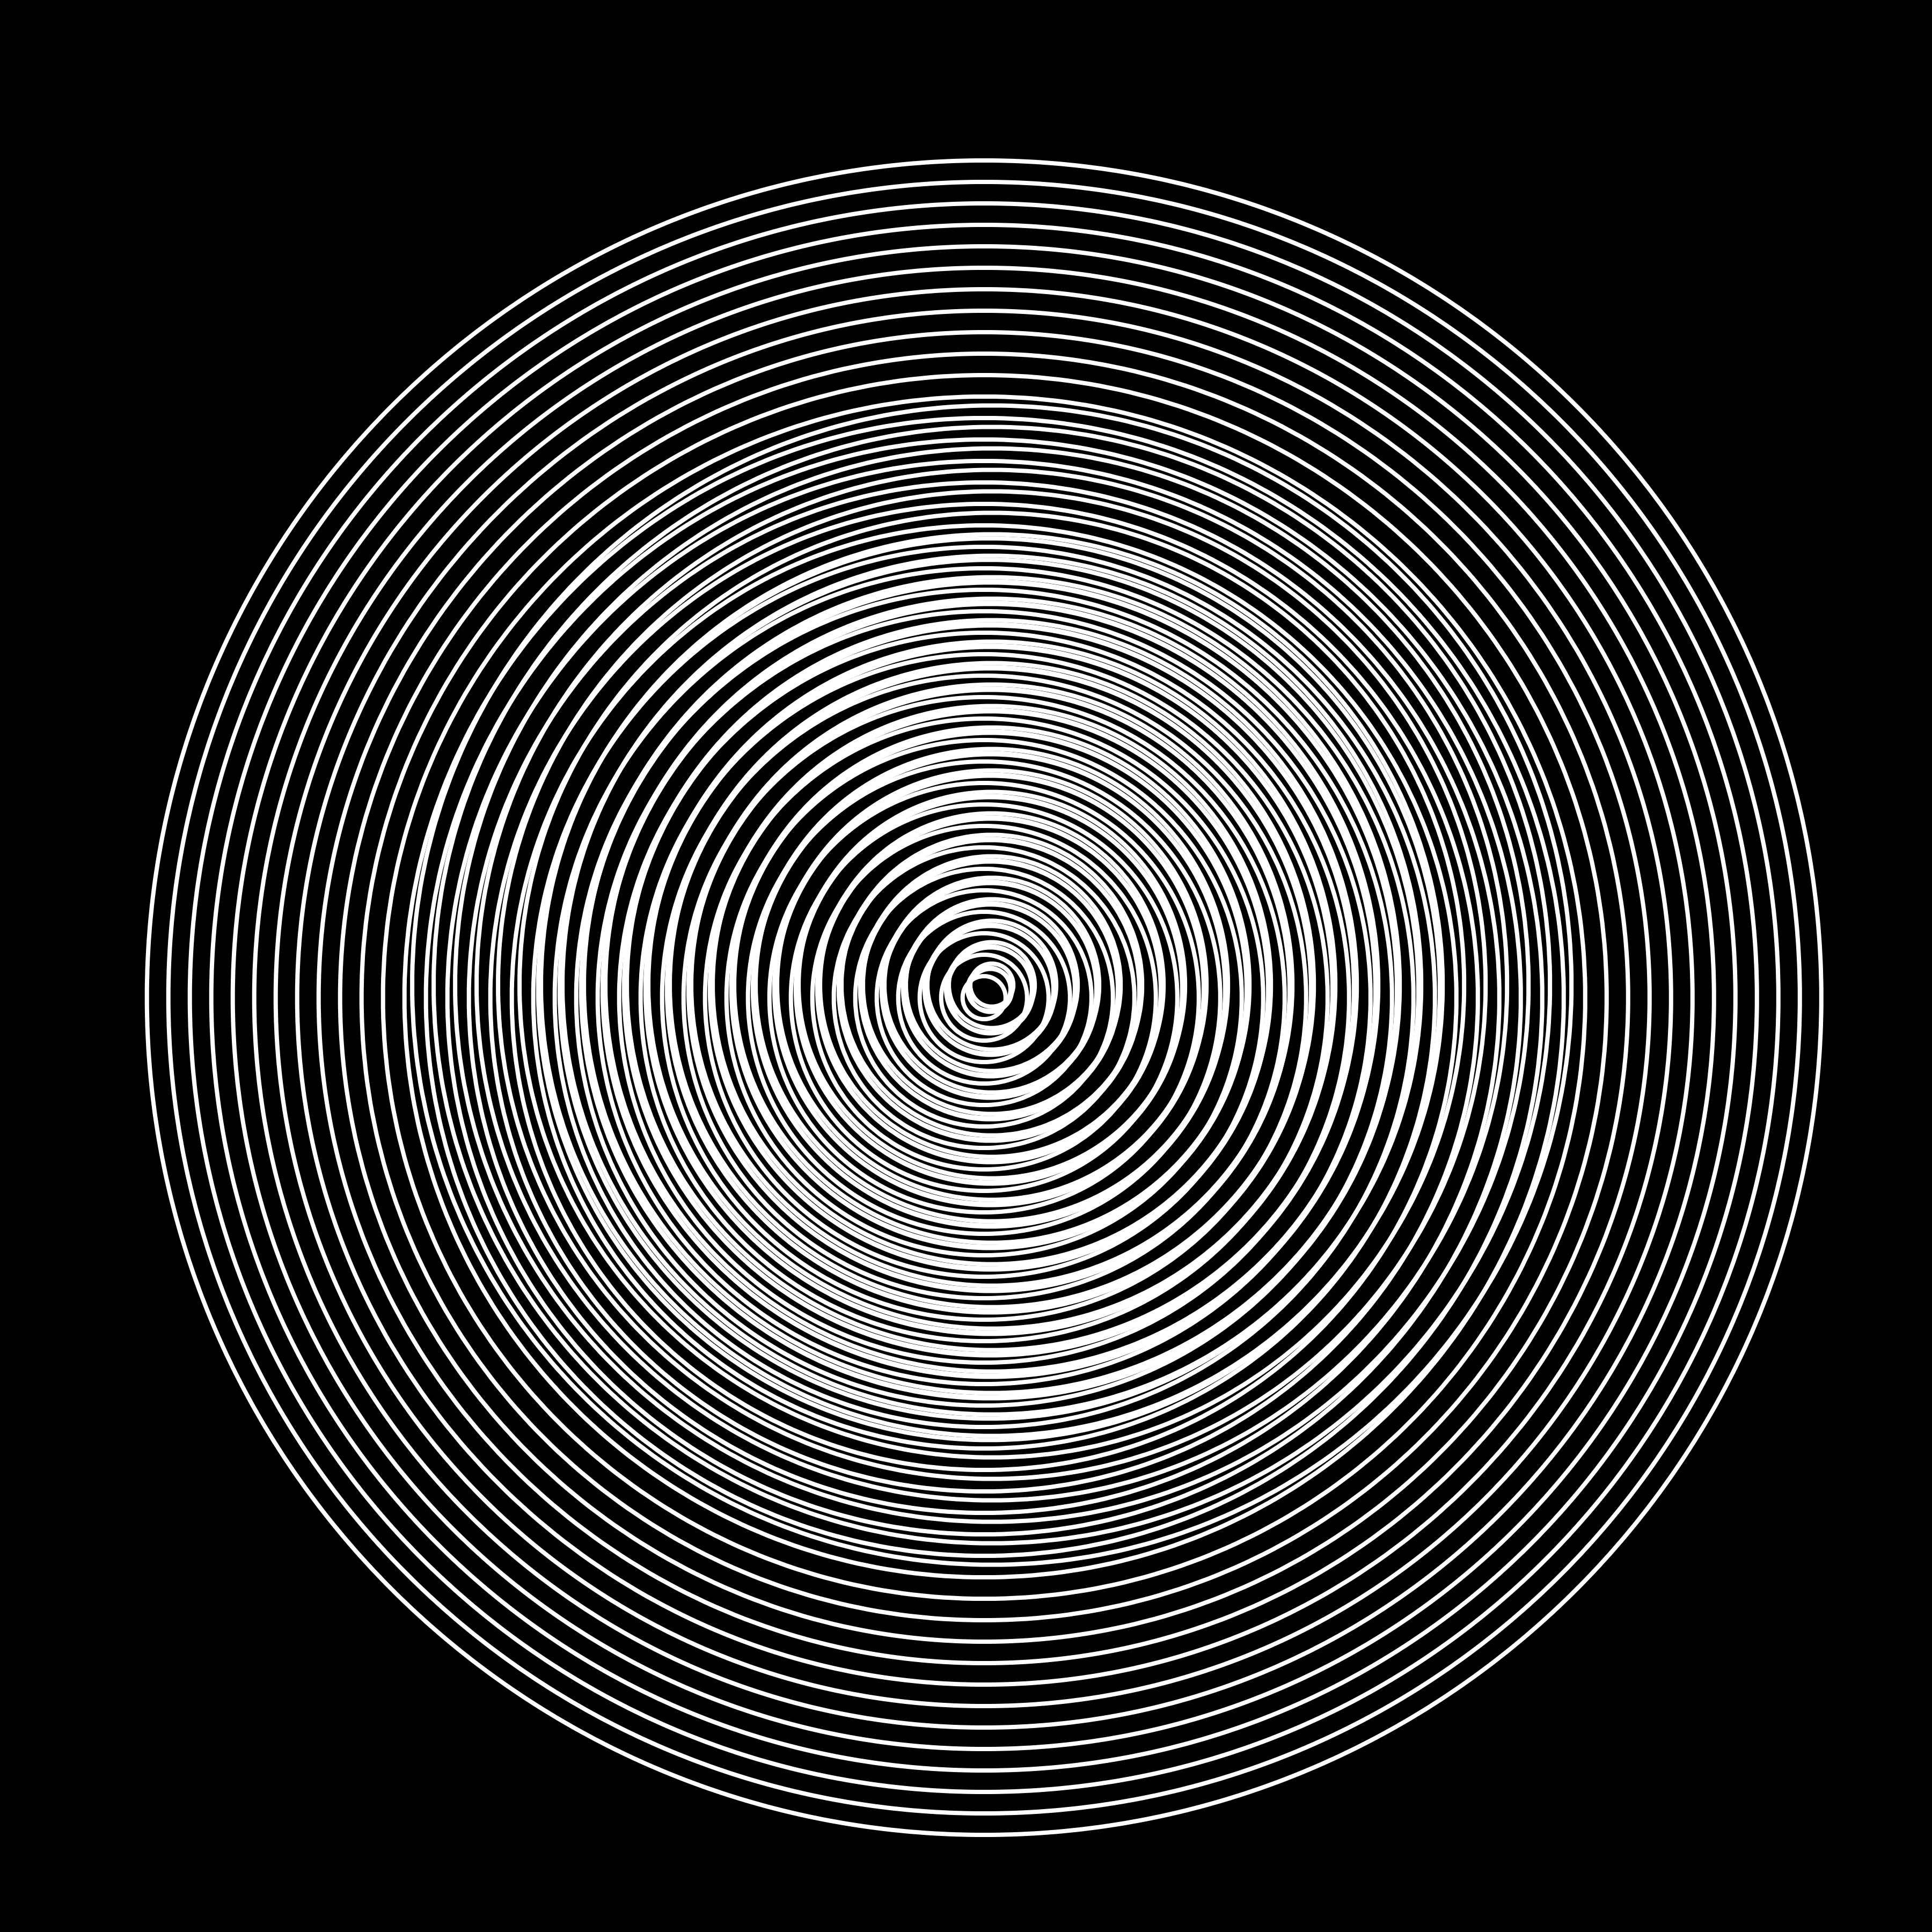
This one was simple but fun. I really enjoy moiré and it tends to pop up in my work unintentionally pretty often, so it was cool to do it on purpose. We're basically just drawing a few collections of concentric circles on top of each other and wiggling them around a bit every frame.
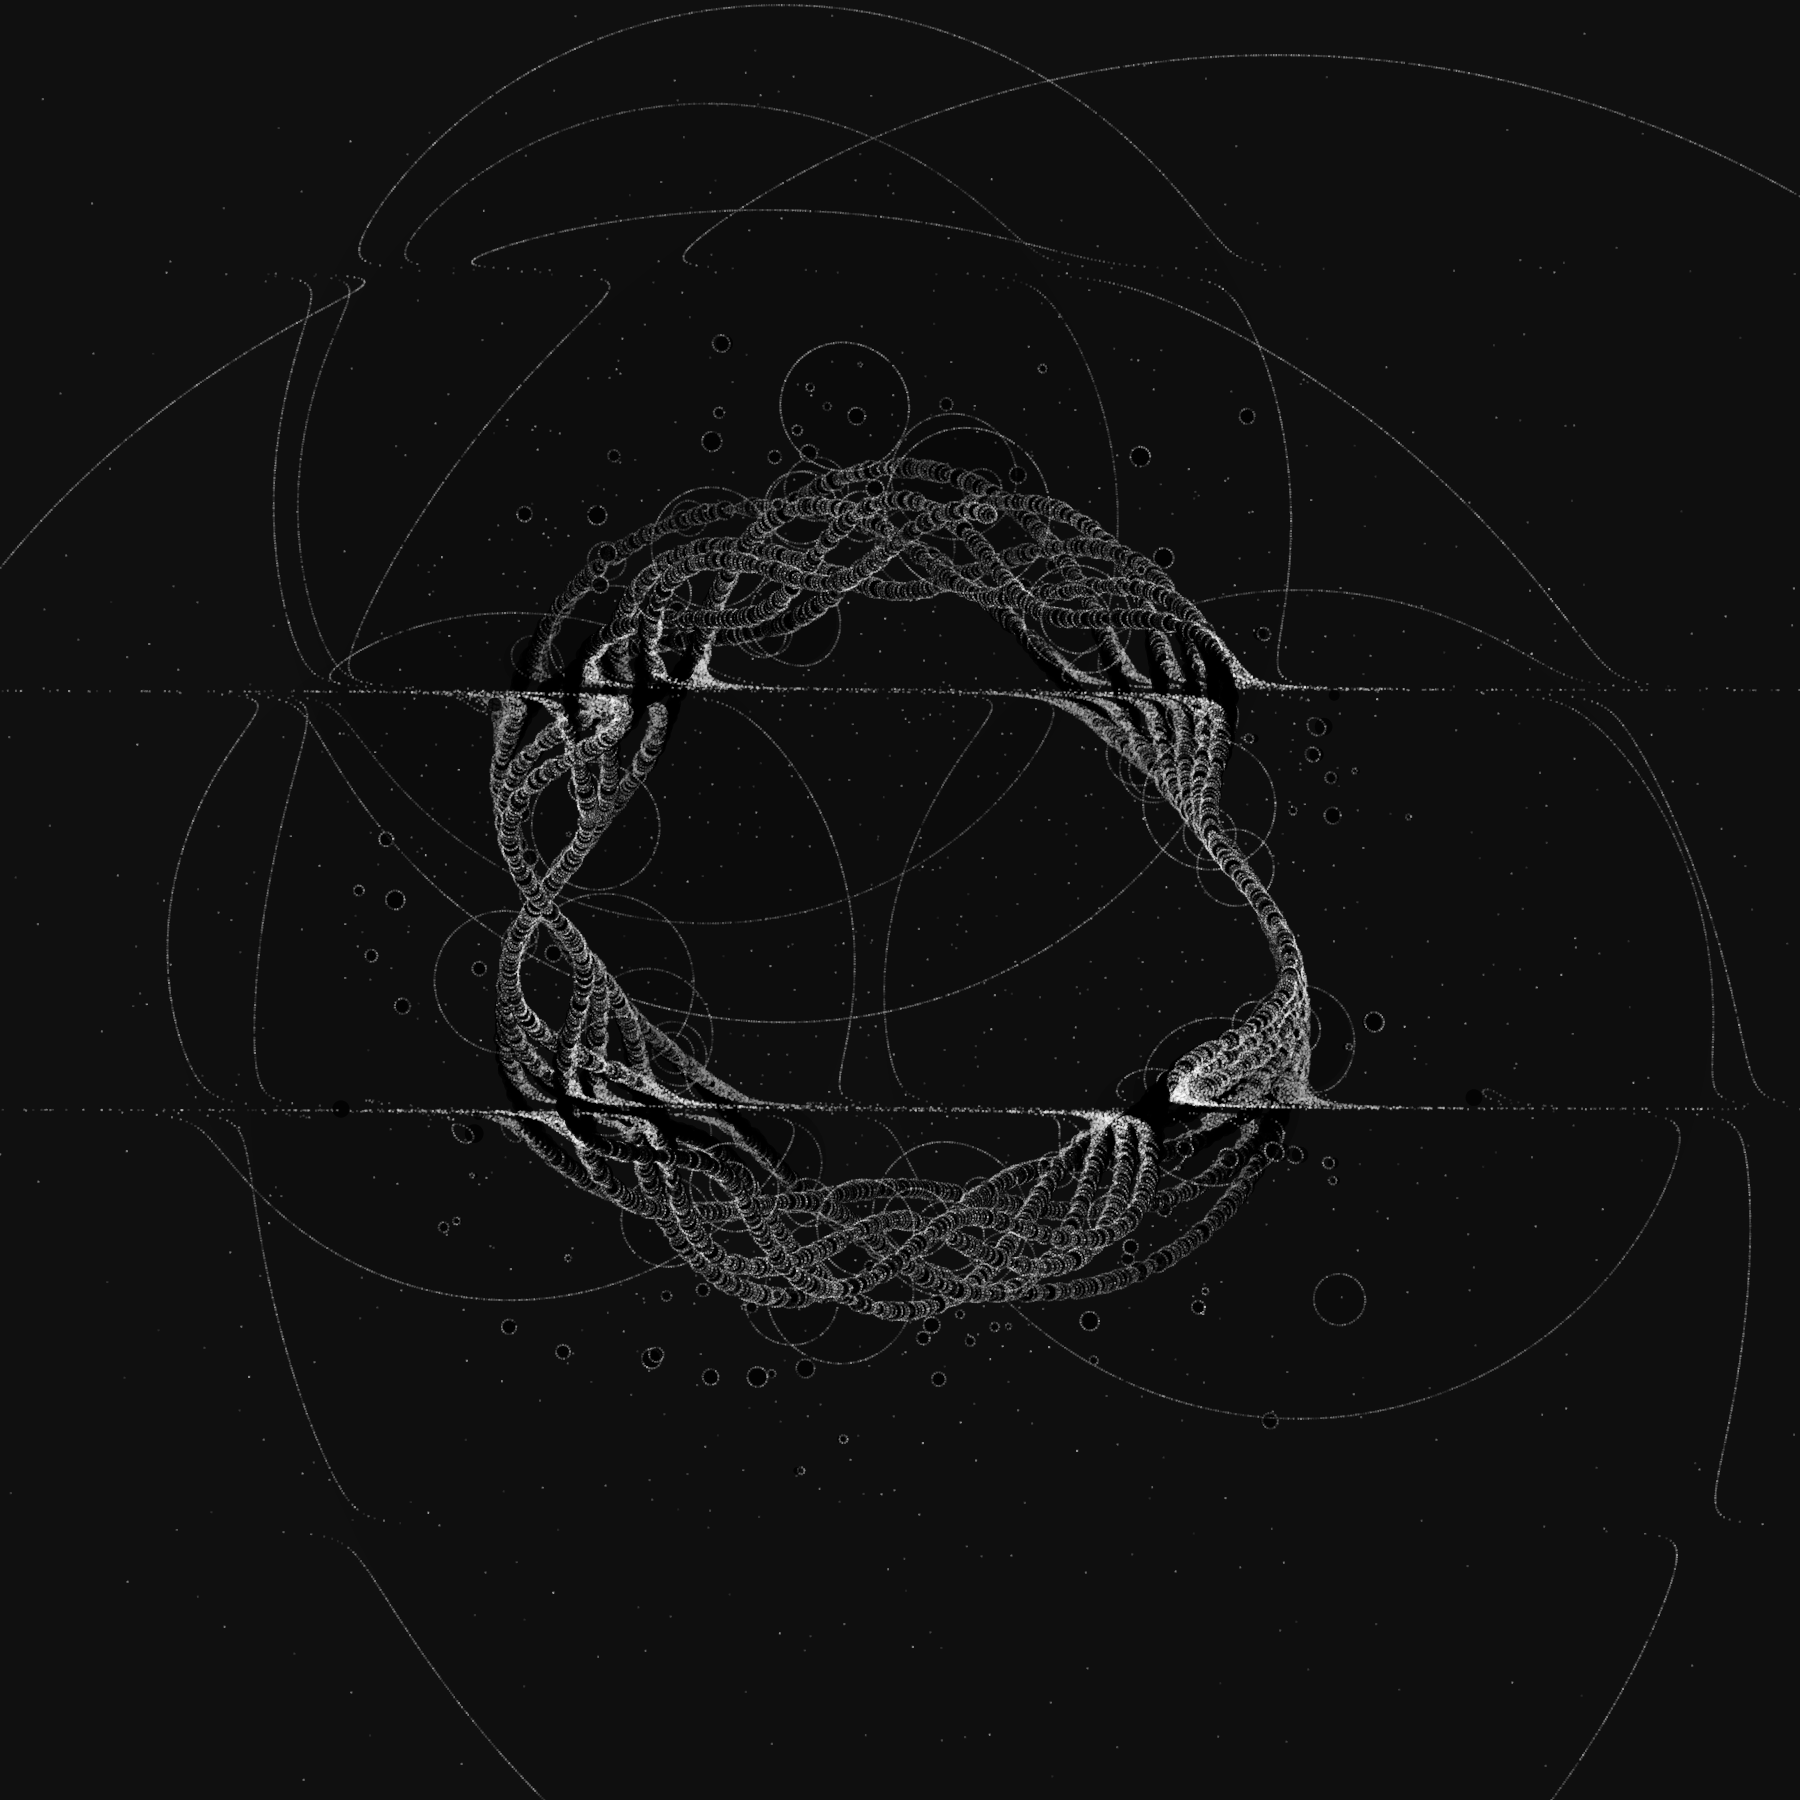
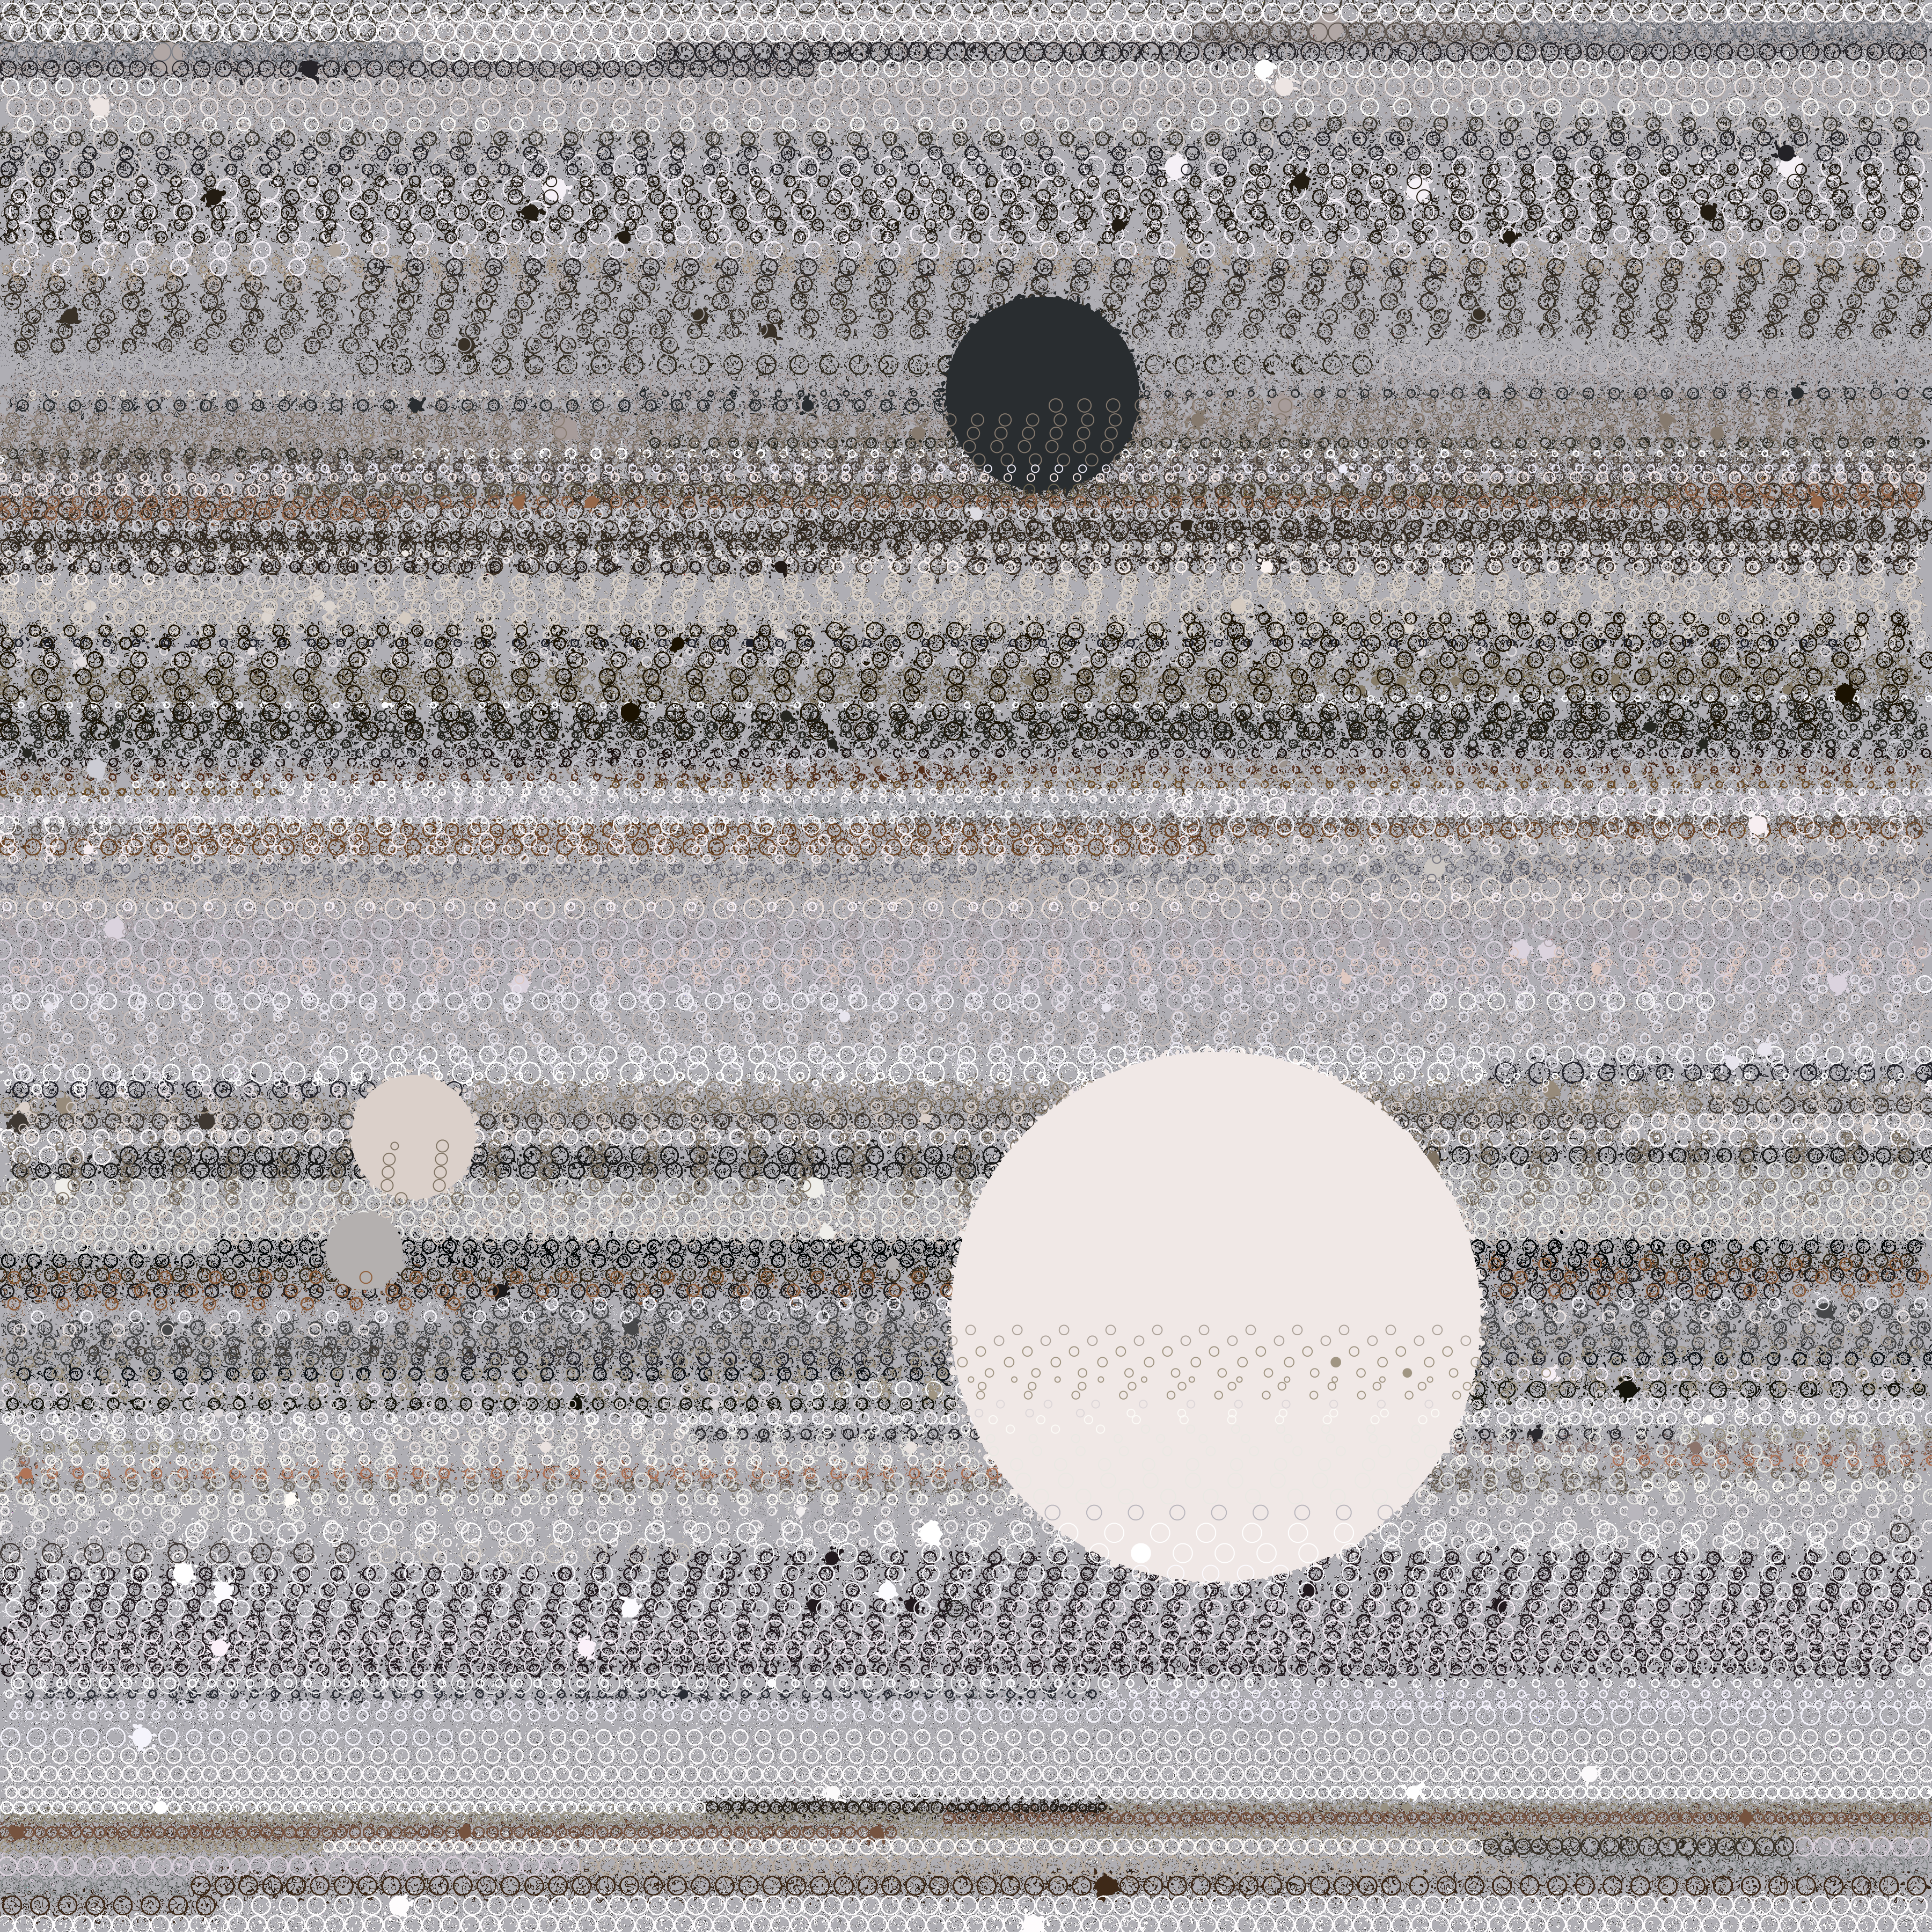
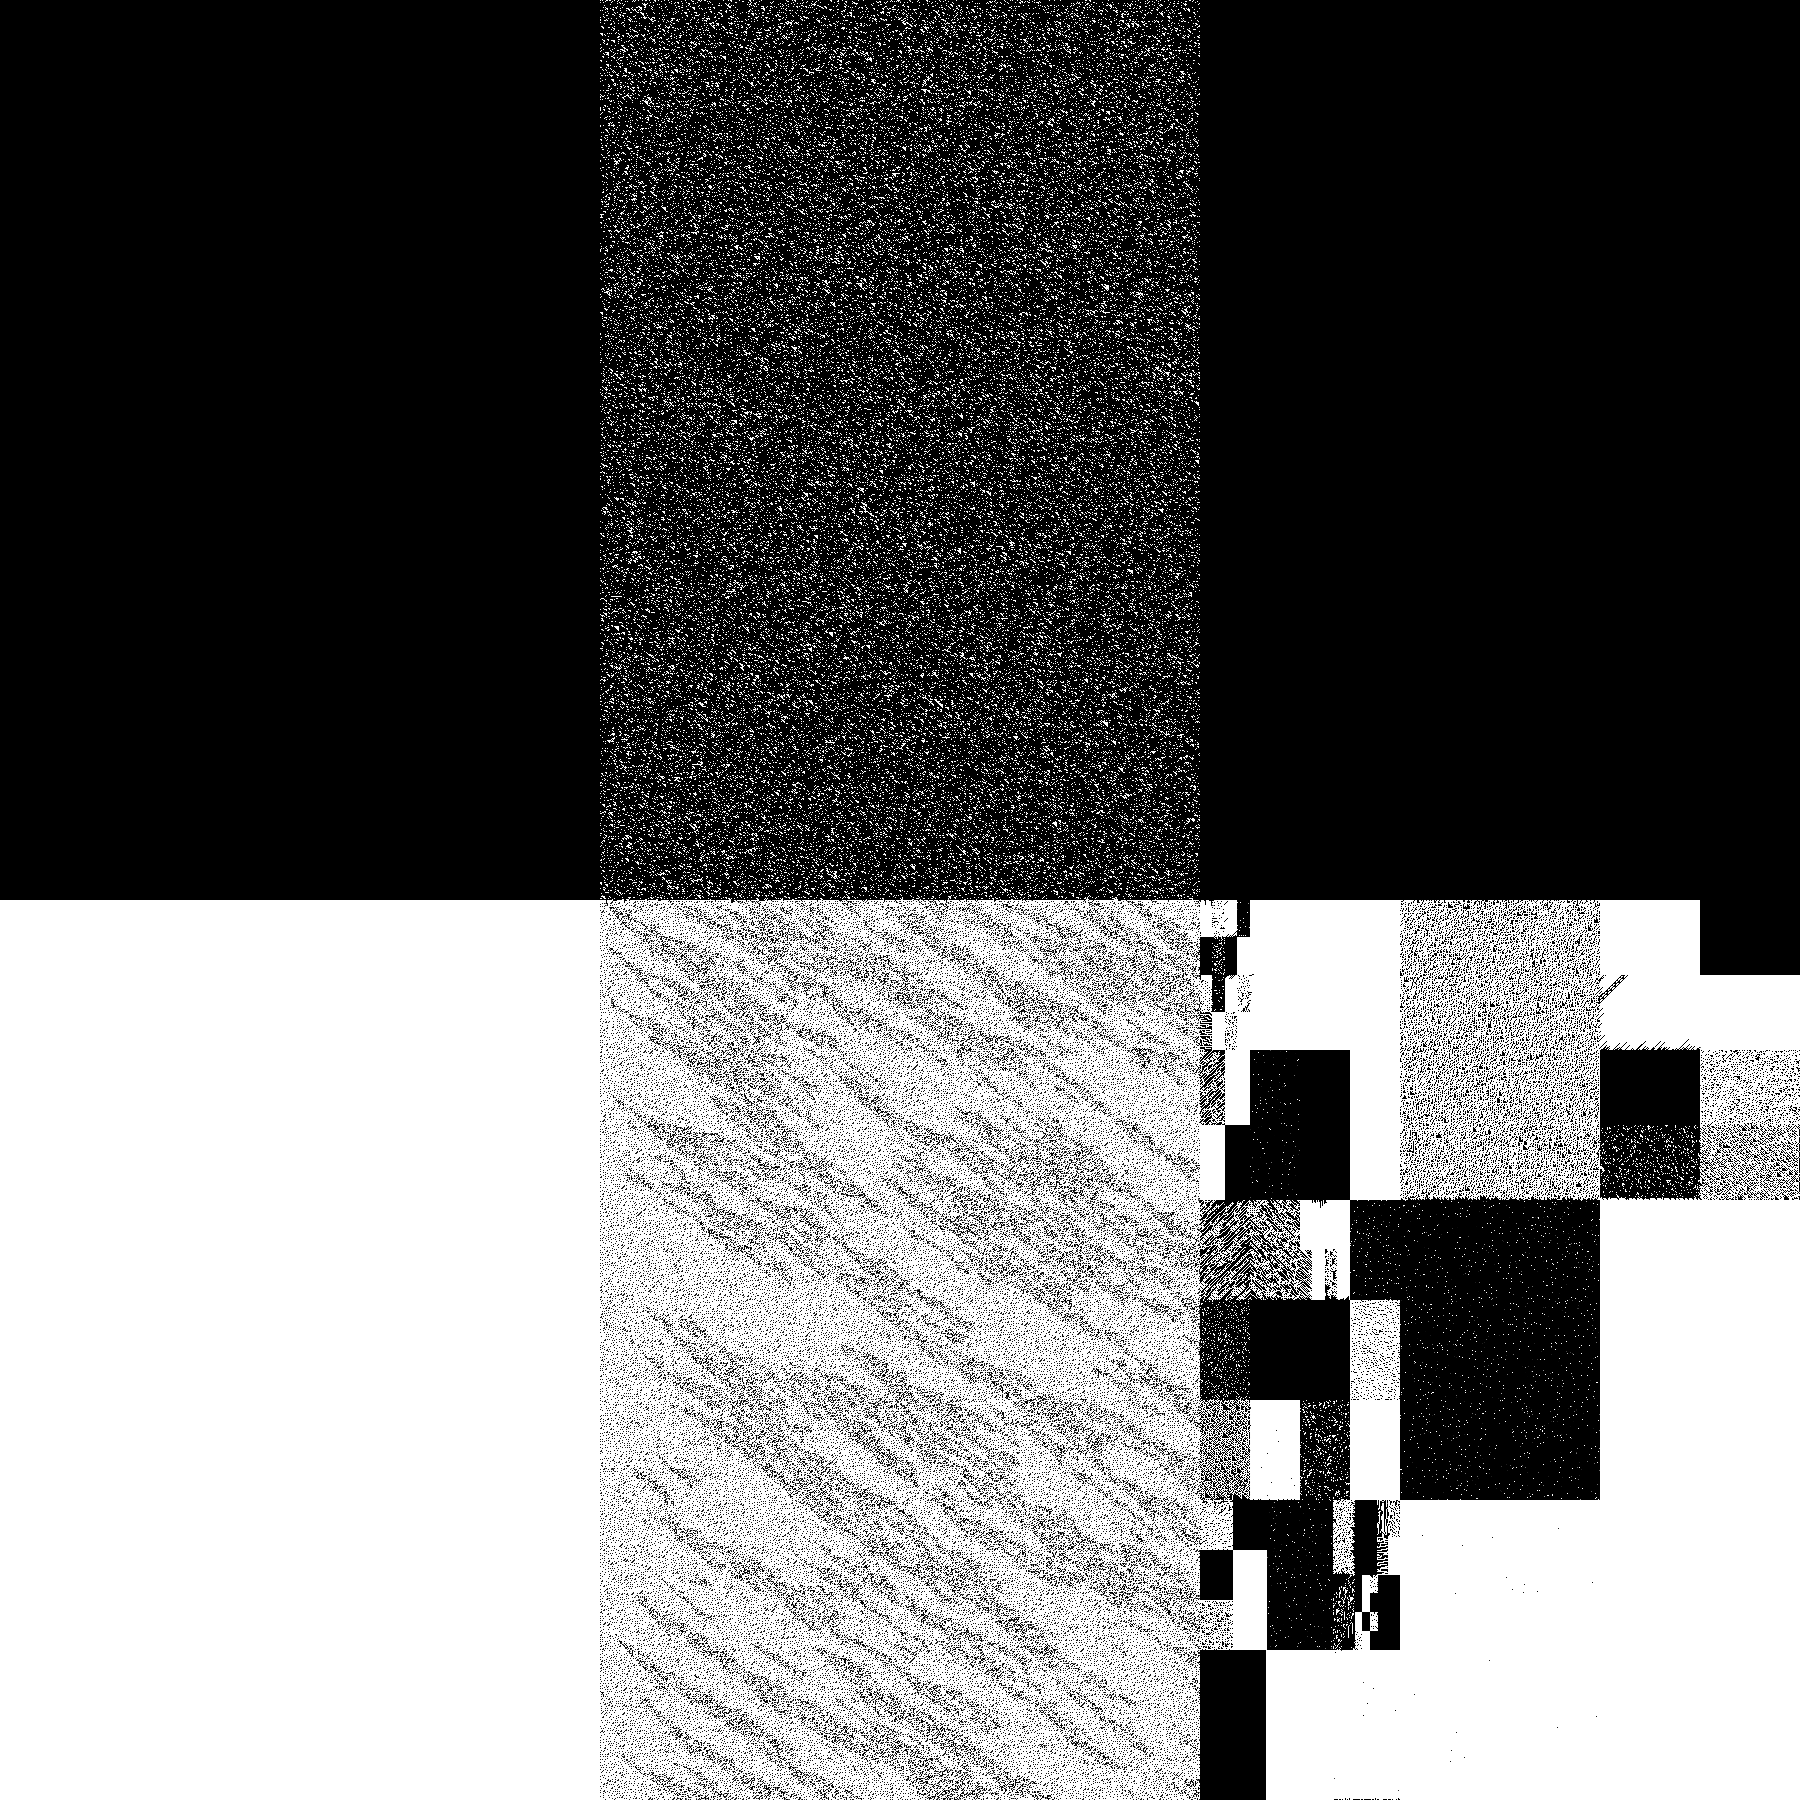
24. Textile

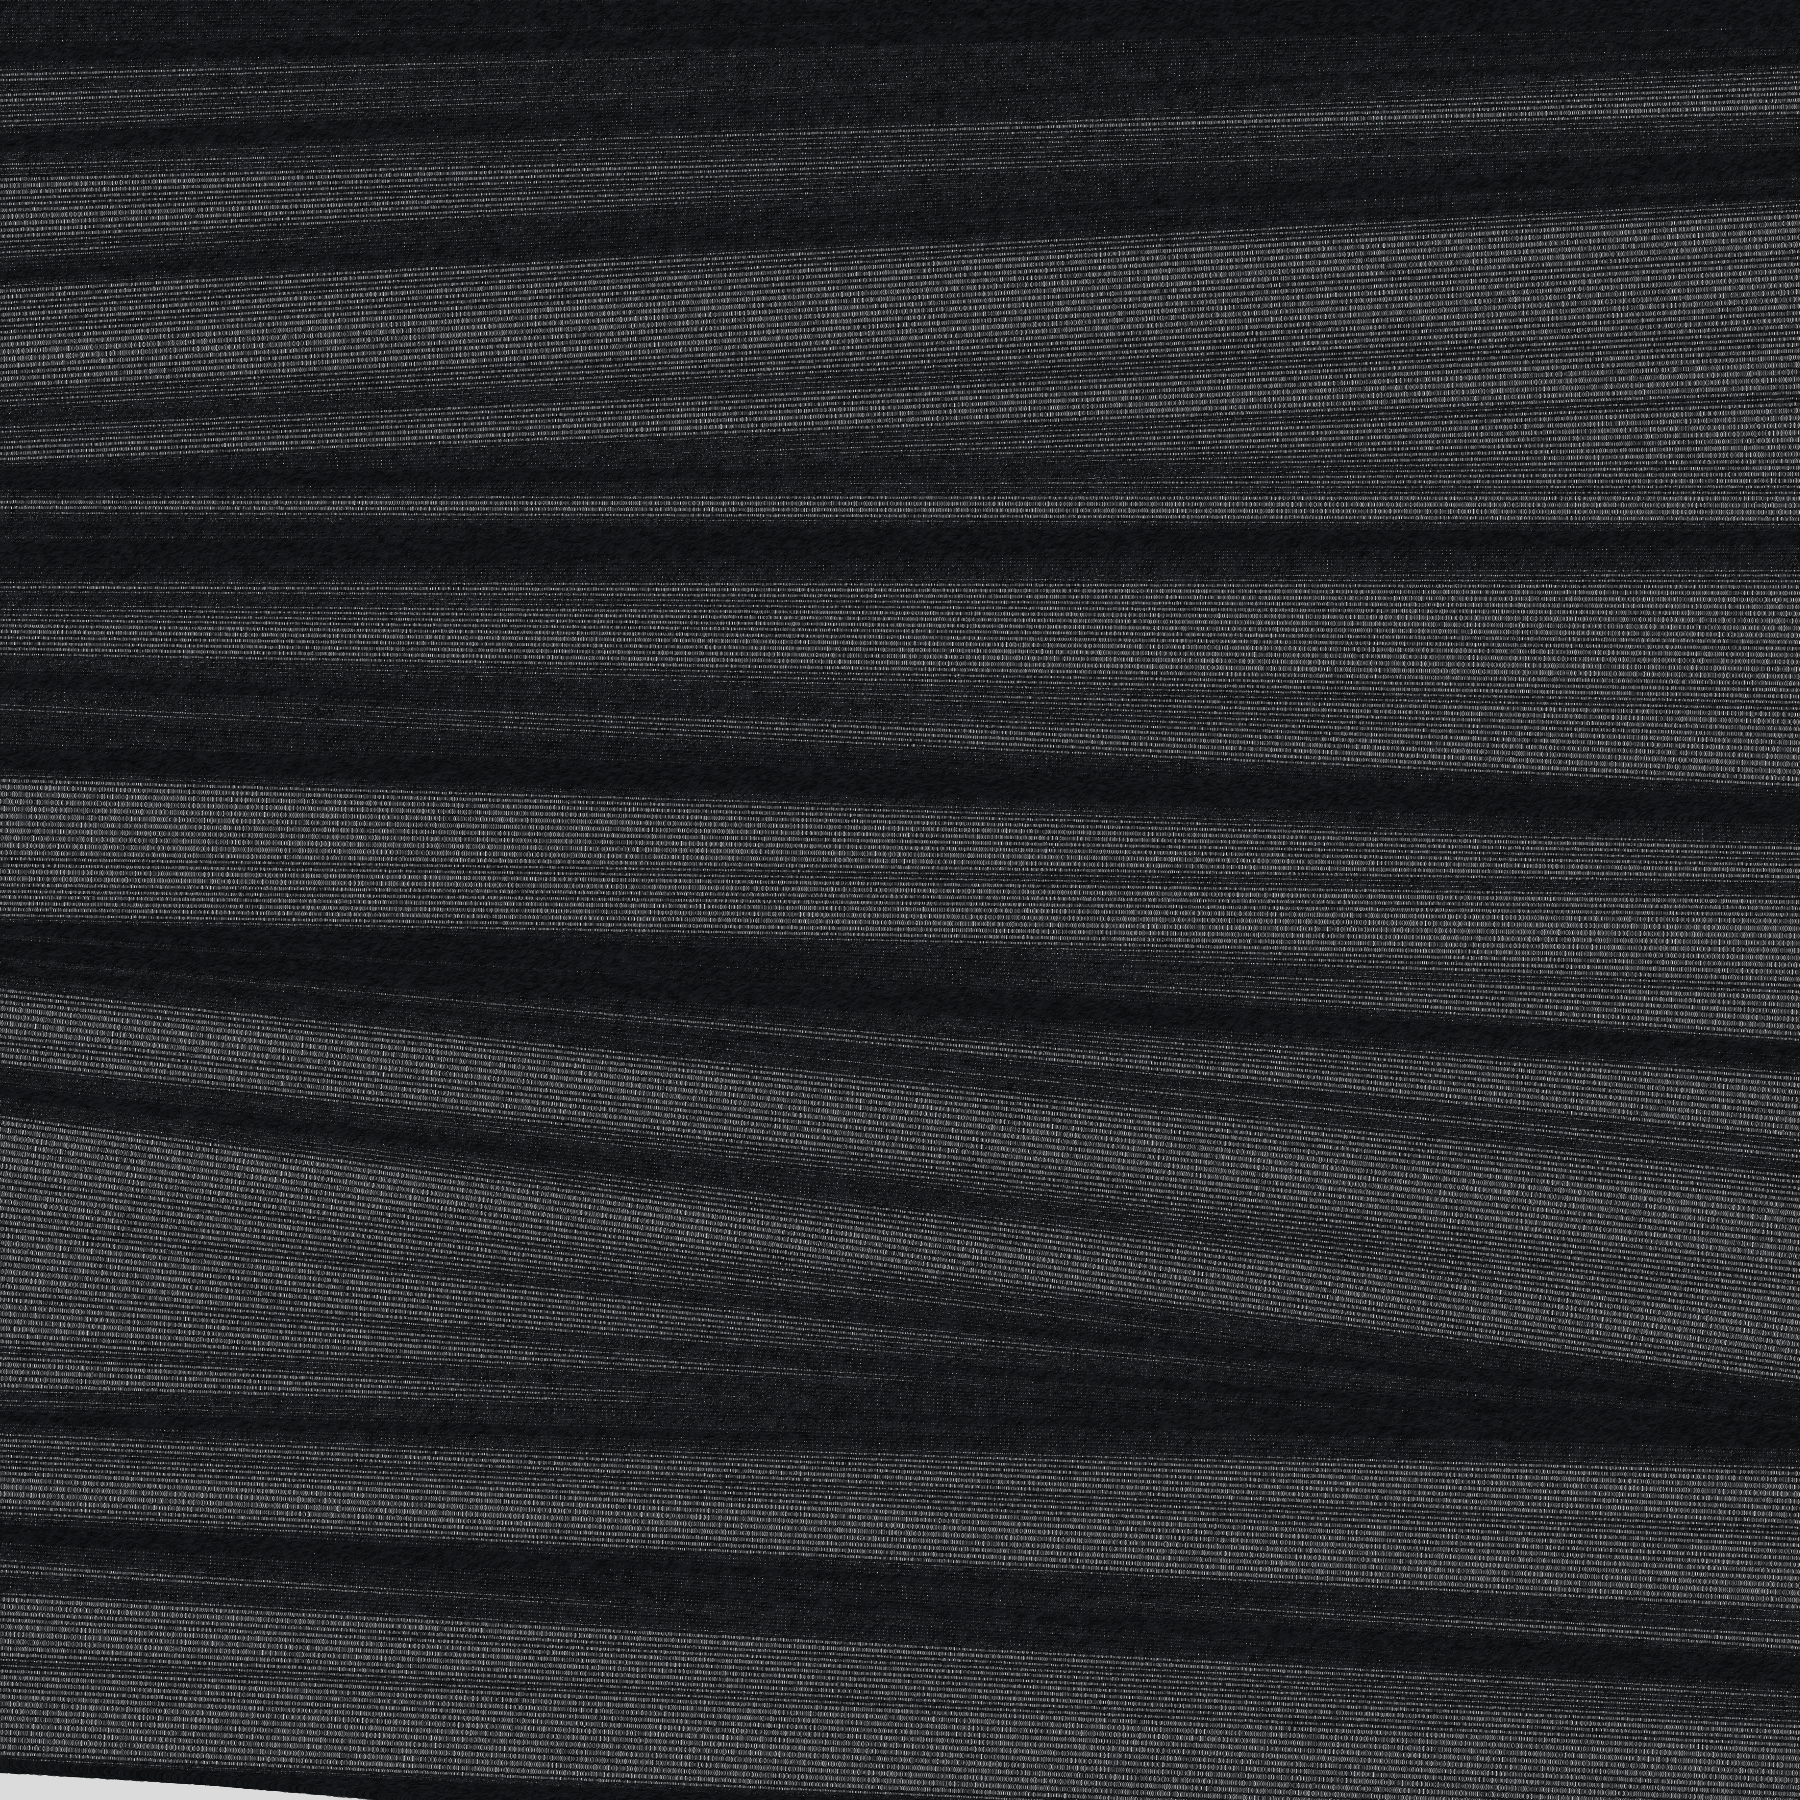
I thought this one turned out really well. It was kind of inspired by 07. Sample a color palette from your favorite movie/album cover which I felt had a textile look to it sometimes. For this one we are drawing rows of circles between a point on the left edge of the image and a point on the right edge of the image. The edge points slowly move from the top to the bottom of the image, but each point moves at its own speed, and that speed changes slowly over time too which is what causes the various llighter/darker patches. The speed caps out before it gets high enough for the circles to stop overlapping, which you can see in the lighter area on the left of the image.
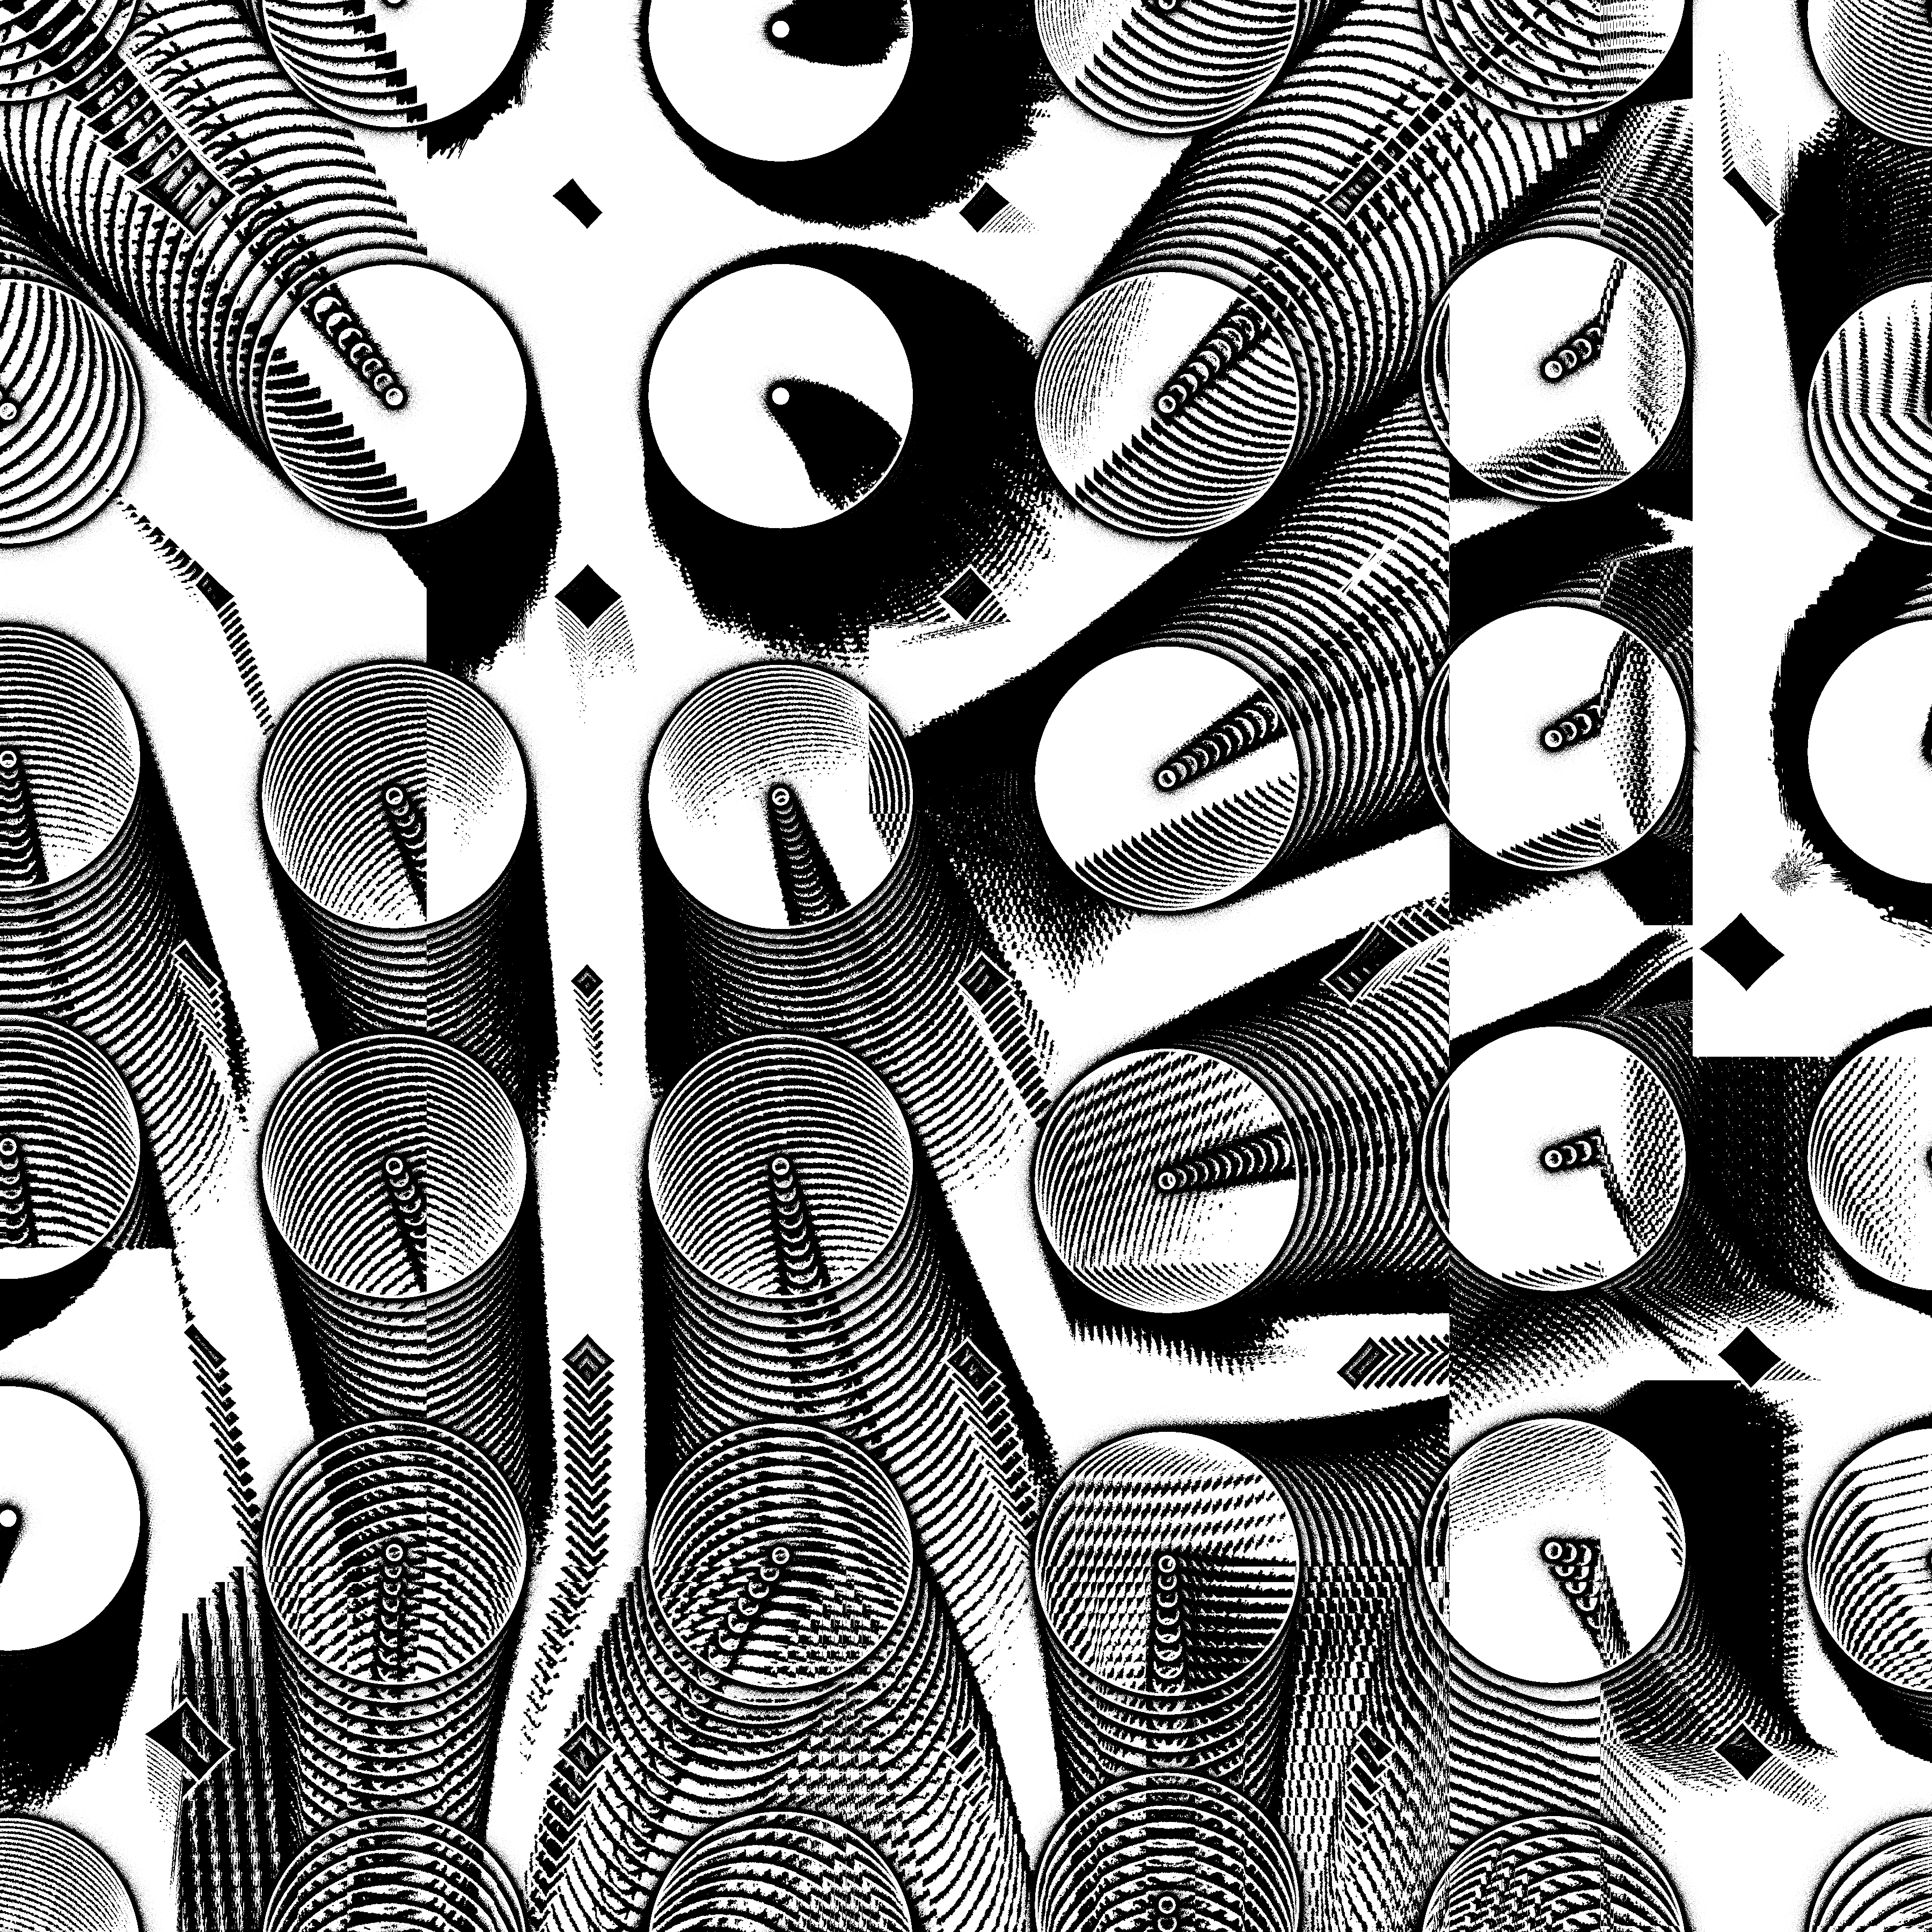
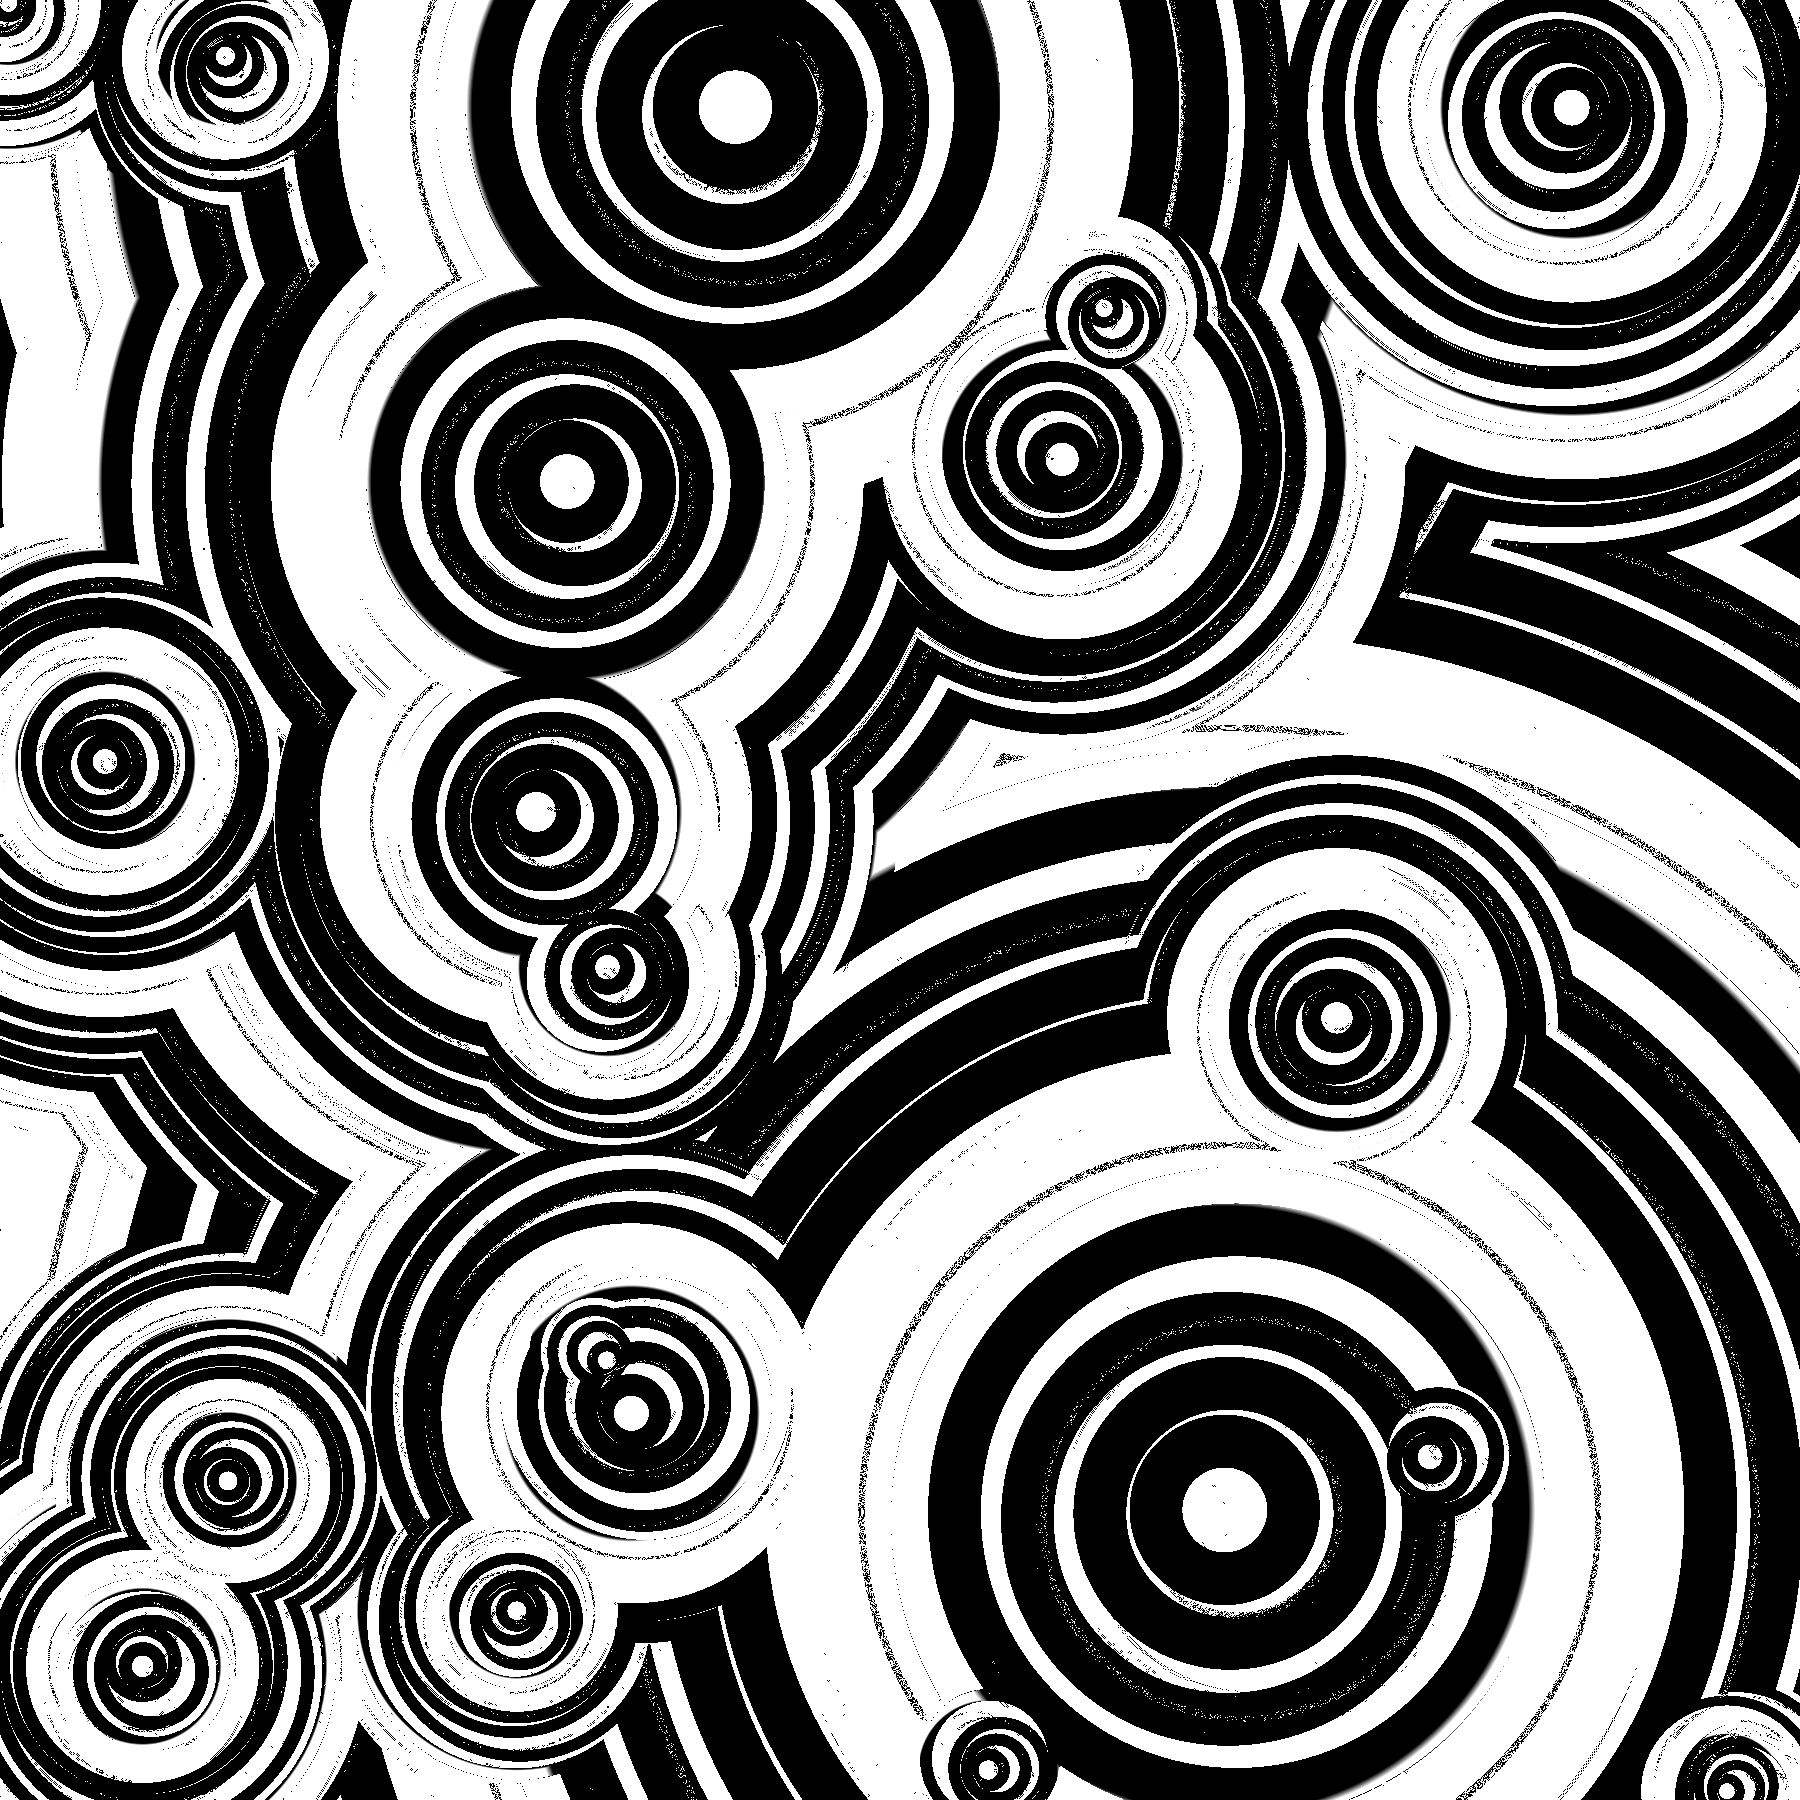
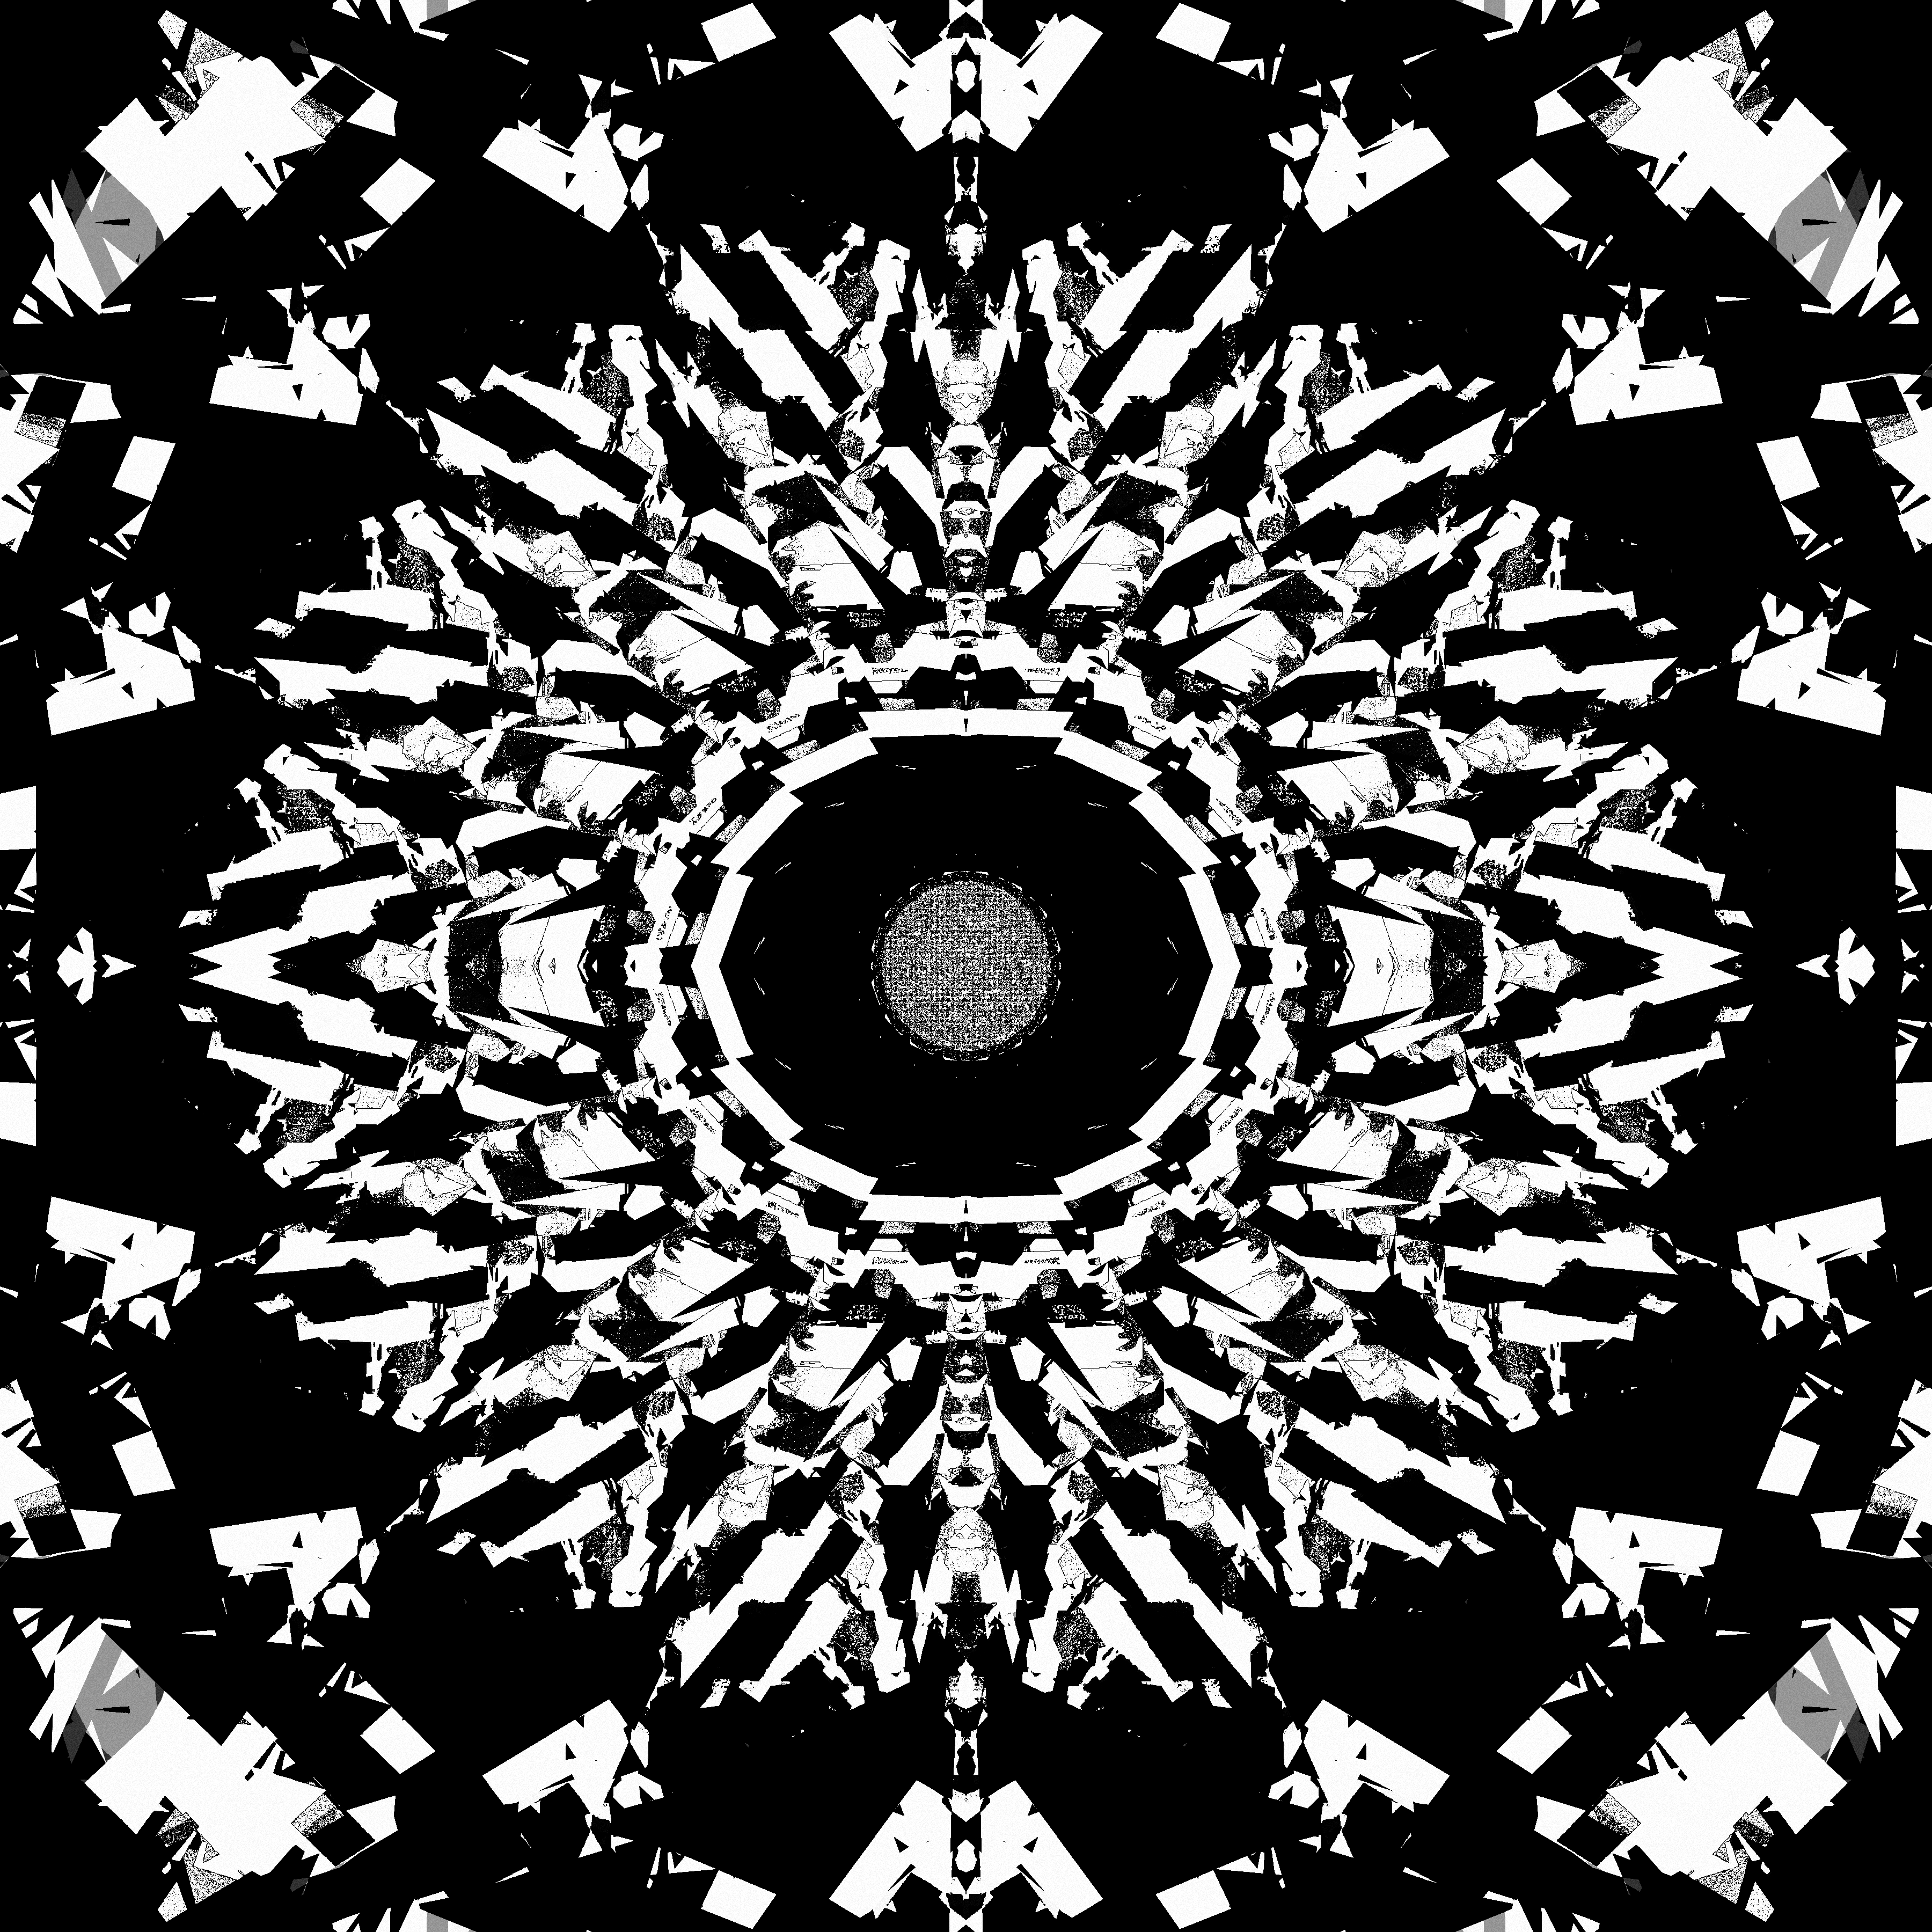
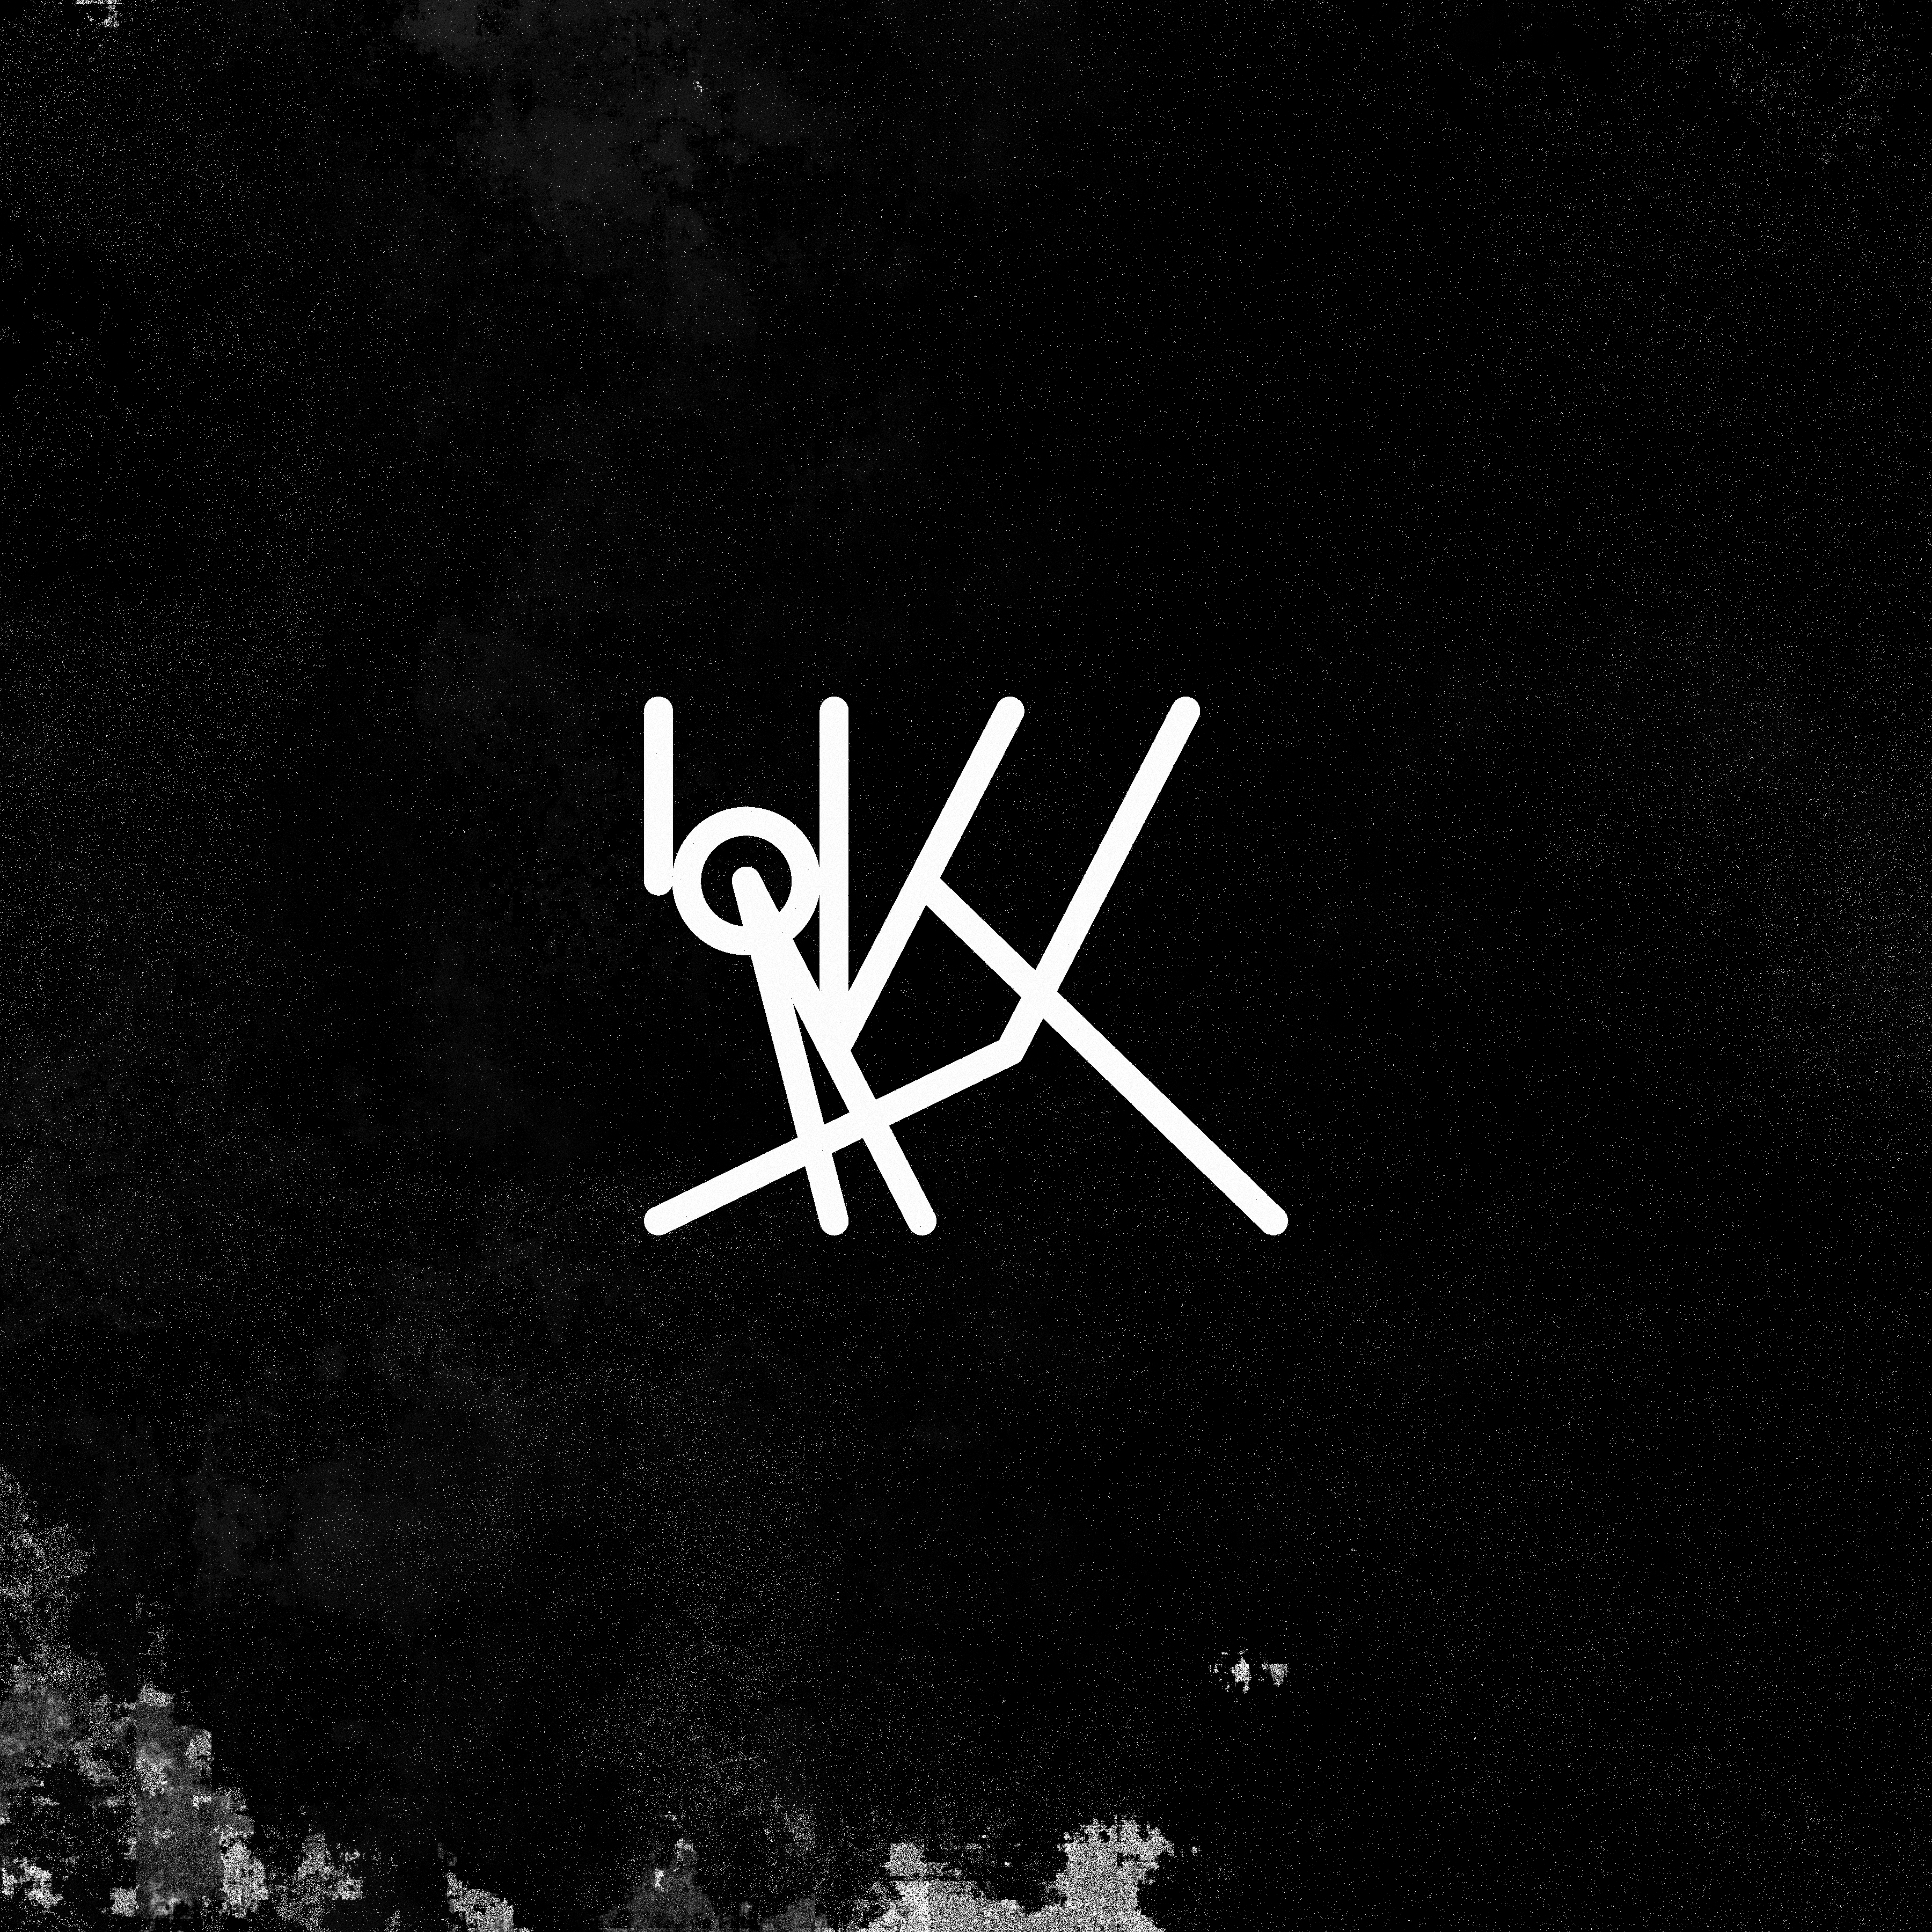
25. Yayoi Kusama
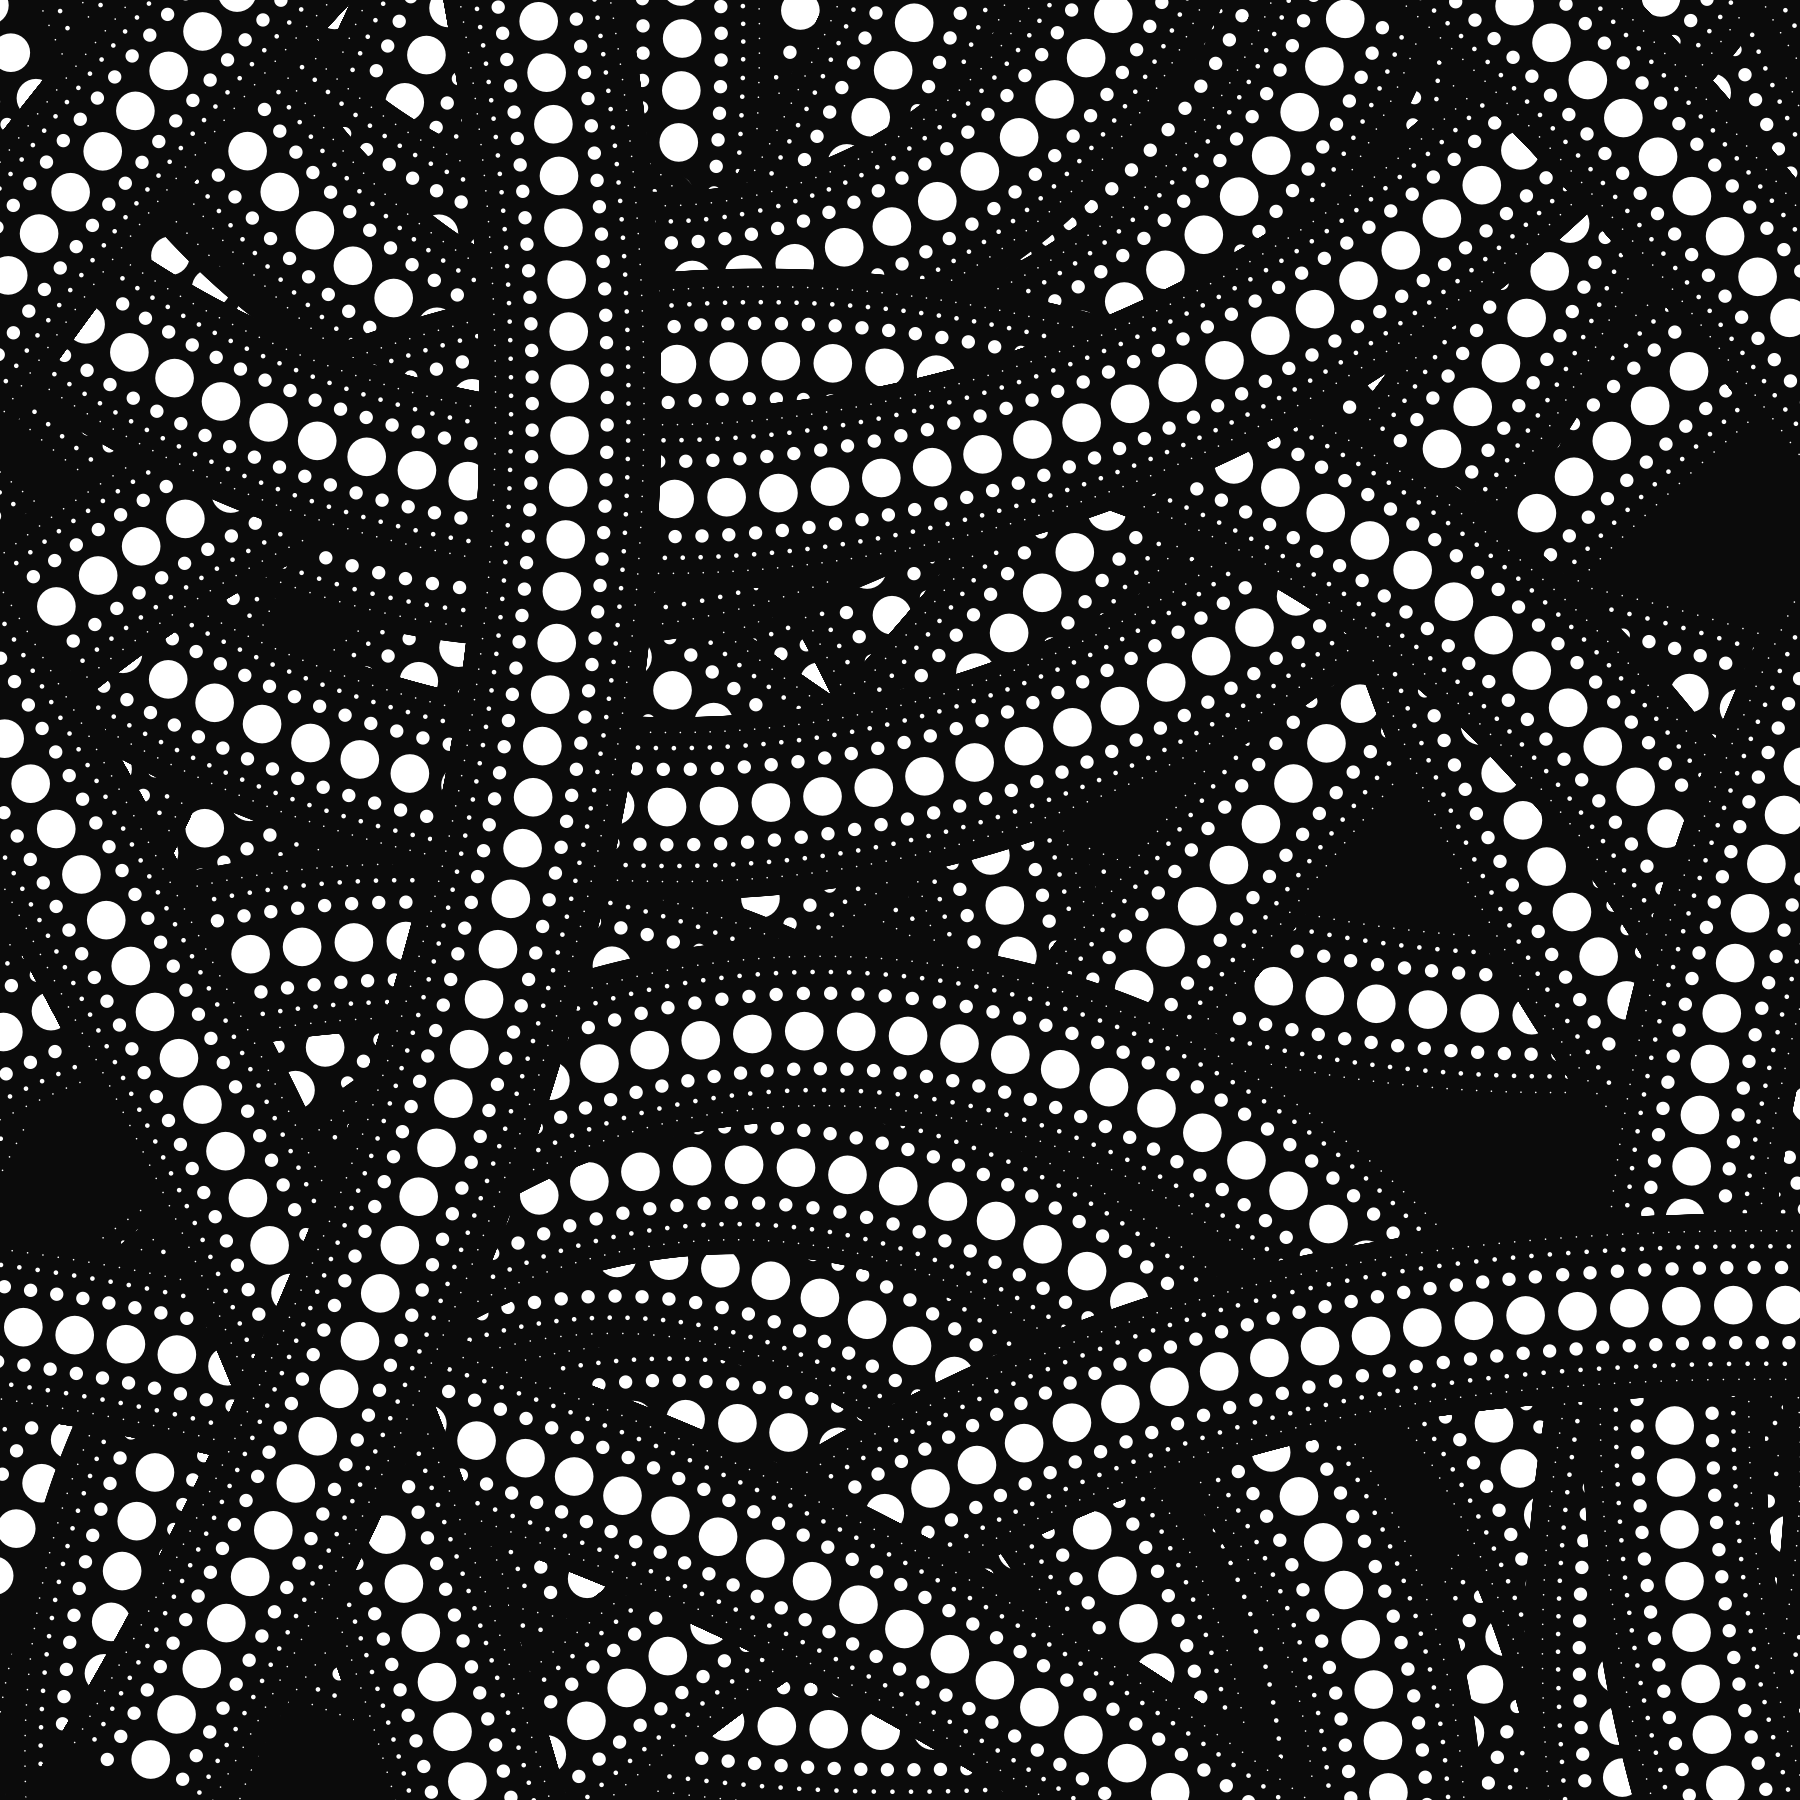

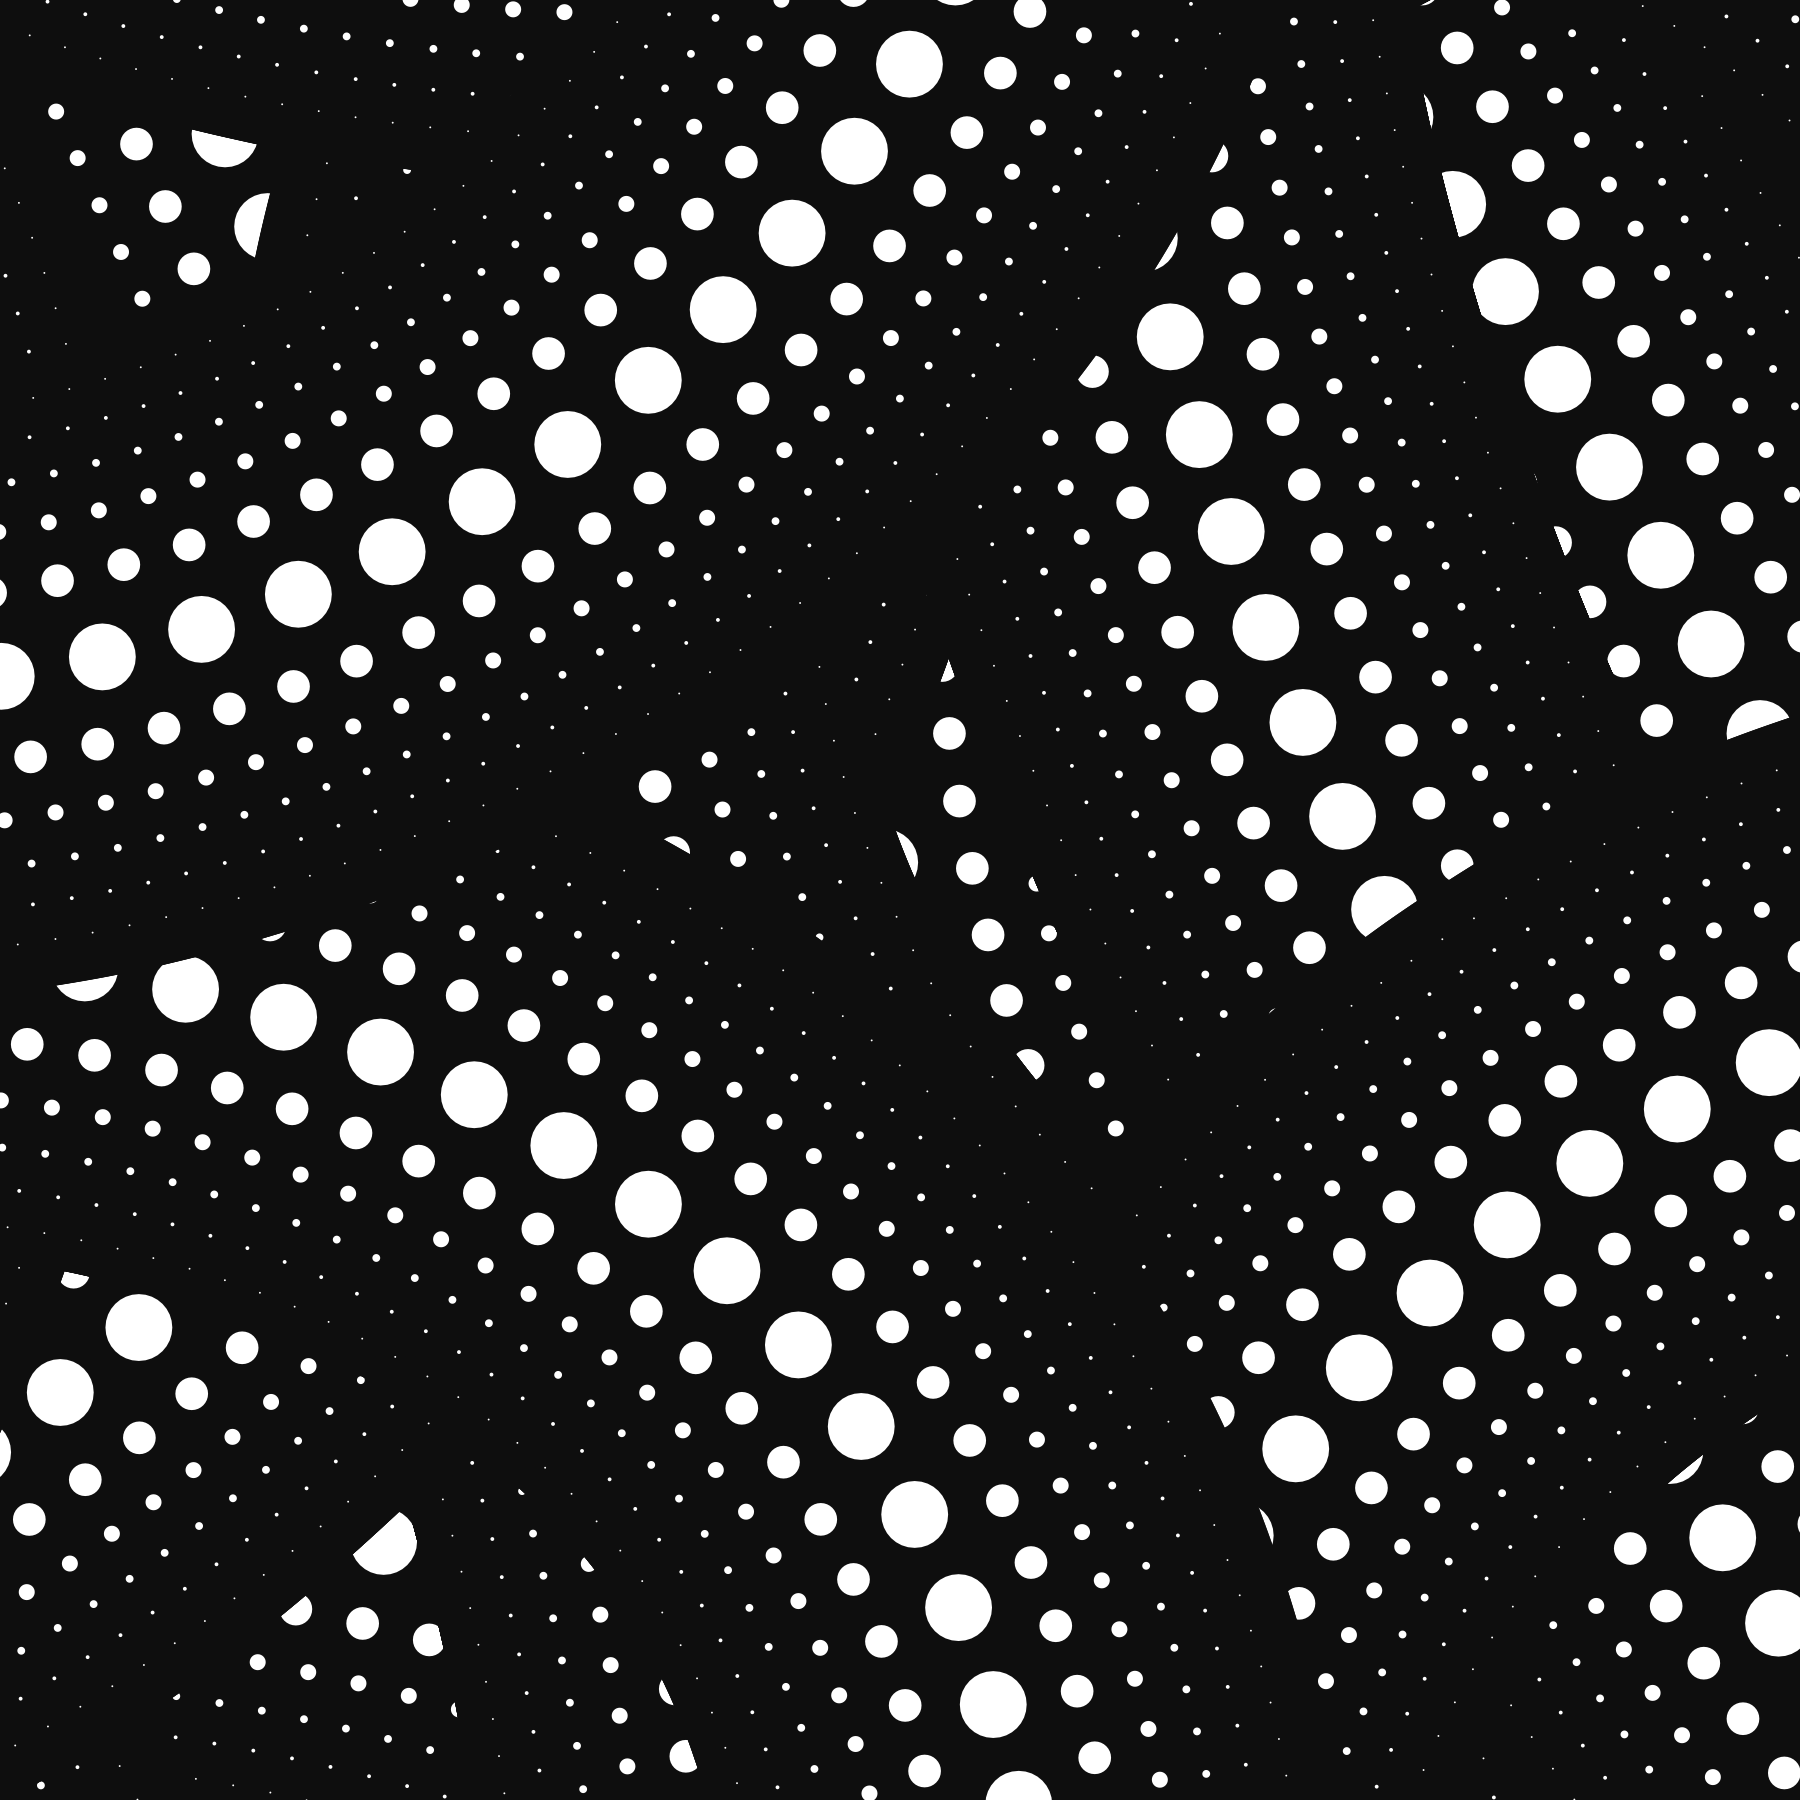
This one was really fun. We snake around the image drawing rows of circles on top of a black background as we move, which sounds deceptively simple.
The first thing we need to do is figure out what size circles we're going to draw and how many we're going to draw. We start with the center, largest circle and then we have a scaling factor in the range 0.1-0.9 that's randomly determined during setup. We take the size of the center circle and multiply it by the scaling factor to figure out the size of the circles next to it, and repeat this process until the circles are around a pixel wide. We also have a circle spacing number that's decided during setup and we use that along with the circle radii to determine how far to the side the smaller circles will be placed.
Now, to draw the image, we can imagine a horizontal line with all the circles we want to draw arranged across it. The very first time we draw, we draw every circle. Then we move the line forward perpendicular to itself, and rotate it based on a rotation speed that we are slowly changing over time. We only move the line a little bit though, and don't immediately draw circles again. Instead, for each row of circles, we store the last position that a circle was drawn at, and the calculate the distance between the last circle drawn, and the spot a circle would be drawn given the line's current position. If that distance is greater than the circle spacing plus 2x the circle's radius, we draw the circle. This keeps circles evenly spaced as we turn and twist which matches up well with some of Yayoi Kusama's work. We also draw a black rectangle out in front of the circles so that we aren' stacking them on top of each other.
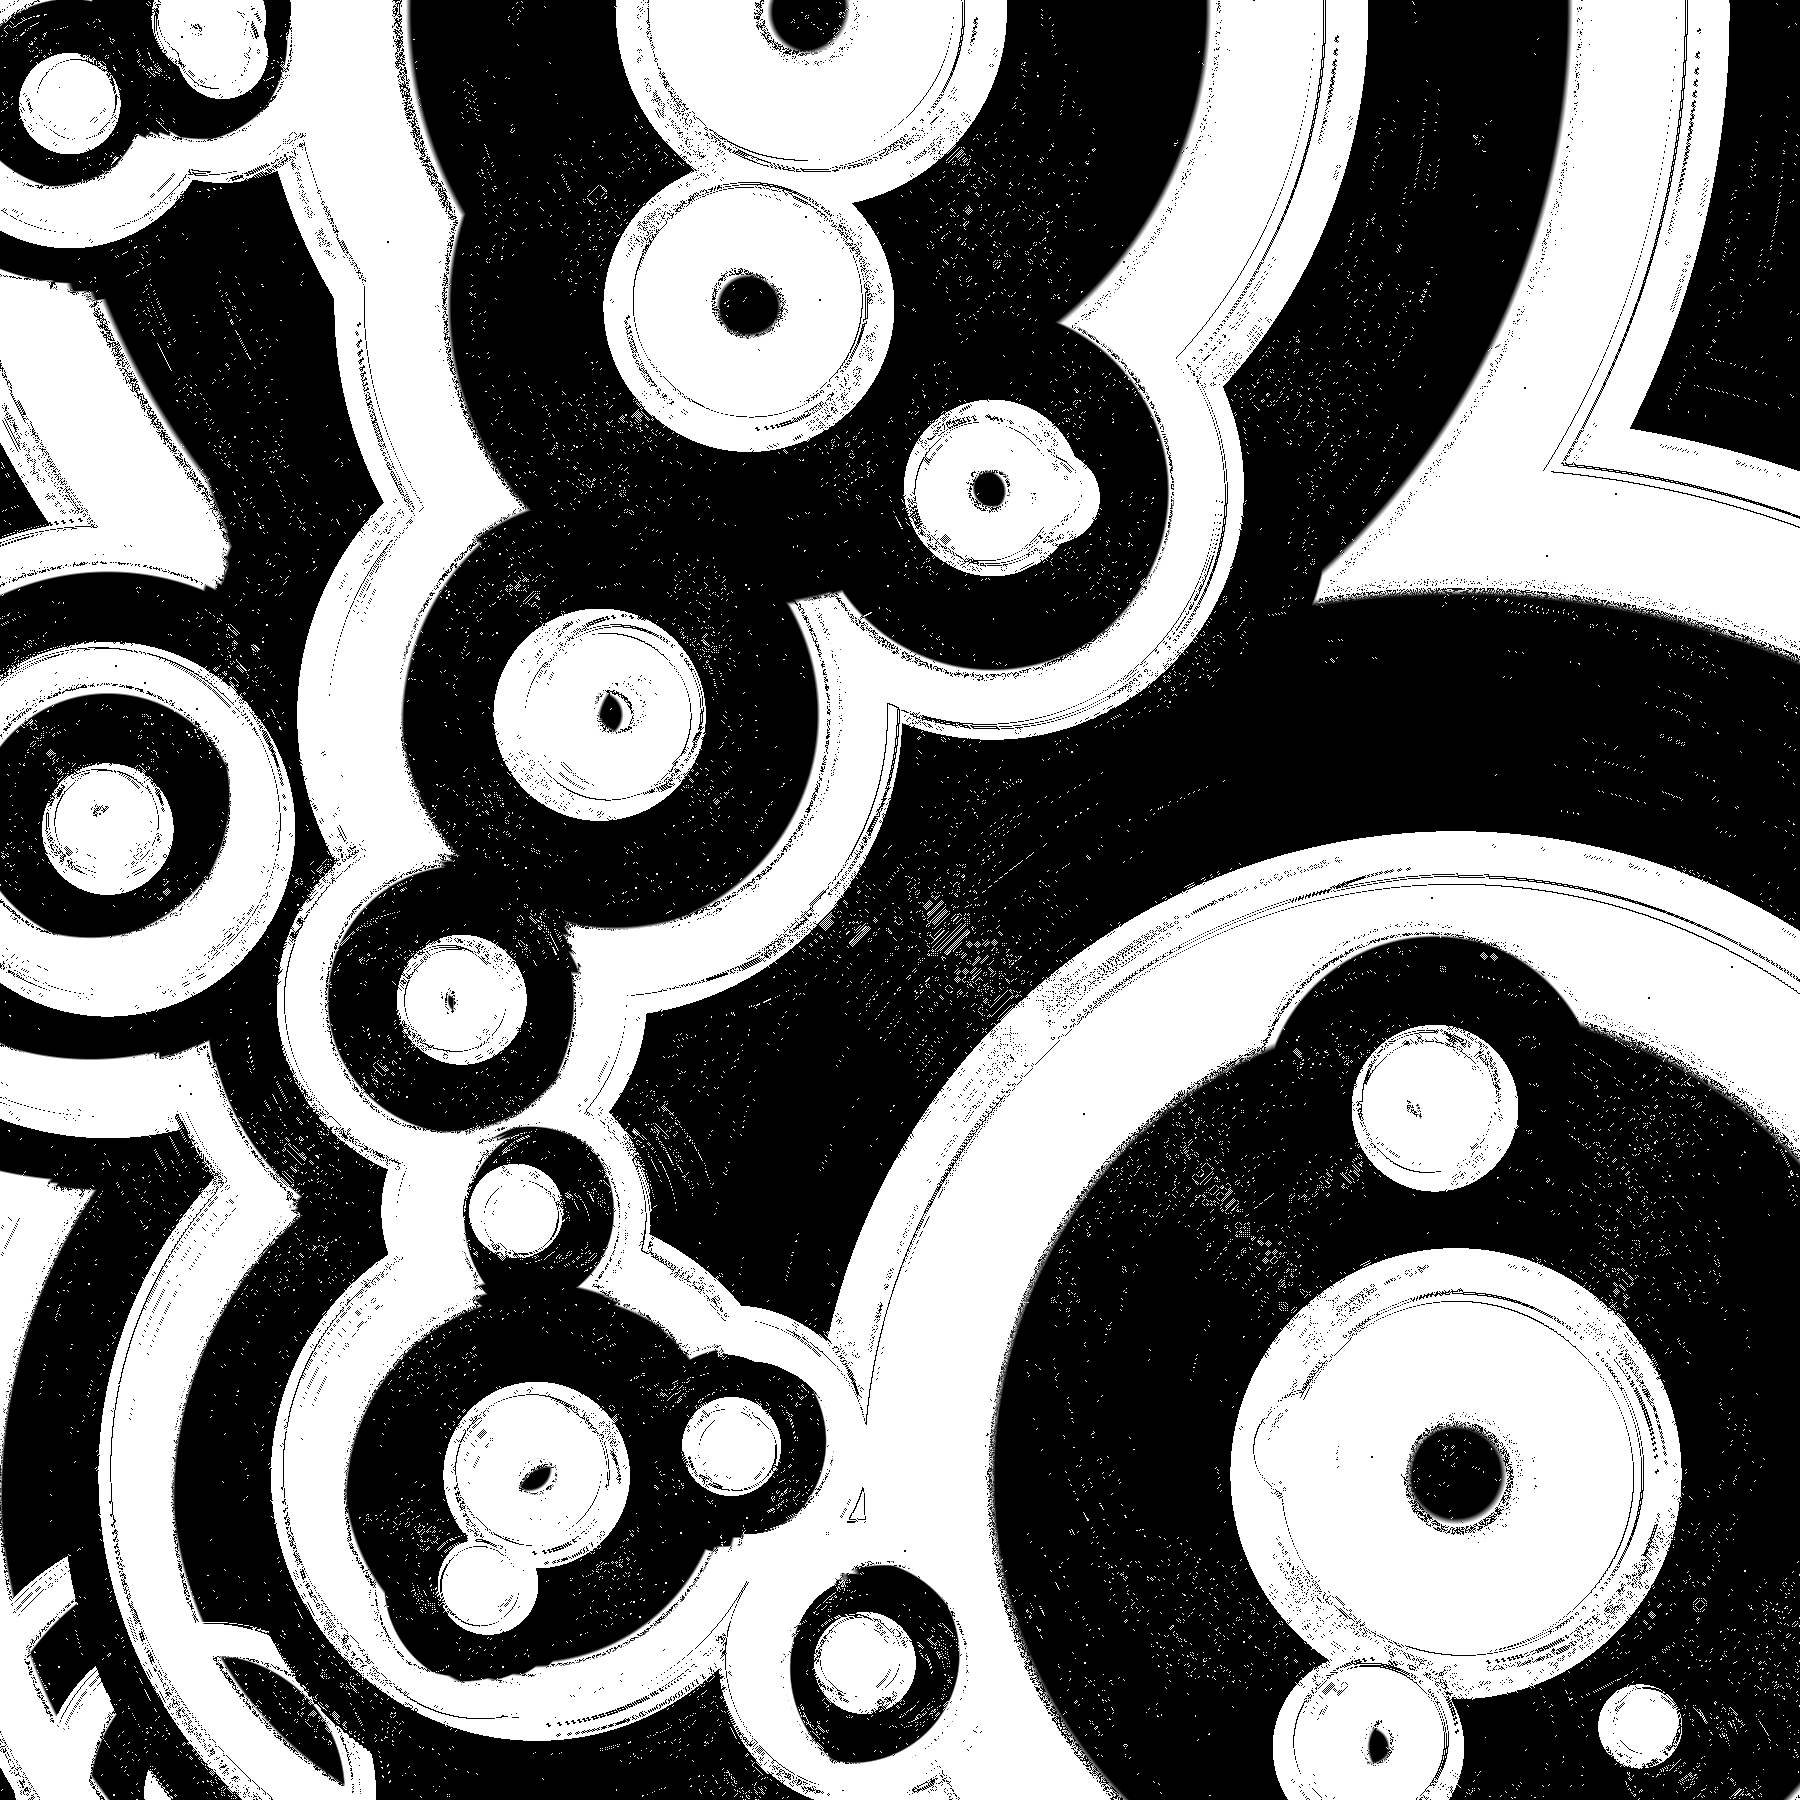
26. My kid could have made that
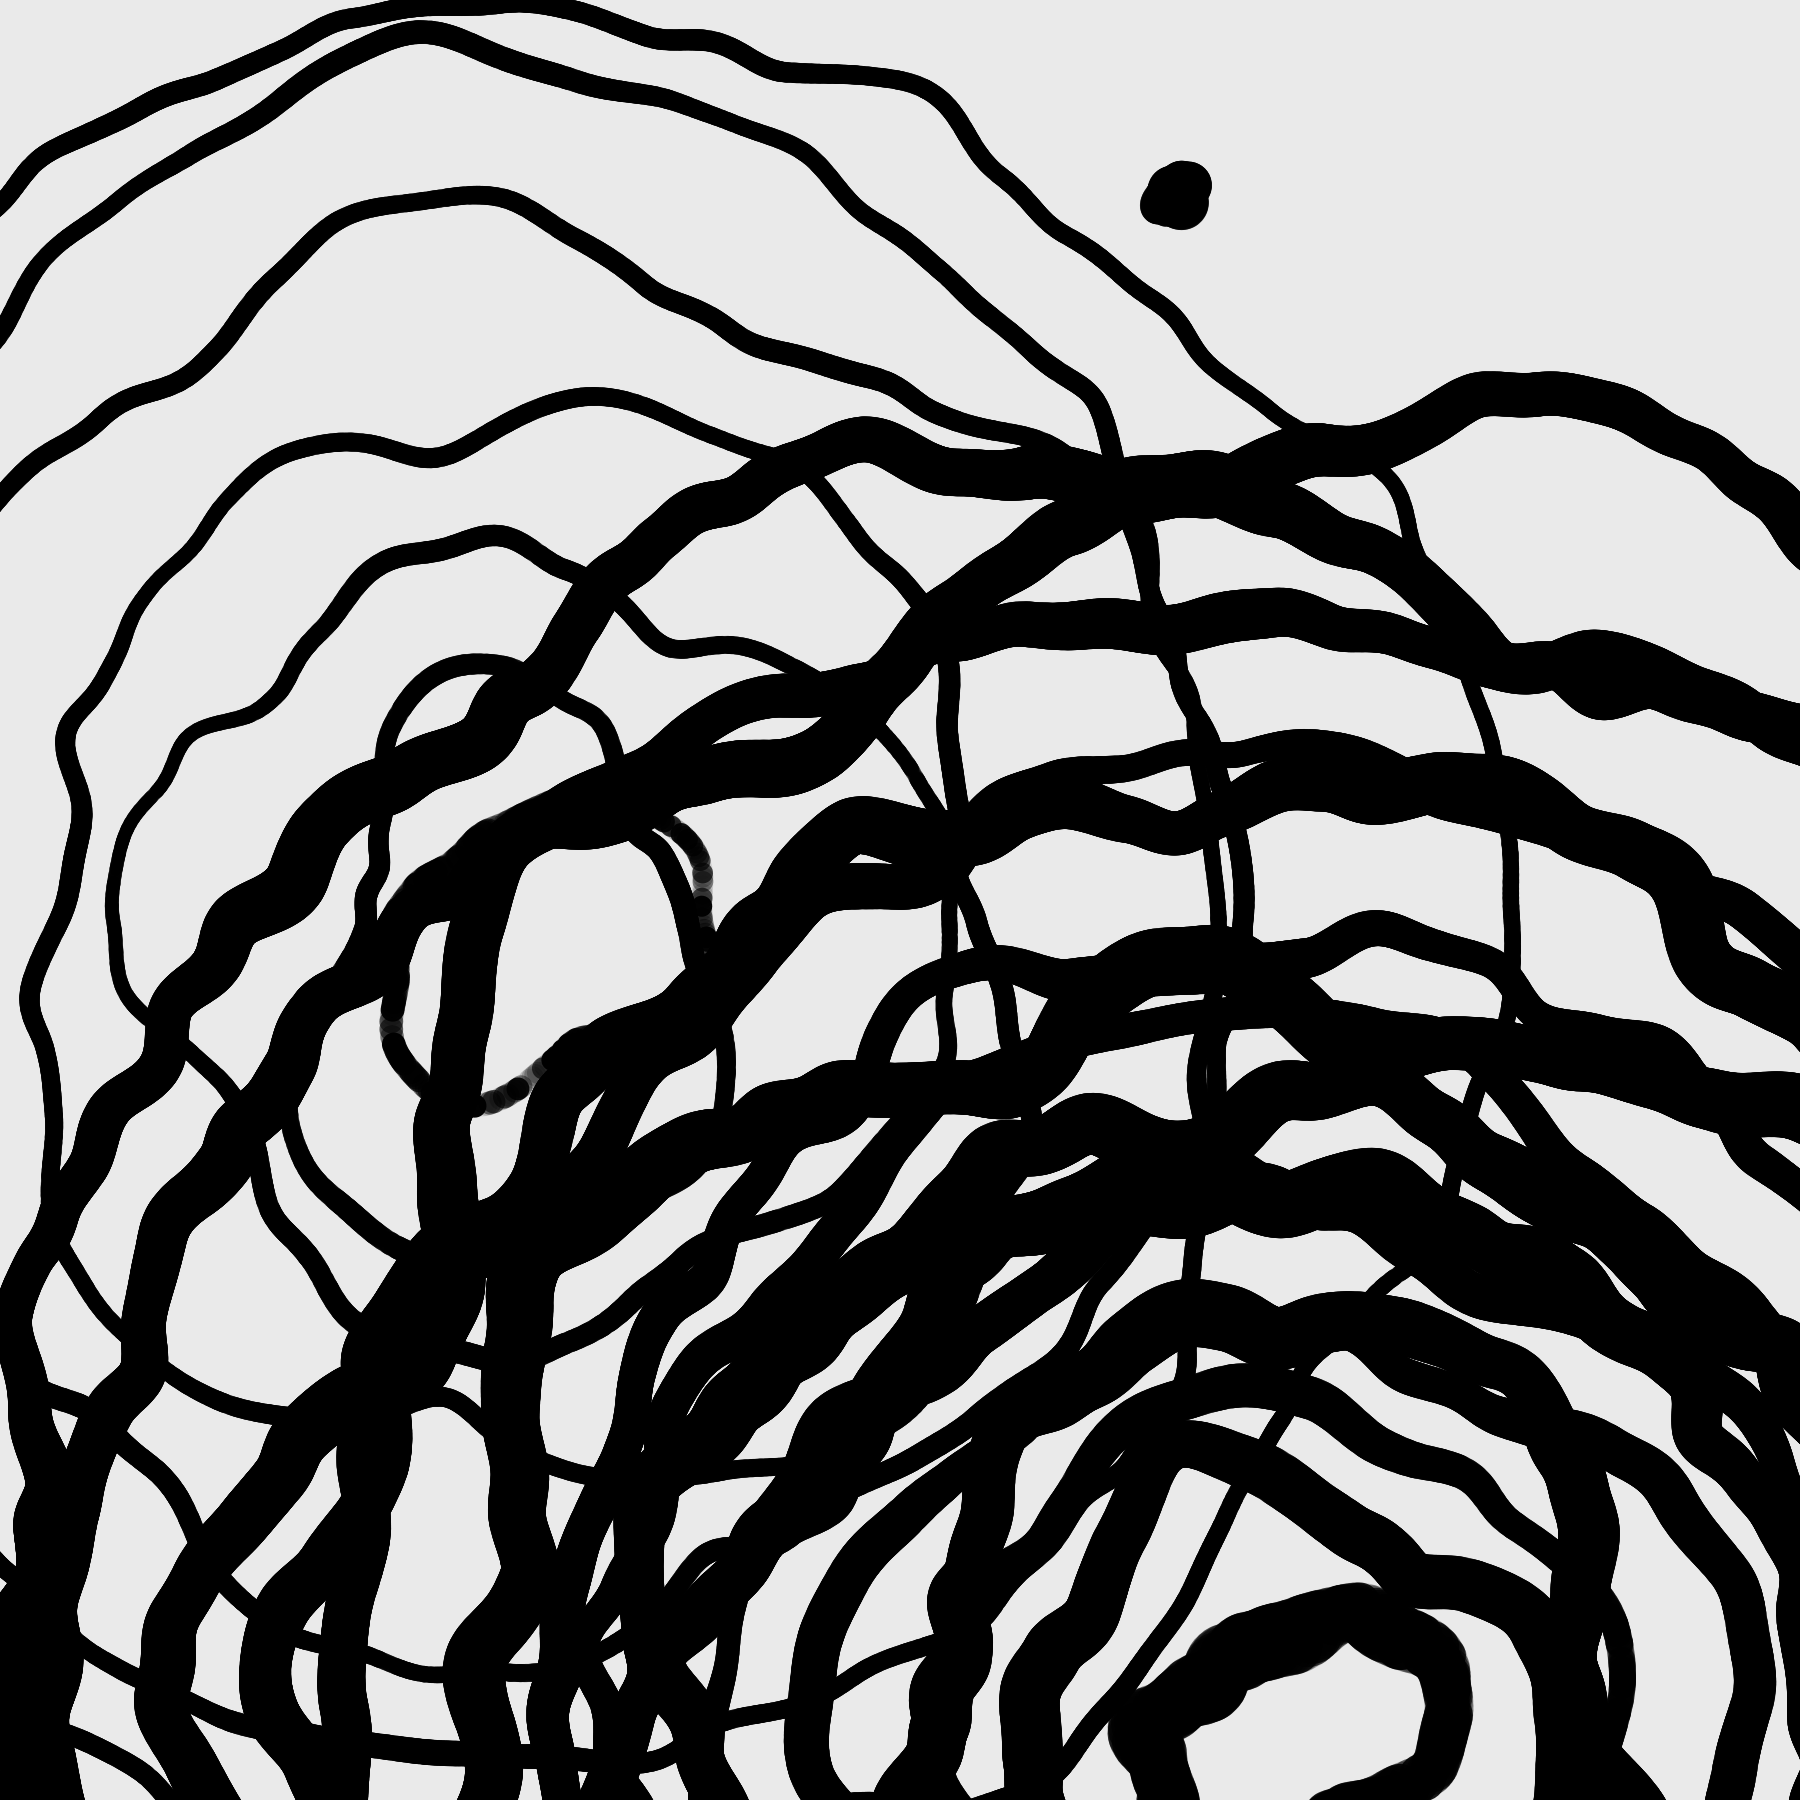
I was surprised how much I ended up liking these ones. They are messy but they have a nice playfulness about them. We're drawing concentric rings with a randomized line thickness and wobbliness. We draw each ring by drawing a bunch of circles (roughly the size of the line width) at a given radius, but as we draw the circles we are offsetting that radius with some perlin noise and slightly adjusting the size of the circles we're drawing with perlin noise too so that the line width changes a bit. The key here is that we are reading 2d perlin noise to make sure that we have the same noise values at the beginning and end of the ring we're drawing. We also randomize a bunch of other stuff like the number of rings we draw, how wobbly things are, and how close the ring radii are.
27. In the style of Hilma Af Klint
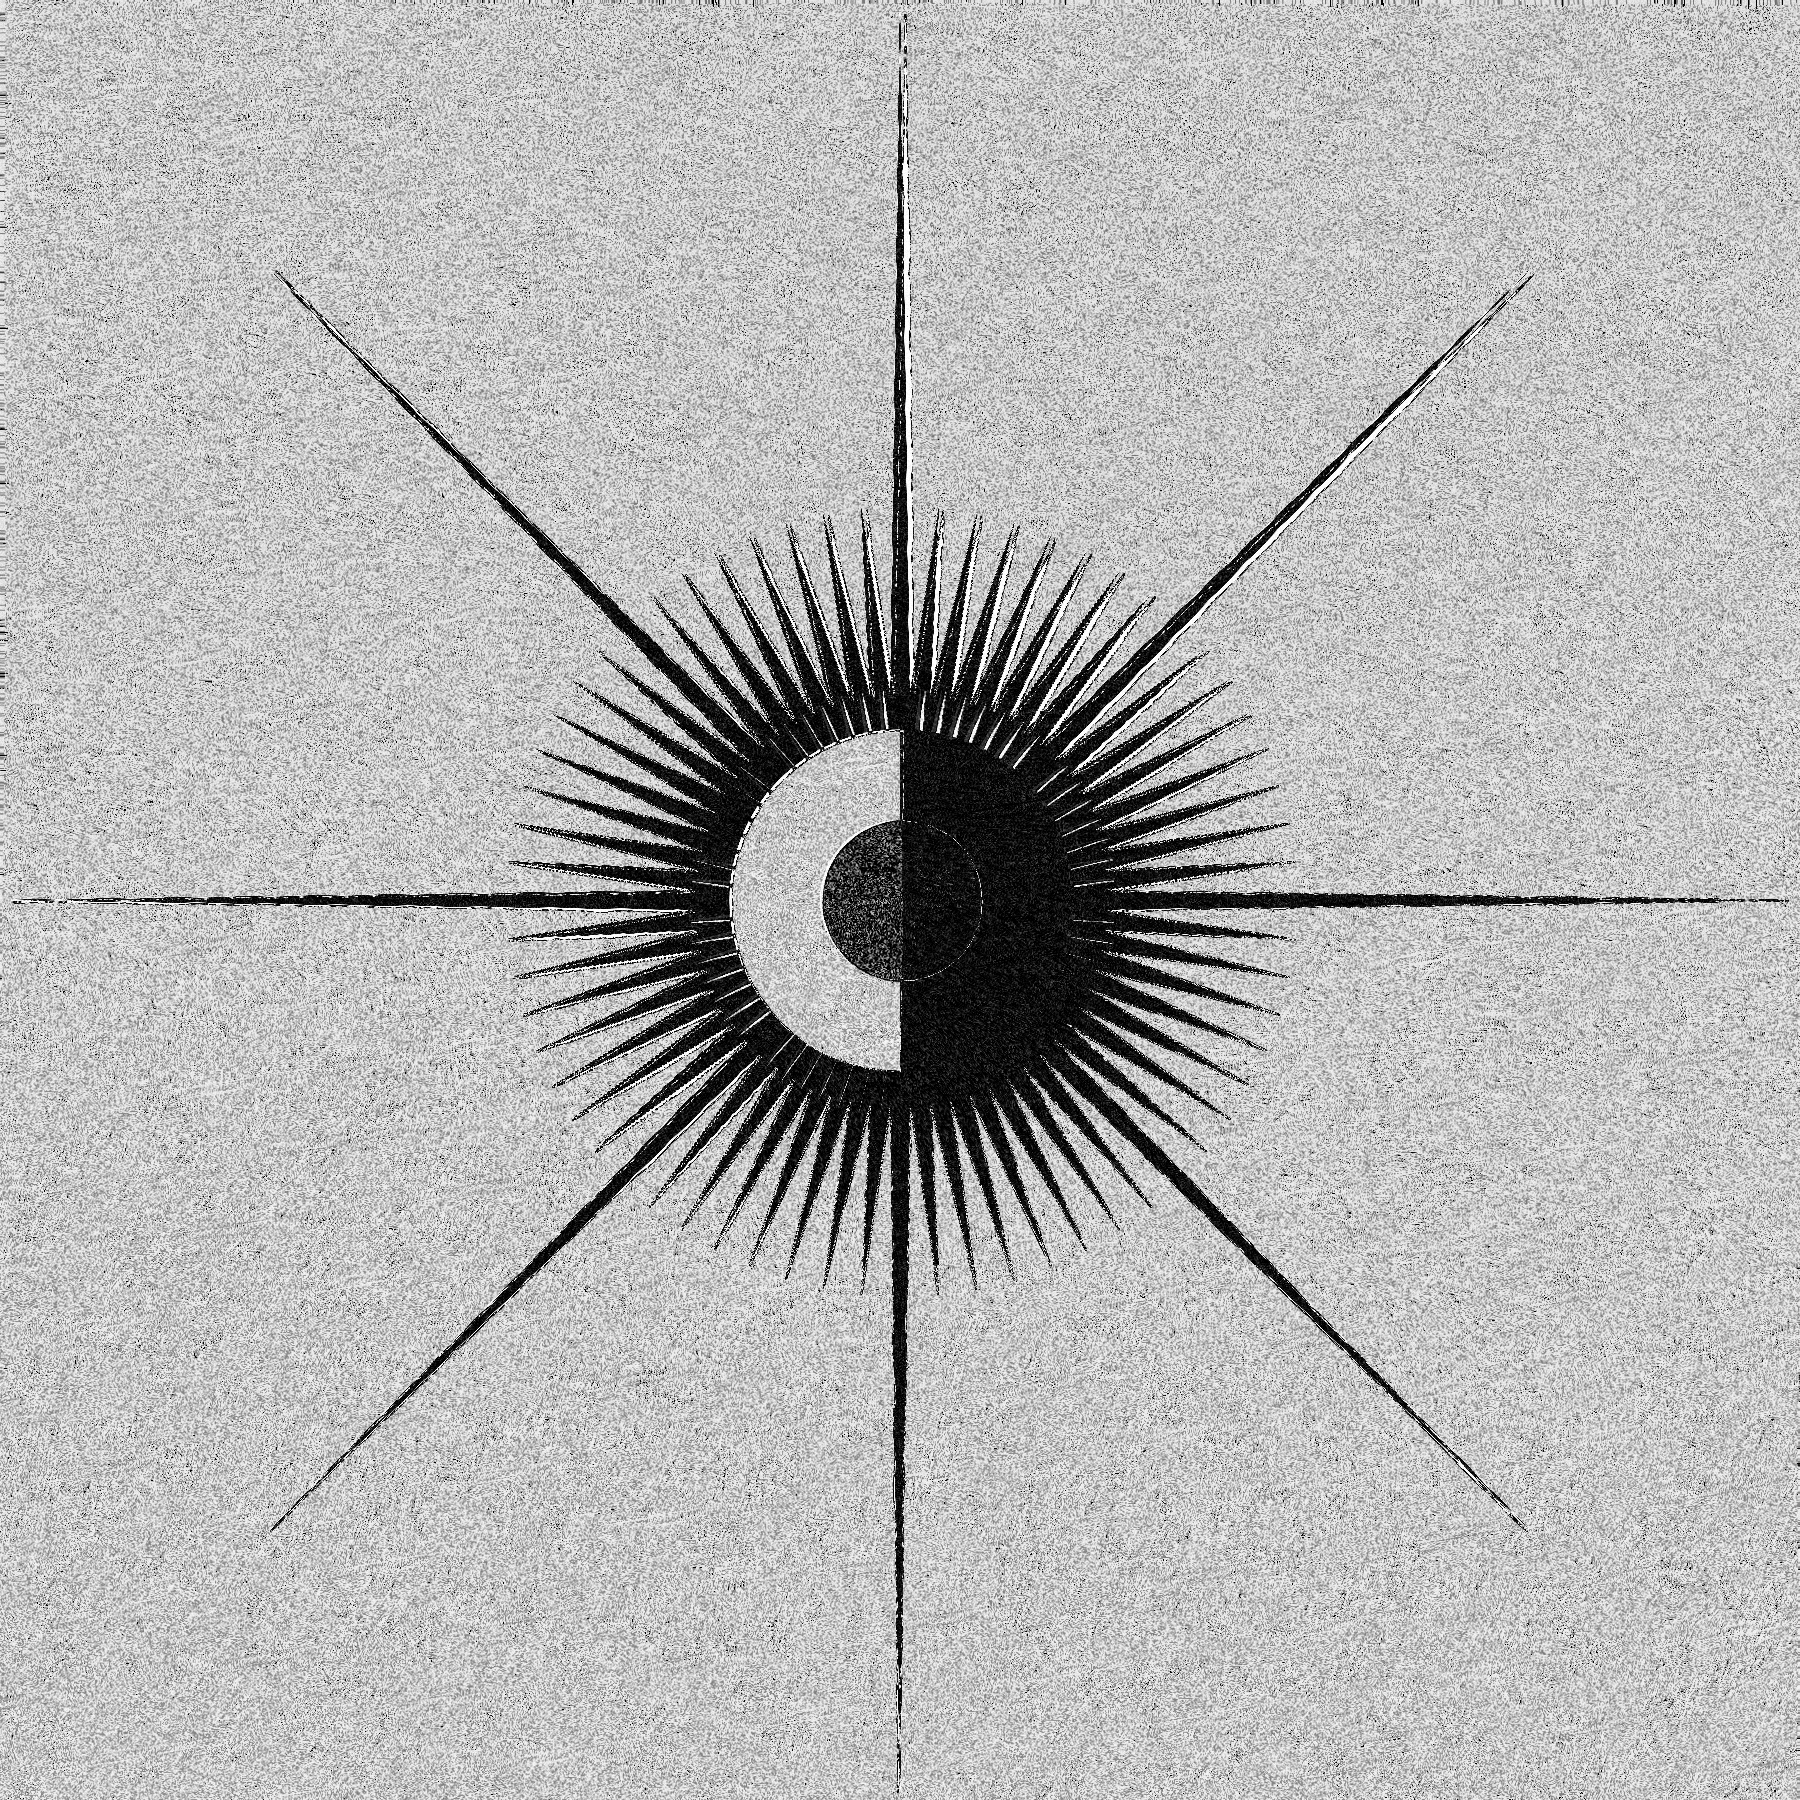

I had a lot of fun with this one too. I found some of Klint's pieces that had some minimal circles split in half and nested inside each other so I started with that. We're basically just drawing concentric circles similar to what we've done previously, starting from the largest and scaling down for each iteration, but this time we just have a chance to draw a half circle for each side of the image. We never directly draw a full circle although sometimes it'll happen anyway. These half-circles are colored randomly.
I found quite a few pieces by Klint that had triangular rays in them too, so we draw a few sets of these emanating out from the center of the image before we draw the circles. We randomize the width of the base of the rays, the length of the rays, and how many rays to draw. It's not visible in this image, but sometimes there were really nice results from multiple overlapping sets of rays with different parameters.
Texture also felt important to Klint's work so I spent a little time writing a feedback shader that introduced some more deeply textured noise than I'd been using previously. Most of the noise in my other shaders so far had just been single octave simplex noise, but this time I introduced multiple noise octaves. I'm also offsetting things slightly and slamming everything through some trig functions as per usual haha.
28. Generative Poetry

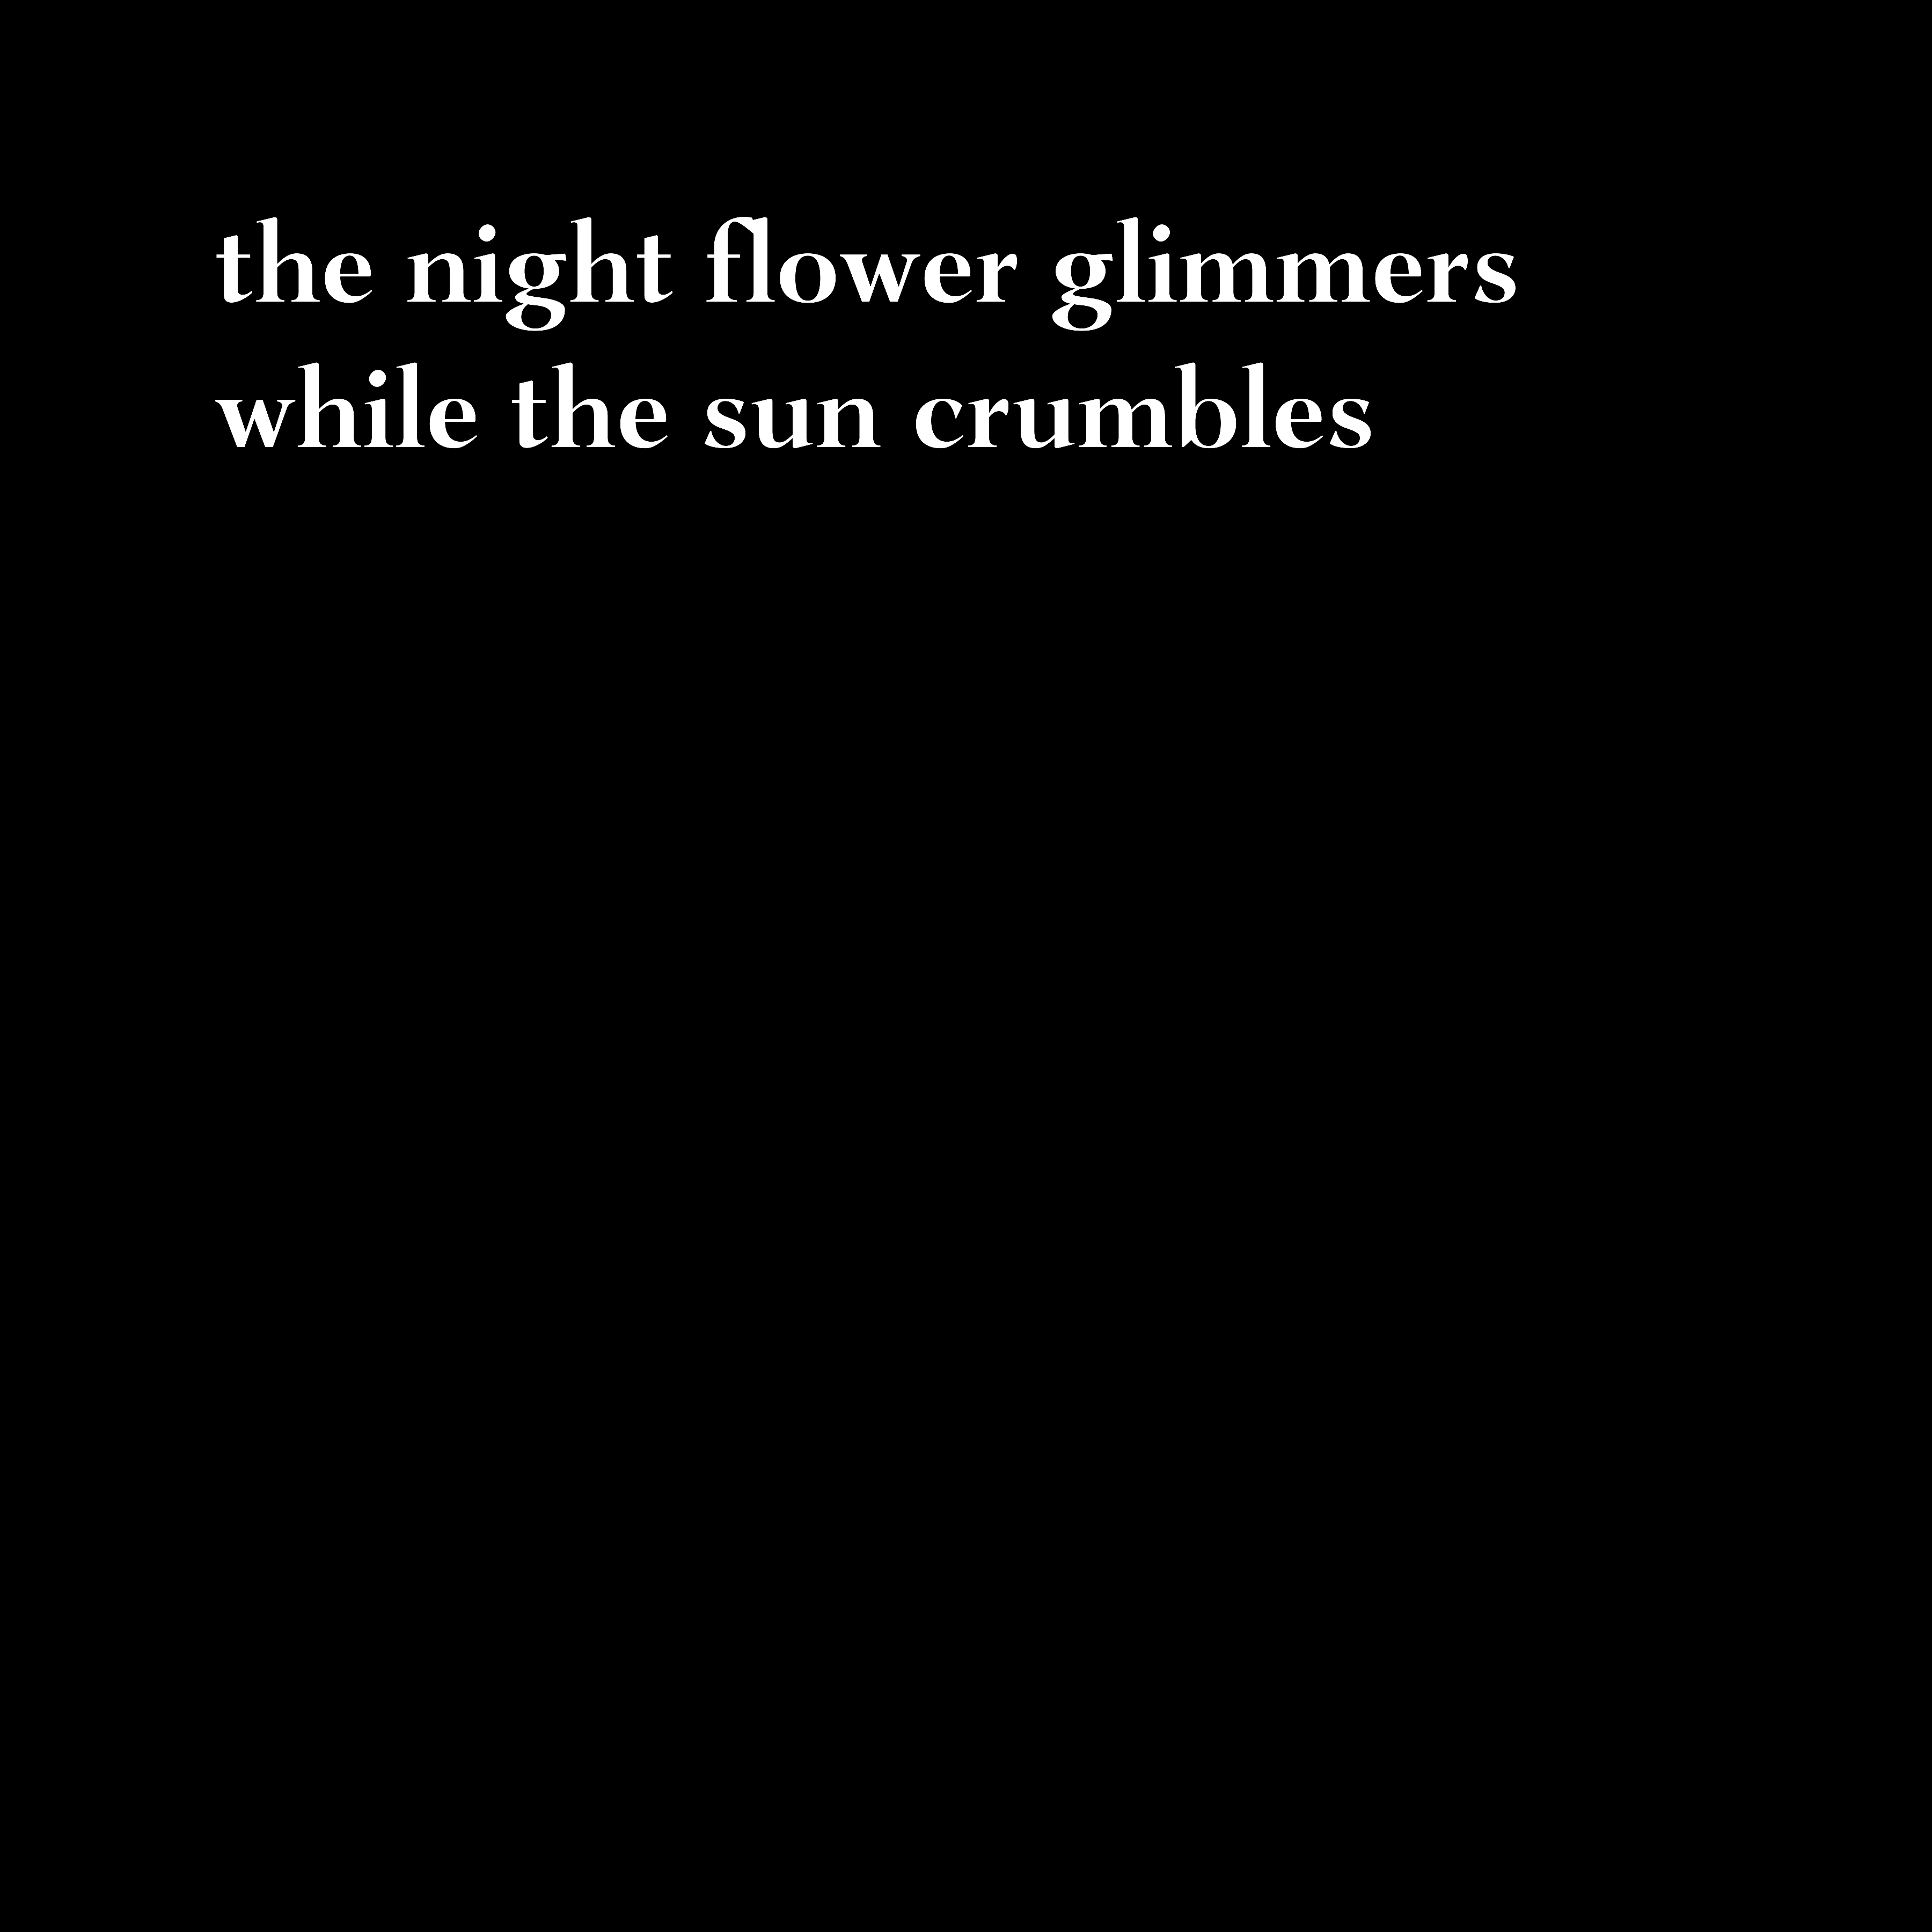

This one was really fun as well and is something I want to explore more in the future. I used an approach inspired by Generative Grammar. We start with a string that looks like this "the ::noun ::action::extension" then we have an array with an entry for each piece that's preceded by ::, which might look like this
grammarTokens['::noun'] = ['sun', 'flower', '::adjective ::noun', 'night ::noun']
Then all we have to do is take our initial string, look for any pieces preceded by :: and then swap them out for a random entry from the matching grammarTokens array, and continue doing this until we don't find any more tokens to swap out. I really felt like I was just barely scratching the surface of this one.
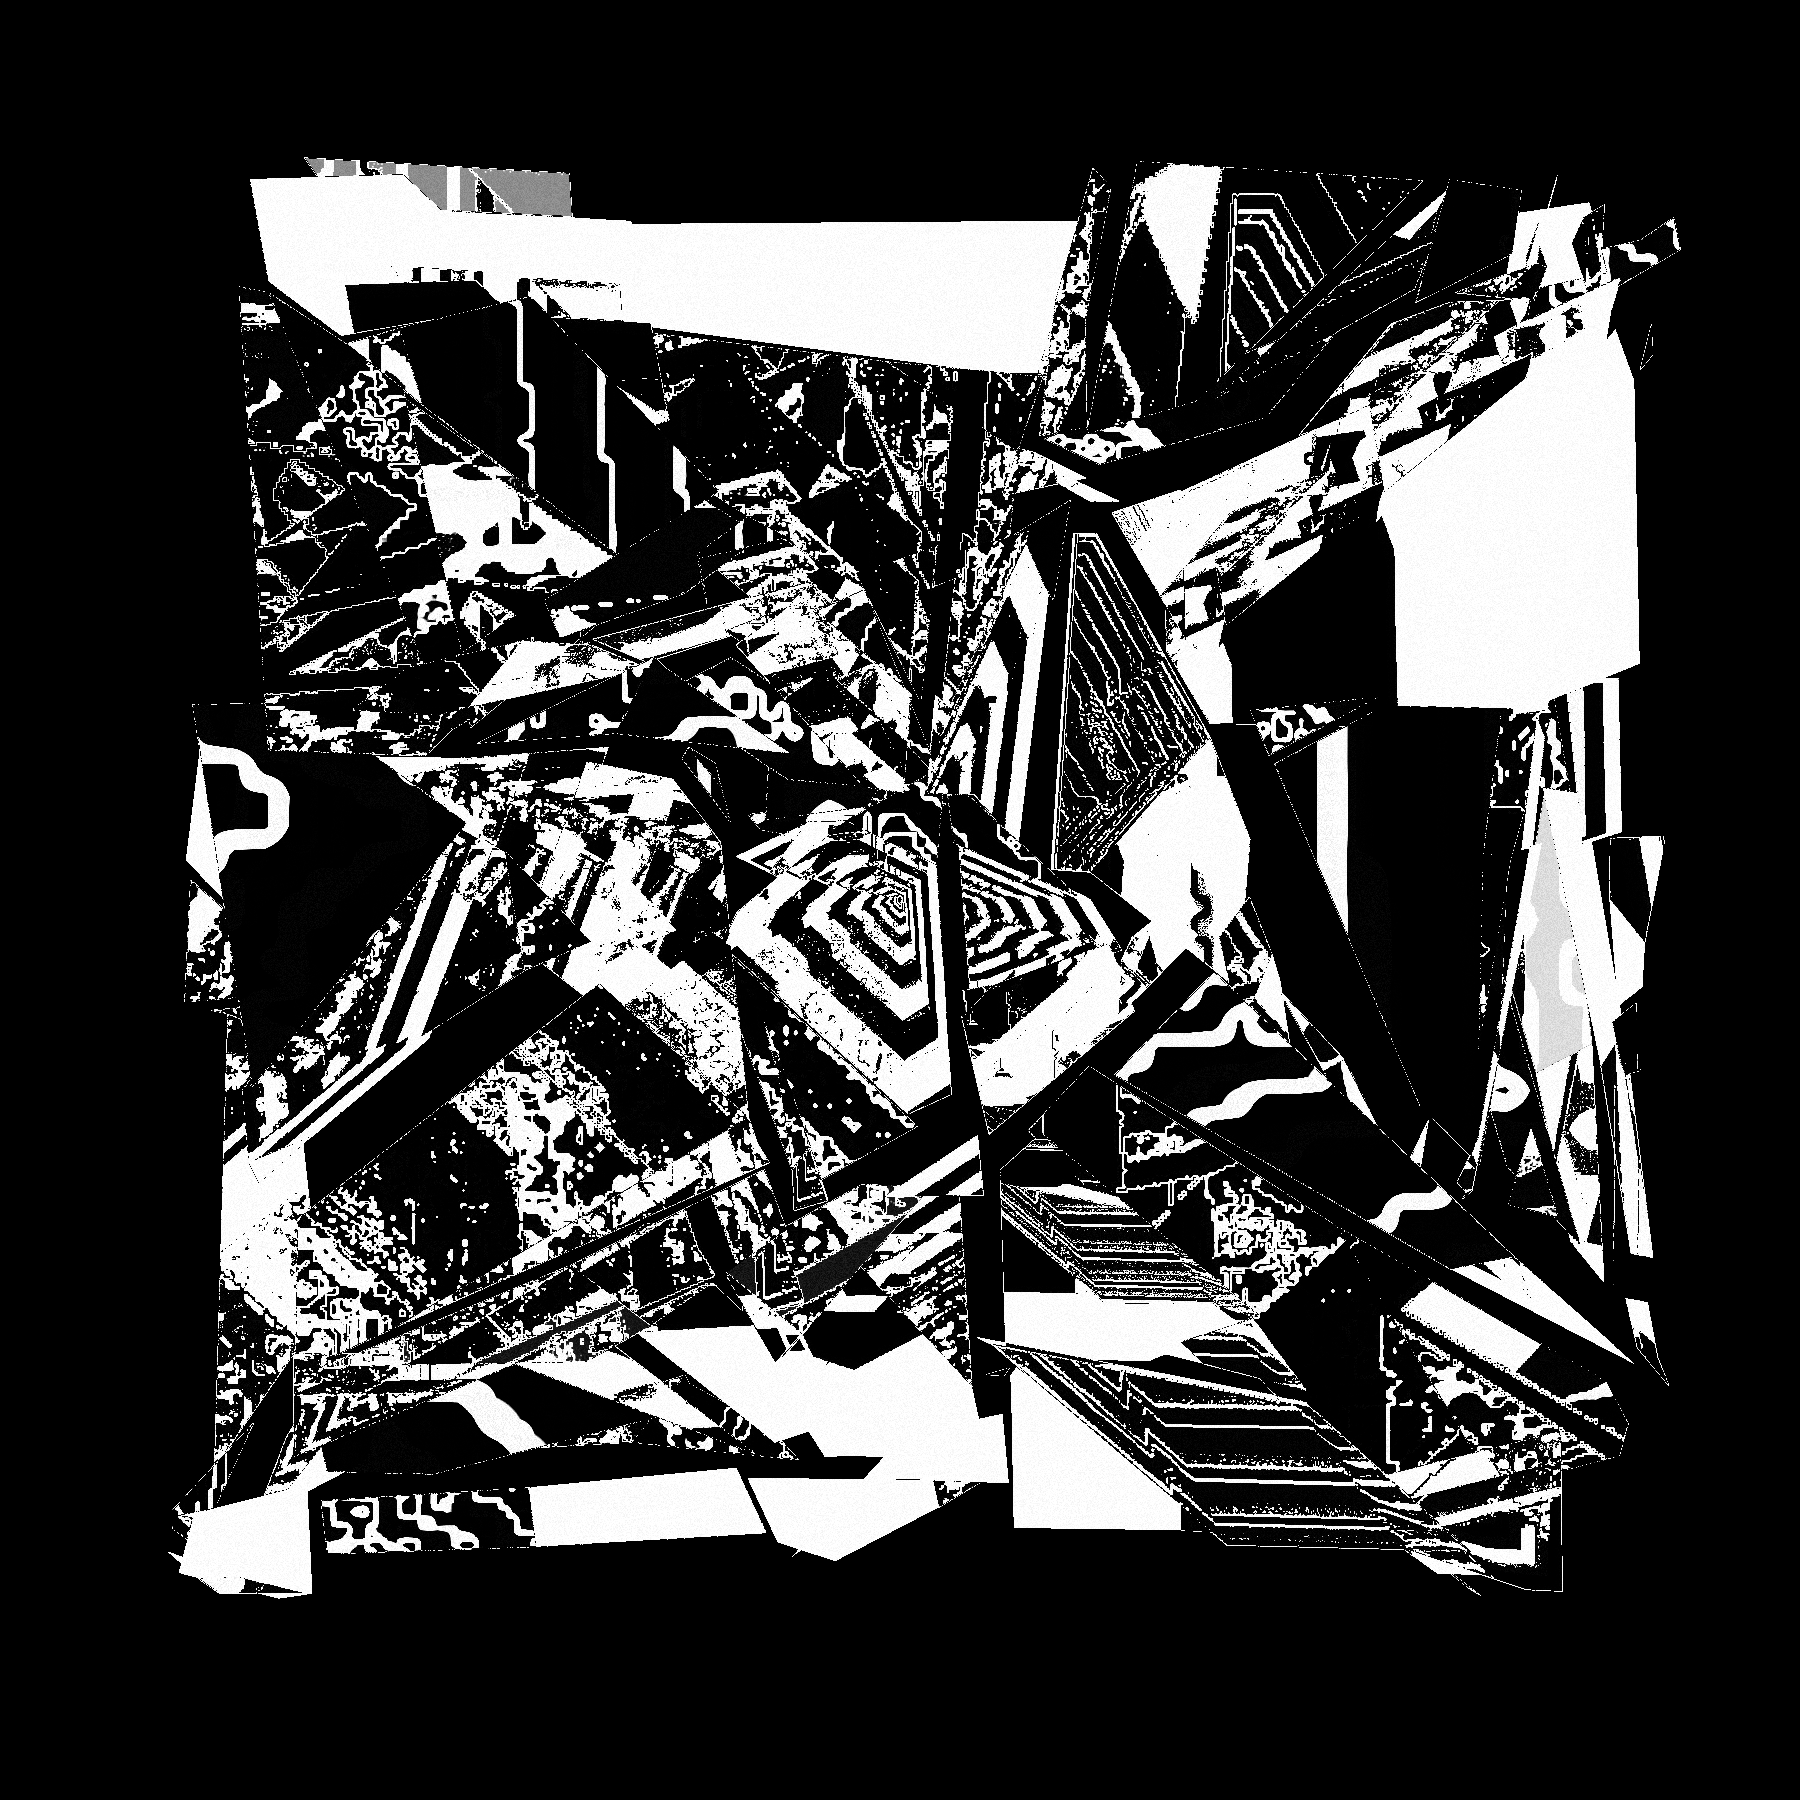
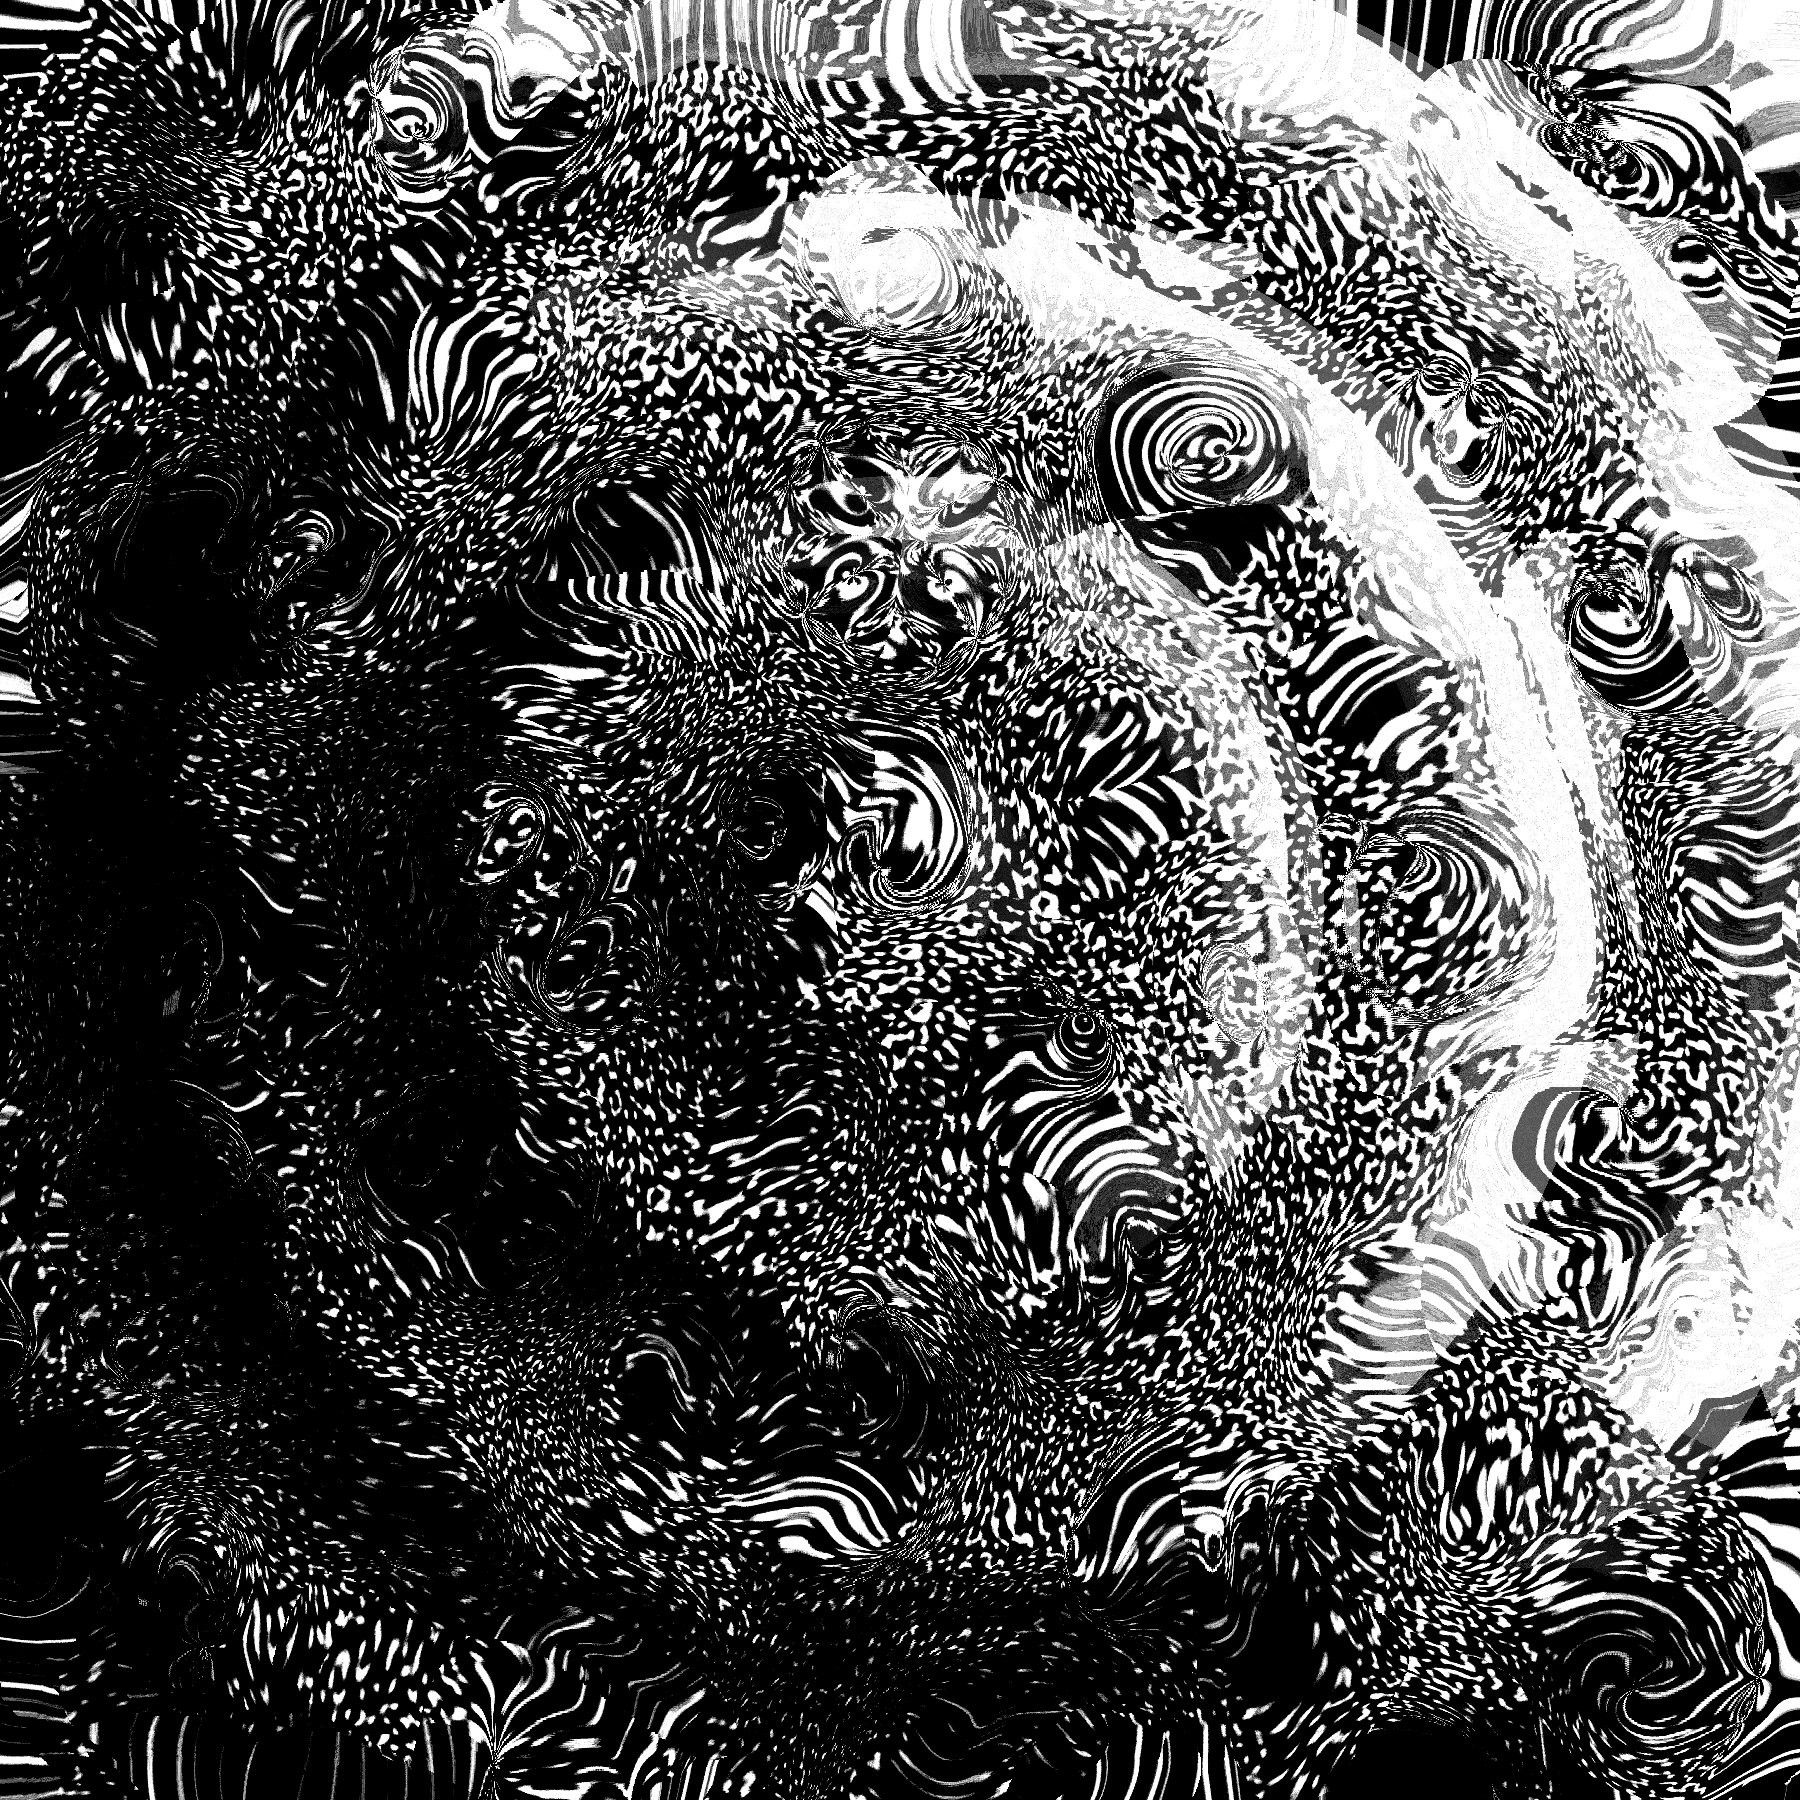
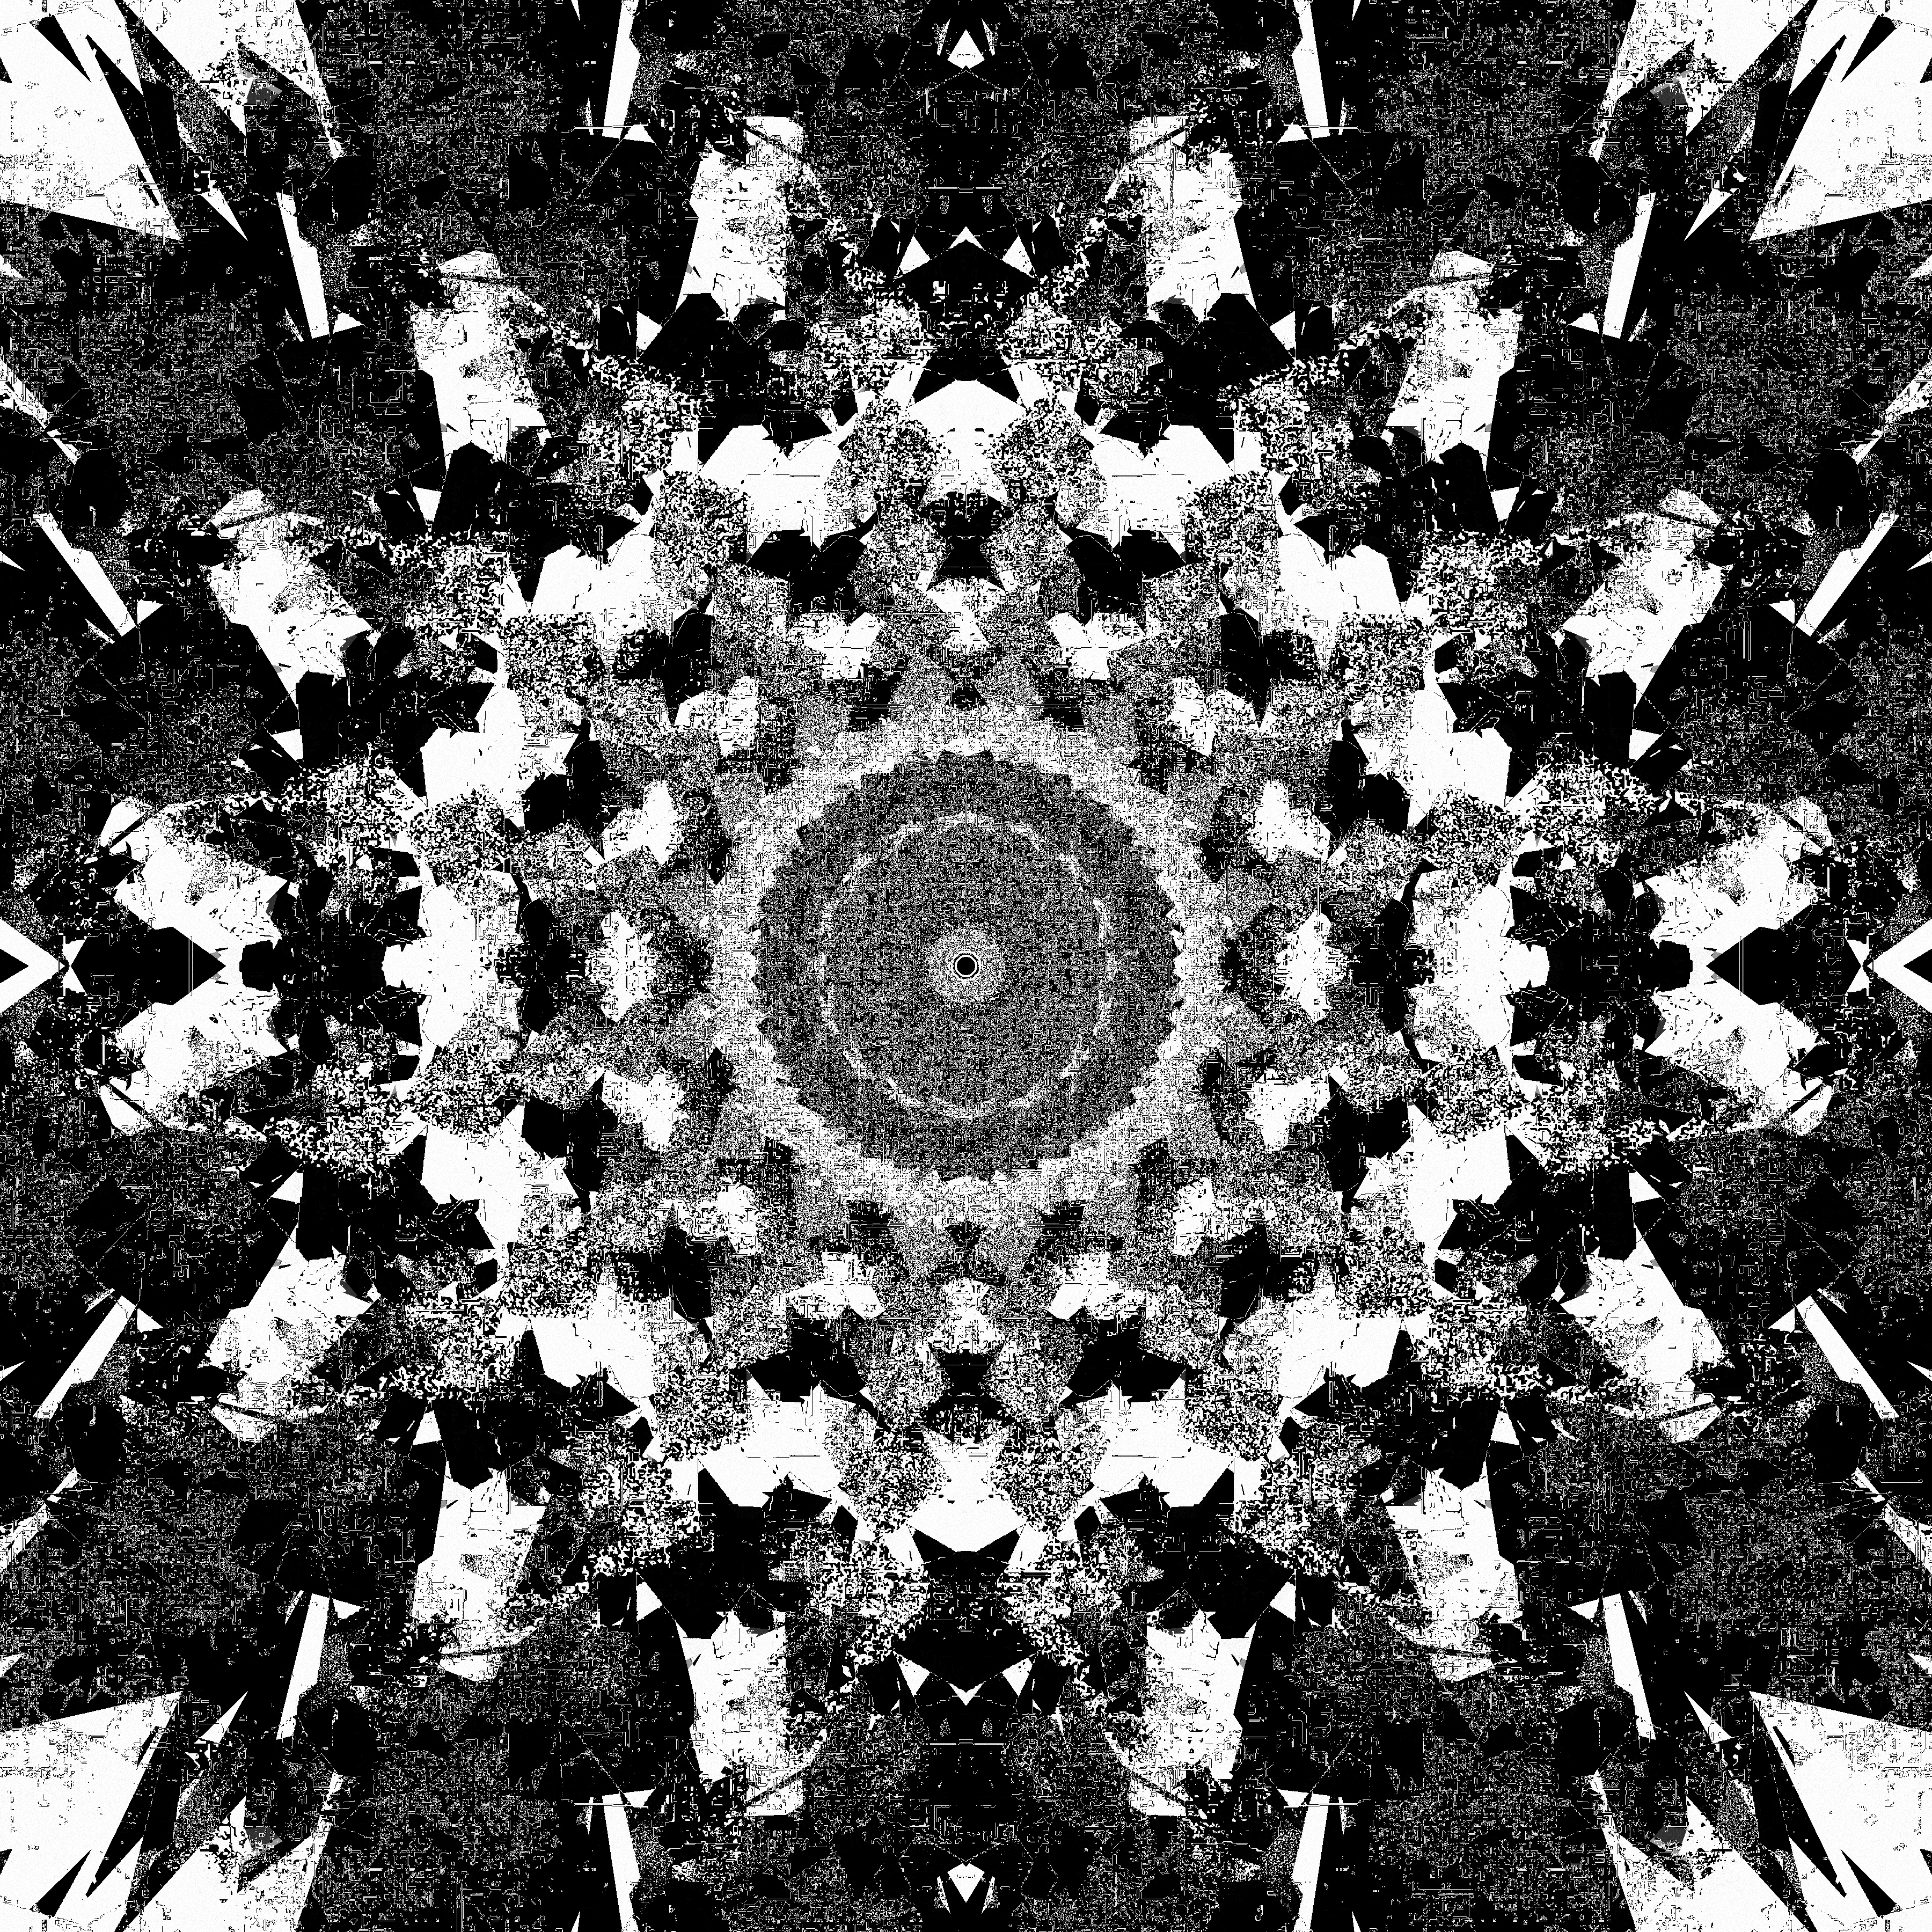
29. Maximalism
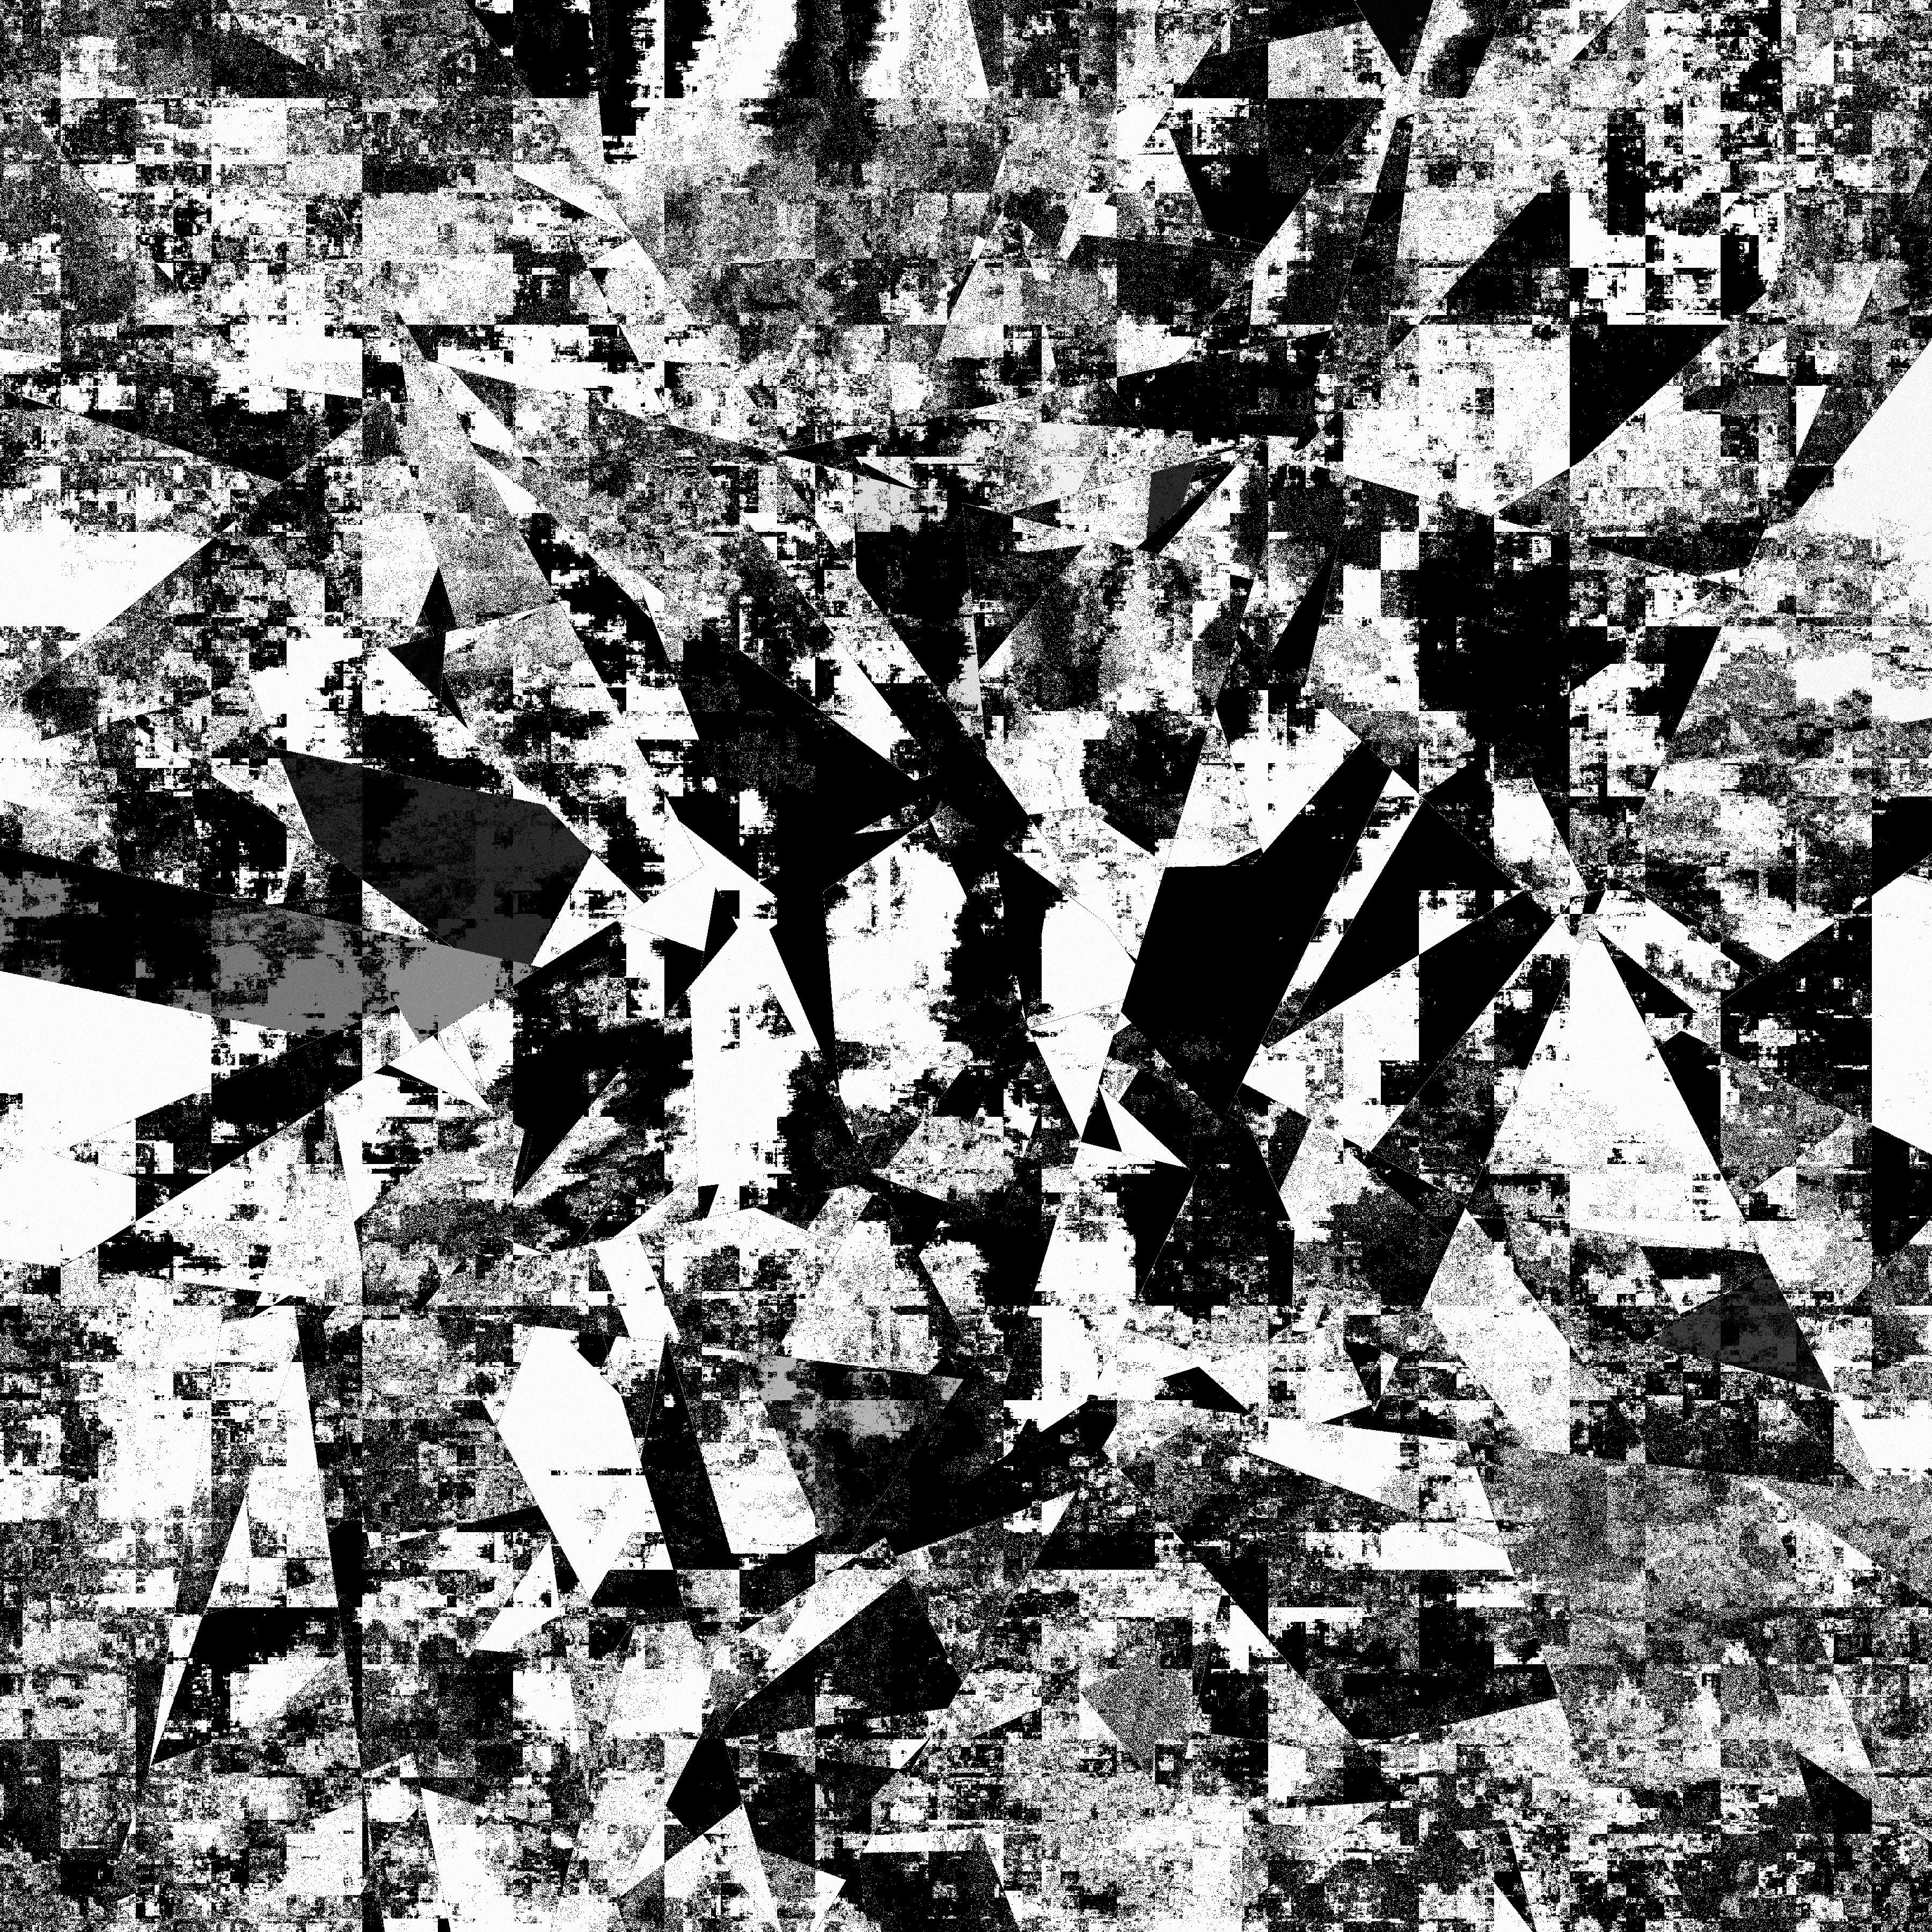
Woo! Feedback shaders! I took the polygon division from 13. Something you've always wanted to learn to get a bunch of randomly colored shapes, took the more textured noise from 27. In the style of Hilma Af Klint and then mashed them all up in a feedback shader. The random color from the shapes is fed into a bunch of different parts of the shader, impacting things like the phase of different sin calls, the noise octaves, and the strength of the position offset of the feedback texture we're reading from. It's basically just a big messy pile of previous techniques and I am pretty fond of it!
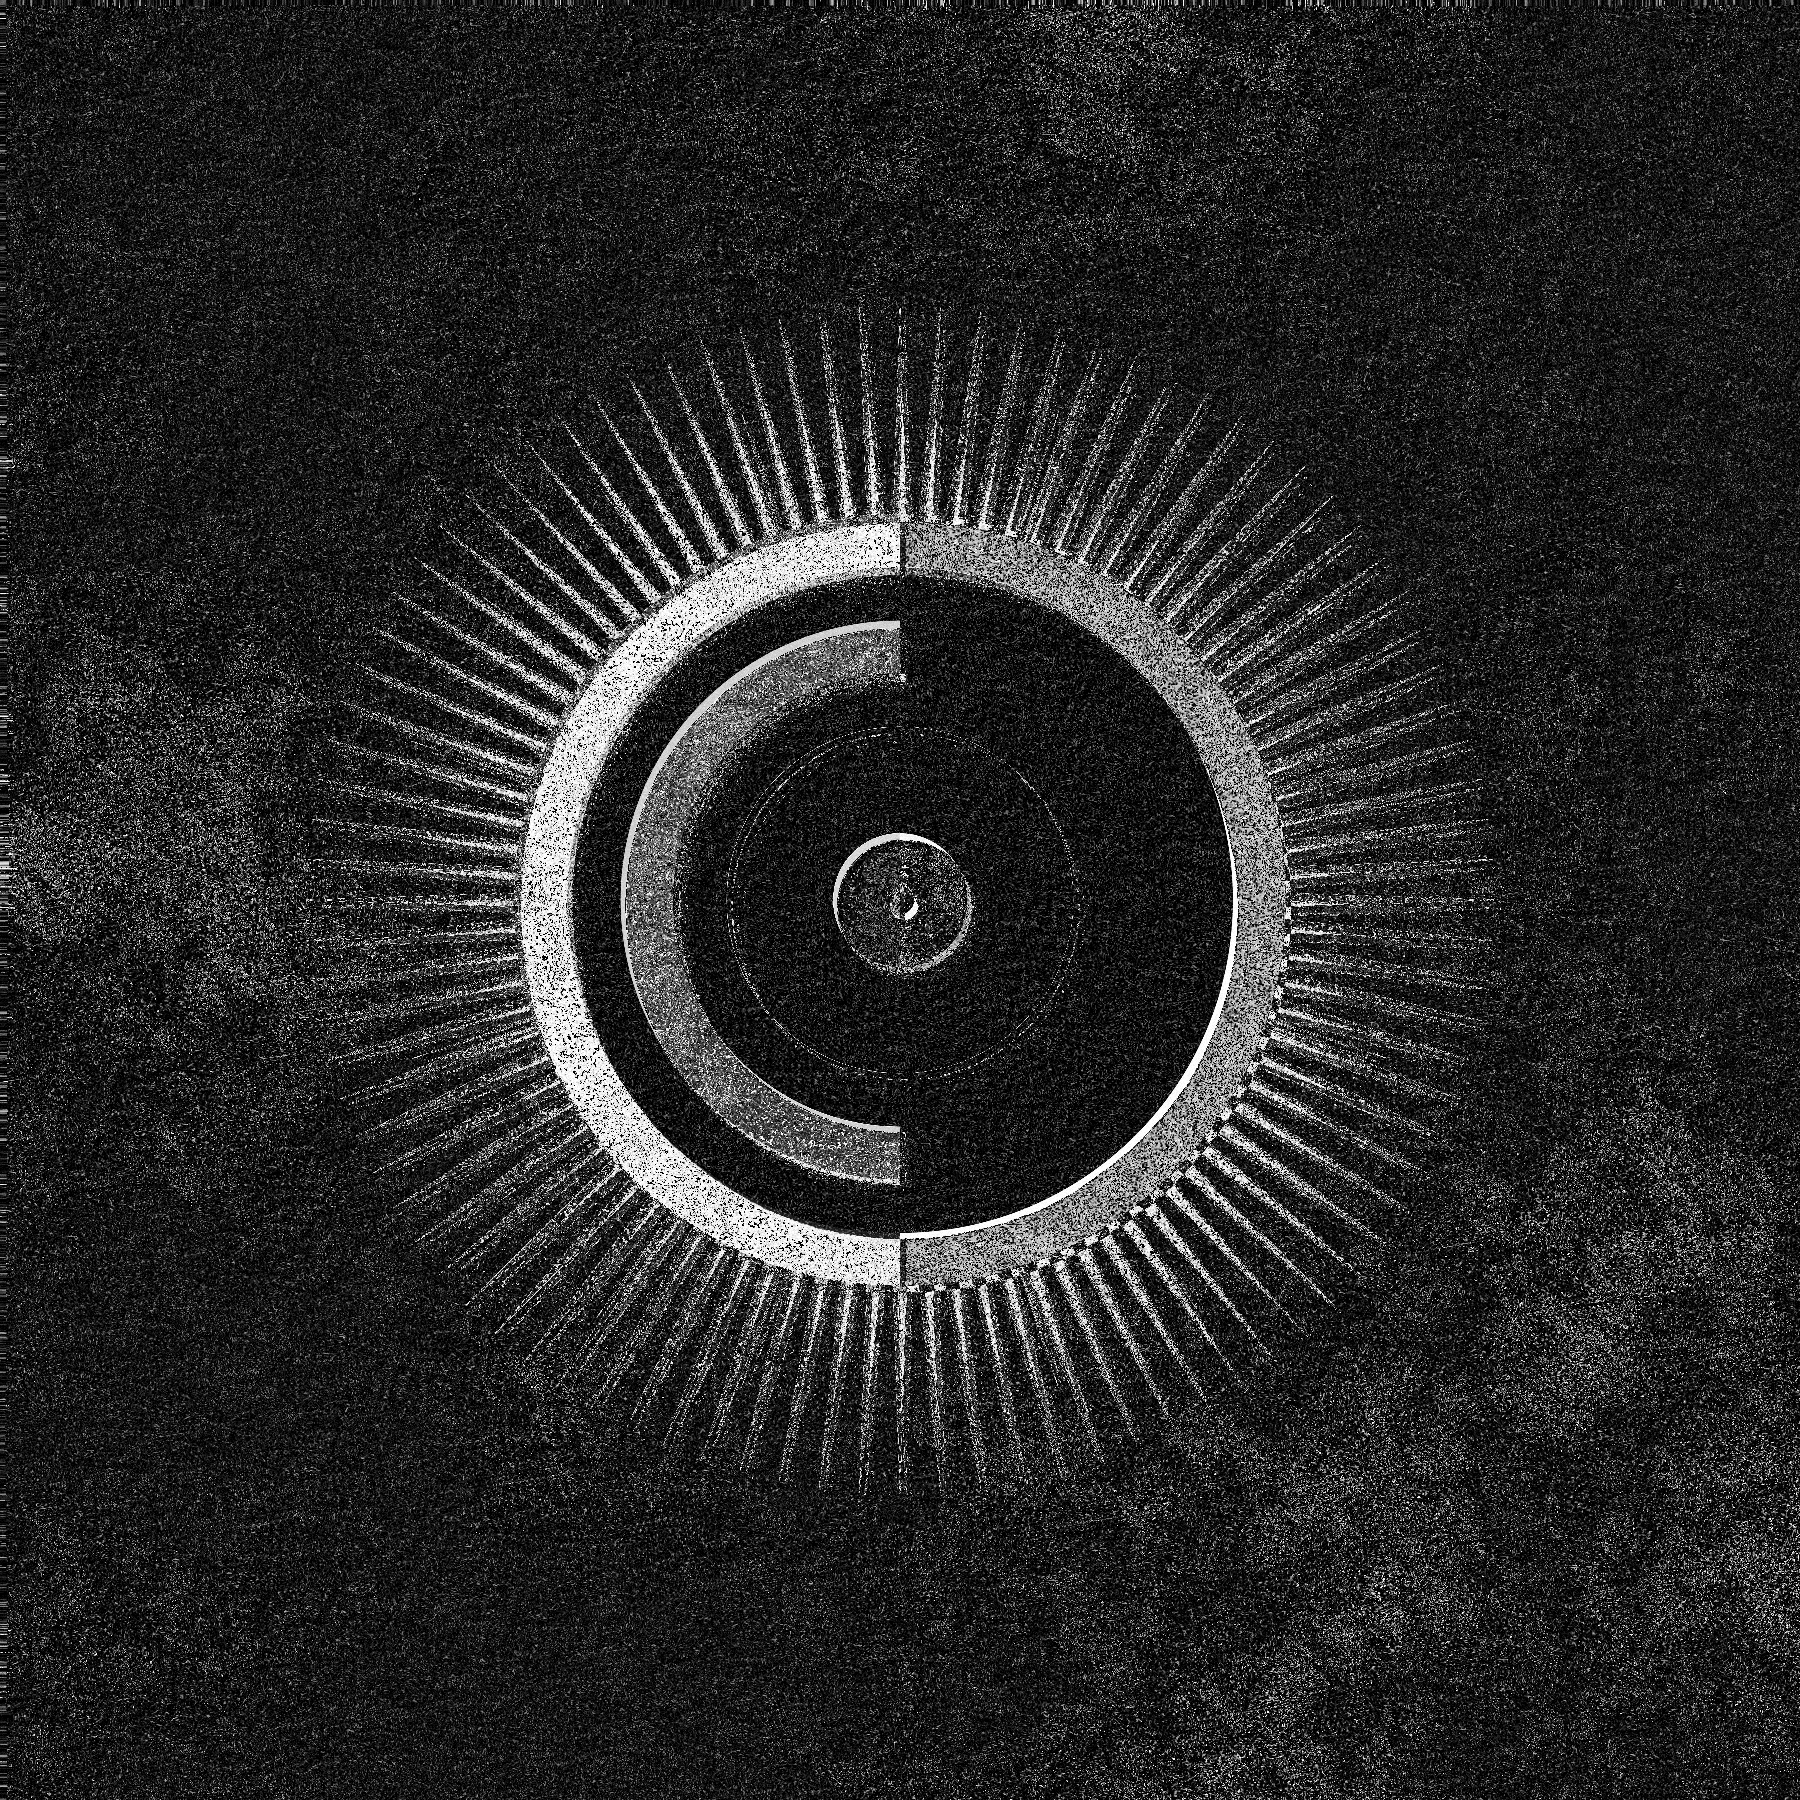
30. Minimalism
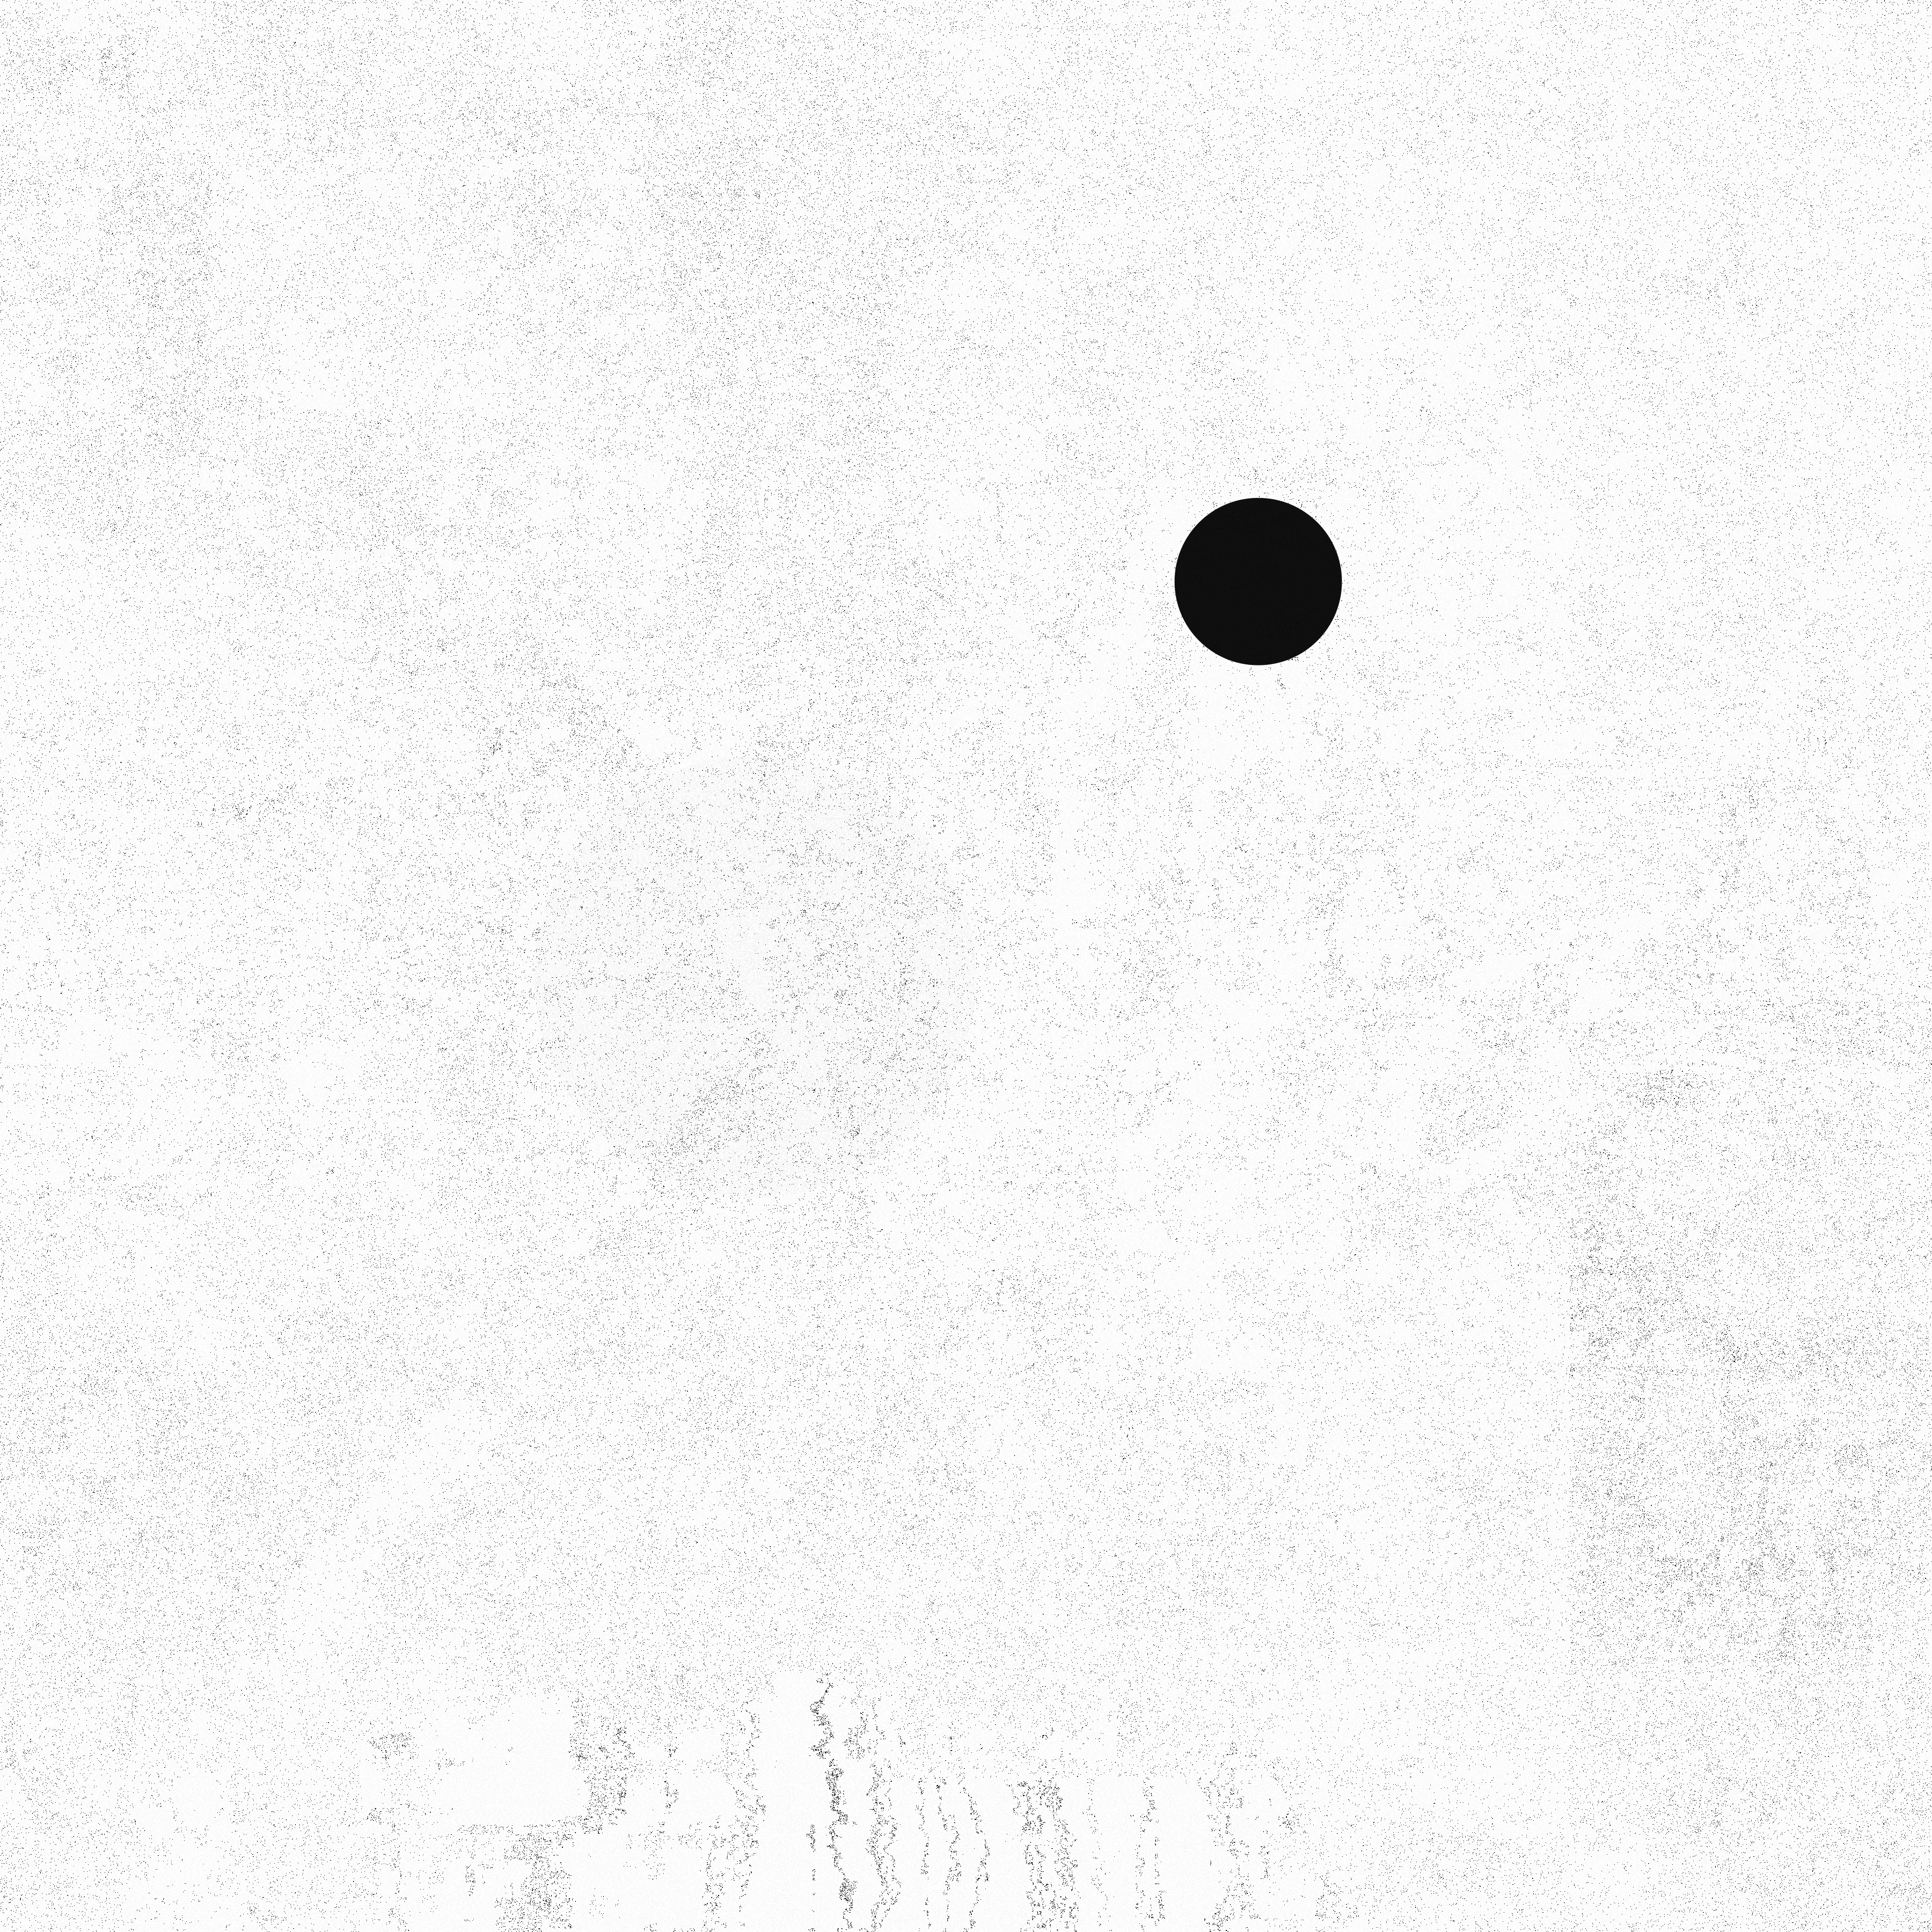
I really wanted this one and the previous sketch to be tied together somehow, and I liked the textures in the previous sketch so I decided to maintain some of that but pull it back a lot. We then just draw a lone plain black circle at a random position and bada bing bada boom! Minimalism.
31. Remix one of your previous works
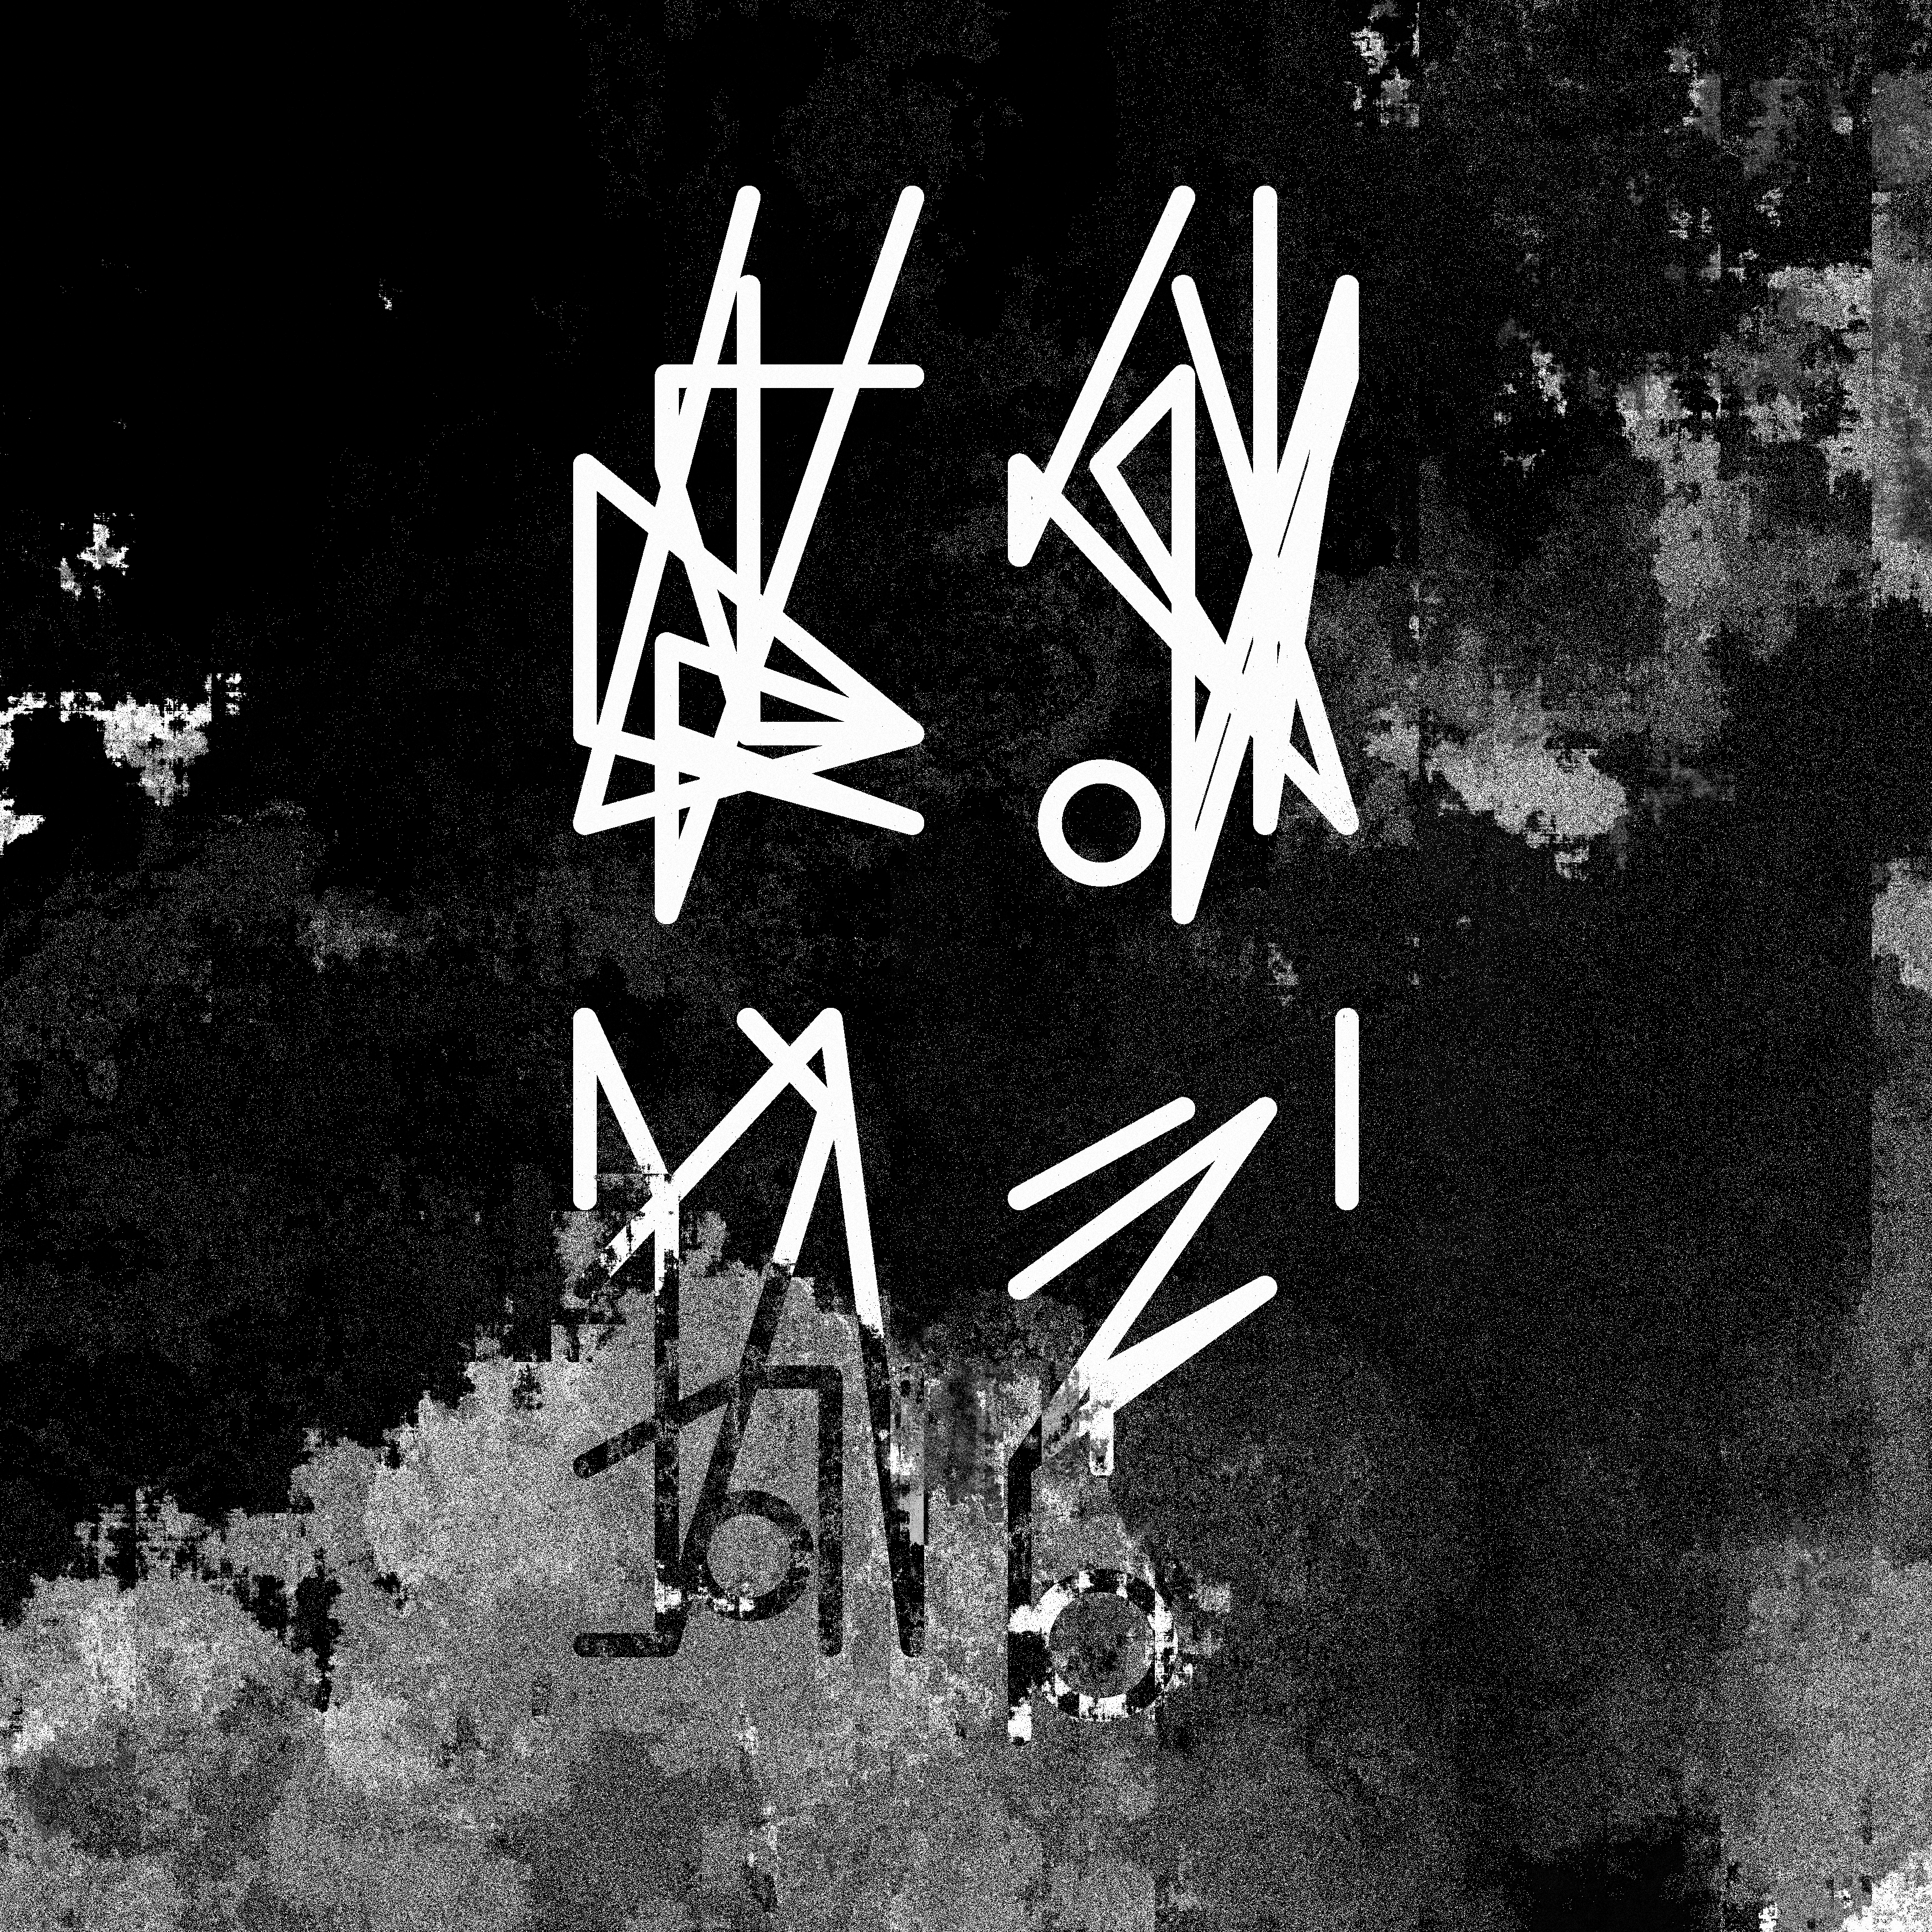
Last but not least we have a remix of 14. Asemic. I really liked the shapes from that sketch so I wanted to see them a little bigger. I tweaked the glyph drawing so that we'd only draw a few of them at large sizes and then played around with and tweaked the feedback shader from 29. Maximalism some. Nothing crazy new going on here but I liked the results.
Conclusion
All in all I had a lot of fun with this and think I did a good job. I missed a few days and had to catch up on the next day, but I felt like I learned a lot and could see my work getting more interesting as the month progressed. I hadn't done smaller one-off generative art like these in quite a while so that was a fun flow to get back into too. I could definitely see myself doing this again next year!